Using Lightico Attributes, you can store customer information for the duration of a session. This section describes how to bind an interactive field in a PDF template to an Attribute. For more information about creating Attributes and how they work, see Understanding Attributes.
To bind a field to an Attribute:
Open the PDF template you want to edit and select the field that you want to bind.
Note:
If you are binding a checkbox group or a radio button group to an Attribute, ensure that the number of selection options you define in the template, matches the number of options in the Attribute. For example, if you have inserted 4 checkboxes in the checkbox group, you can only bind the checkbox group to an existing Attribute that has 4 options.
Alternately, just add the first checkbox or radio button field and then bind it to an Attribute. Options are added automatically according to the number and name of options in the Attribute.In the Field properties pane, click Bind to Attribute.
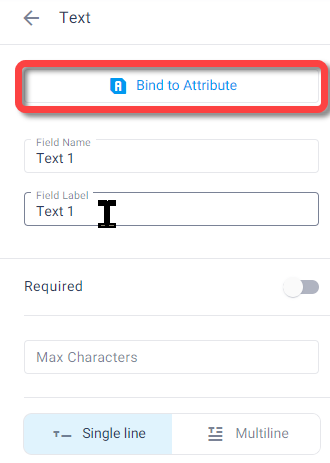
The Select Attribute to bind dialog box opens.In the Name box, search for the relevant Attribute and select it. The search displays only Attributes of the same type as the selected field. For example, if you are binding a text field, you will only see text Attributes in the search.
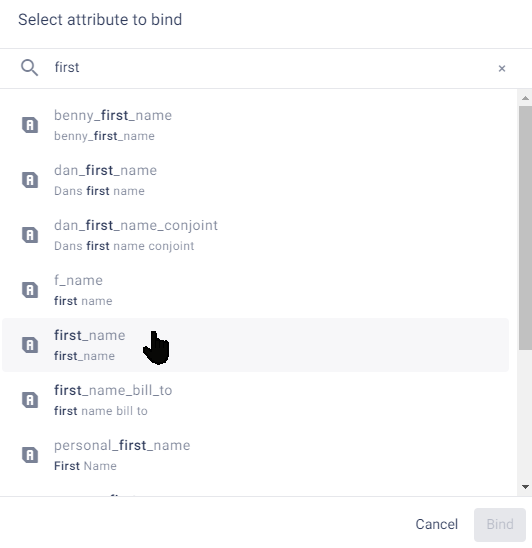
The remaining fields are populated with the properties of the selected Attribute: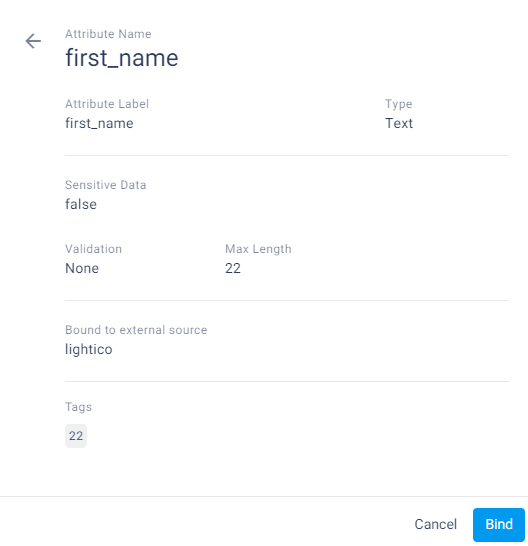
Click Bind.
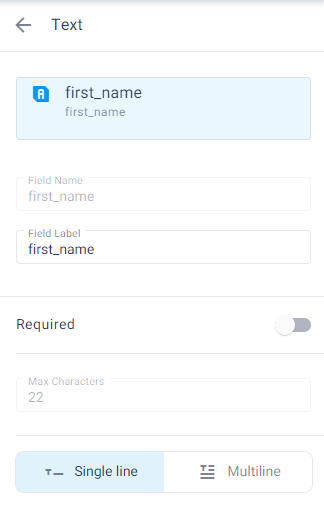
The field properties pane displays the properties of the Attributes.
Unbind a field
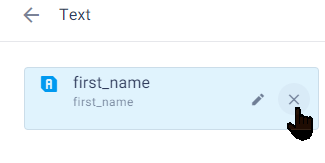
To unbind a field from an Attribute, click the "x" next to the Attribute in the field properties panel.