This article explains how to send an External Document to multiple participants during a Lightico session. For example, you may want to send a policy that needs to be signed by both the customer and a cosigner.
Note:
You can also send a PDF template that has been pre-defined by your administrator for multiple participants.
To send an External Document to multiple participants:
Upload a PDF and add the relevant fields, as described in Send an External Document.
In the left panel, click Add Participant.
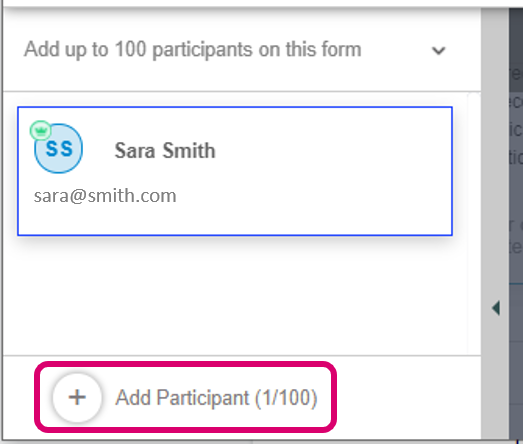
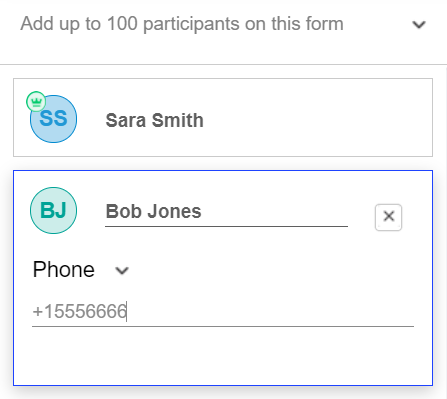
Enter the name of the participant.
Enter either a phone number or an email address using the Phone/Email toggle.
Note
Your Administrator may have disabled text messages (SMS), in which case the phone number option will not appear.
Tip
You can add participants with the same phone number or email as the original customer. For example, if 2 family members share the same email address, they will still be regarded as 2 separate participants.
Participant's details are saved for this session after you enter them the first time. If you send additional multi-sign documents during this session, you can select the saved participants from a list.
.png)
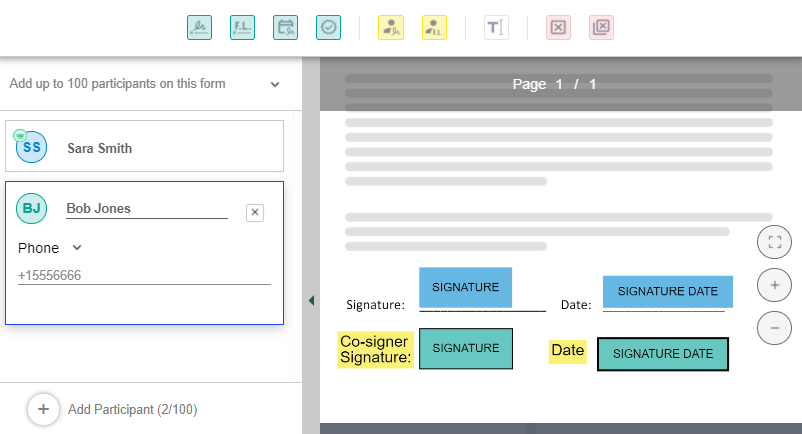
Add custom fields for the new participant.
Click the new participant in the left panel. The toolbar buttons match the color of the new participant and you can add the relevant fields for the selected participant.Tip
If you only want to send the document for approval and not for signing, do not add any of the customer signature fields (signature, initials, corporate stamp).
In the example below, the client signature field and the signature date field were added for the new participant:
Click Send at the top right corner of your screen.
The document is sent to all the participants at the same time.
To manage the customer interaction after the document has been sent, use the interaction bubble, displayed in the left pane.
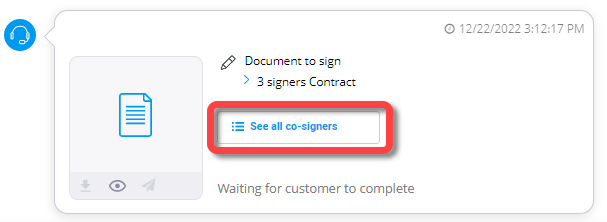
The interaction bubble allows you to track the status of this interaction, to interact with participants and to perform certain actions on the relevant documents or assets. For more information, see Using interaction bubbles.