Conditional elements enable you to control how a Workflow behaves based on customer inputs. For example, present different versions of a contract to customers according to the location in which they live, or end the session for underage customers.
This article explains how to add the following types of conditional elements to a Workflow:
Switch
A Workflow switch creates a junction in which customers are taken down one of several paths according to the condition for that path. The system checks these paths in the priority order you set, and the first condition to be fulfilled determines the path the customer will follow. If none of the conditions are met, the customer follows a default path.
For example, an insurance plan Workflow could create different paths according to age and marital status. The path conditions could be as follows according to the order in which they are checked:
Under 18 - this path requires a parent or legal guardian to sign a document.
Over 65 - this path contains certain favorable terms for seniors
Family - this path offers family plans for a couple or family with children
In all other cases - this default path offers a plan for only one person who is between the ages of 18 and 65

The following instructions explain how to create a switch with simple one-line conditions. To find out more about adding more complexity to the switch conditions, see Setting conditions in Workflows.
To add a switch to your Workflow:
Drag the Switch element from the right pane.
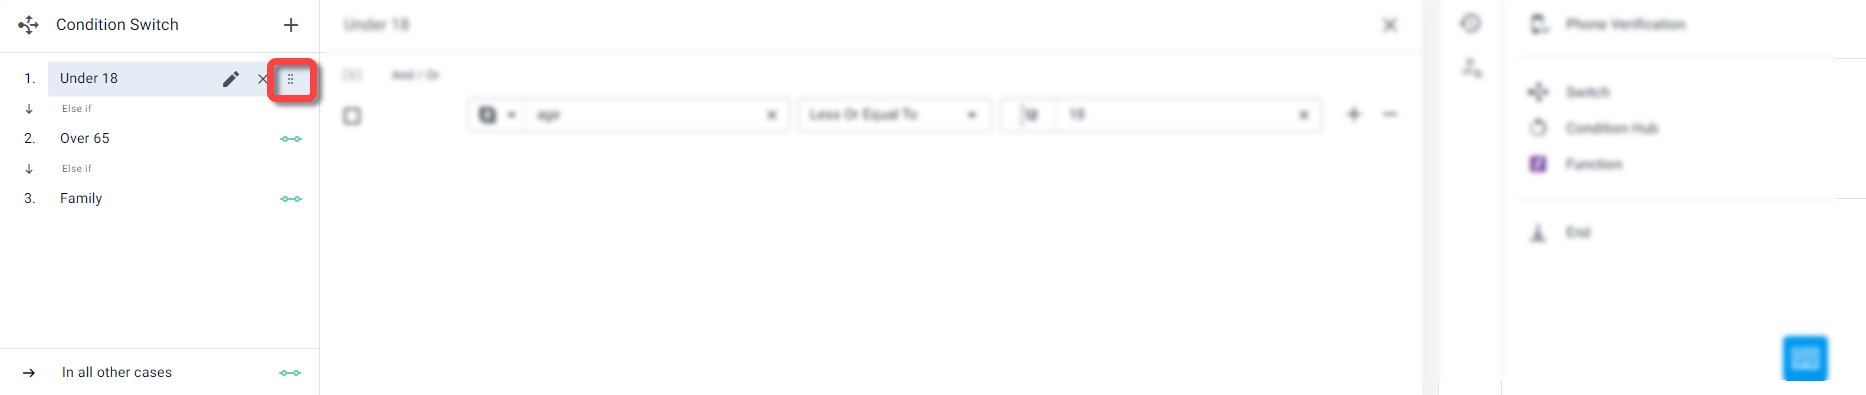
The Condition Switch dialog opens.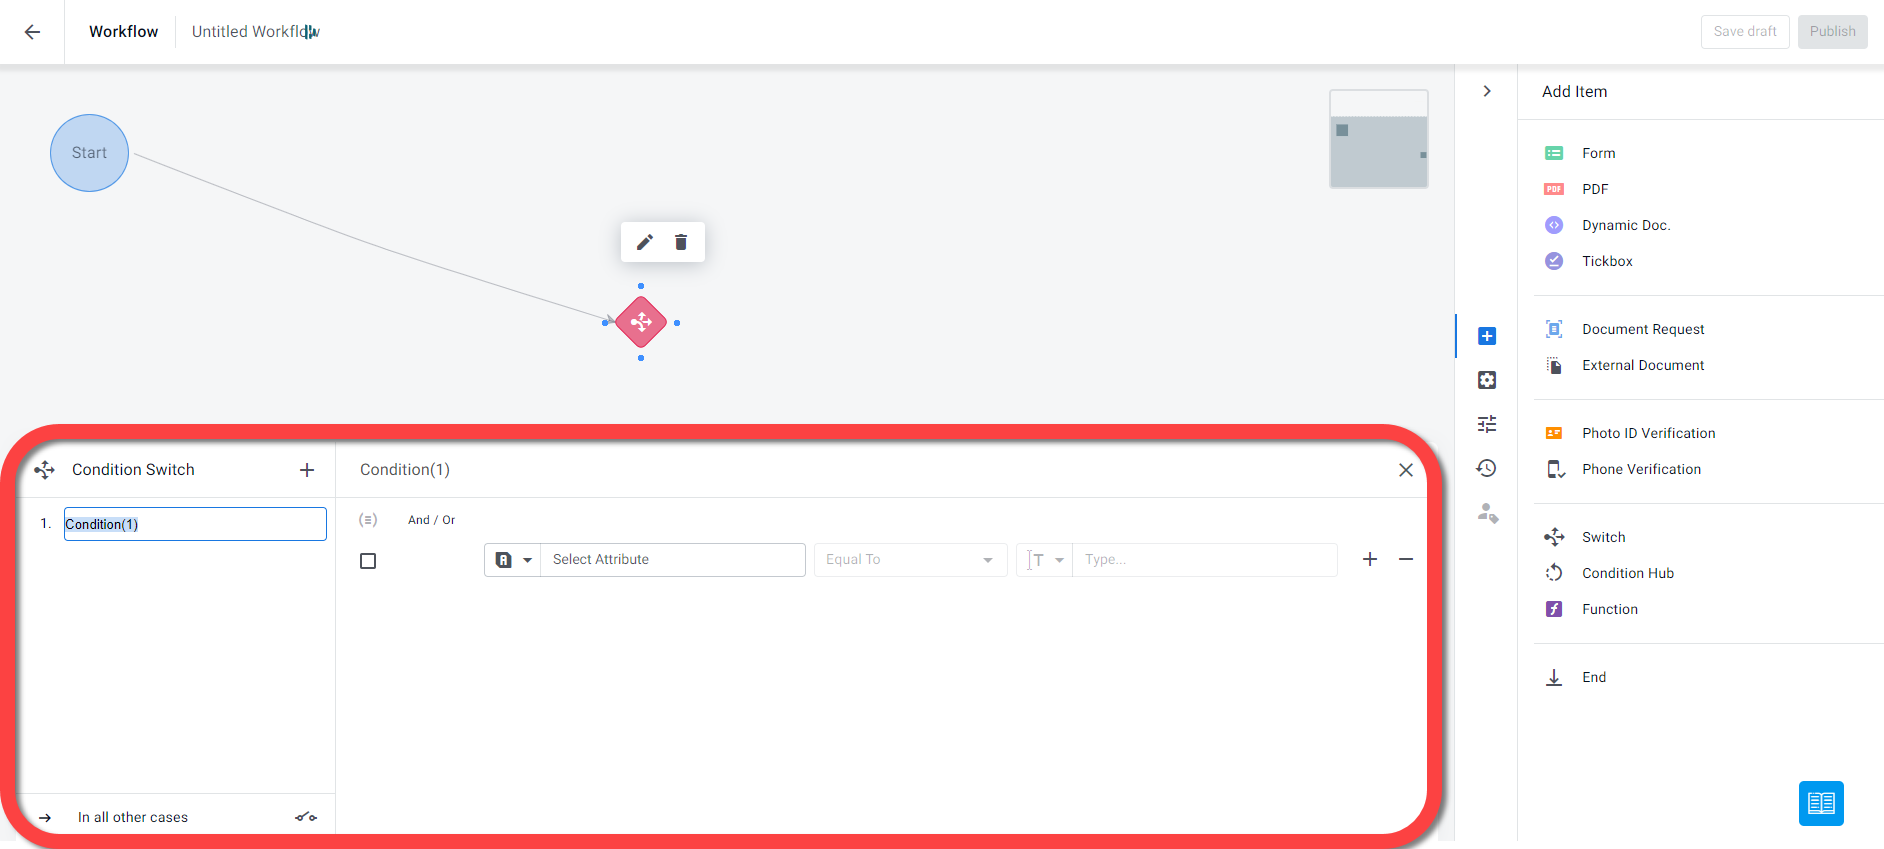
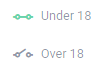
In the left pane, enter a name for the first condition, for example Under 18.
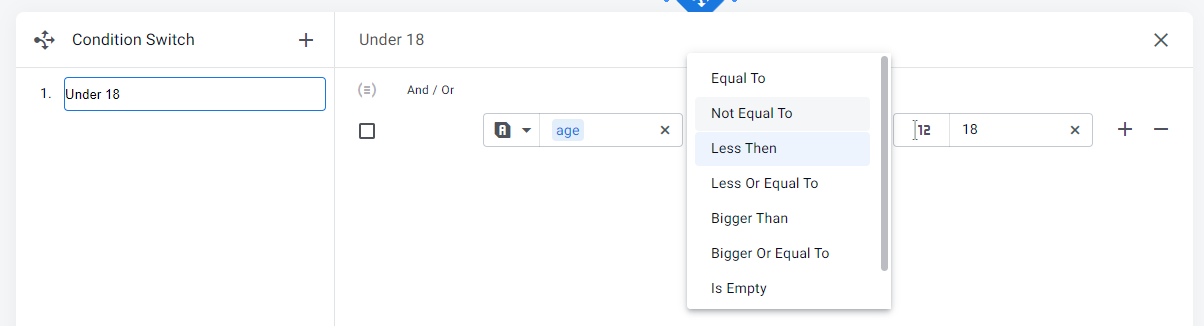
Enter the condition statement. For example, the Attribute age is less than 18.
If required, in the left pane, click + to add and define additional conditions.
The last condition is always reserved for all other cases - if none of the other conditions are met.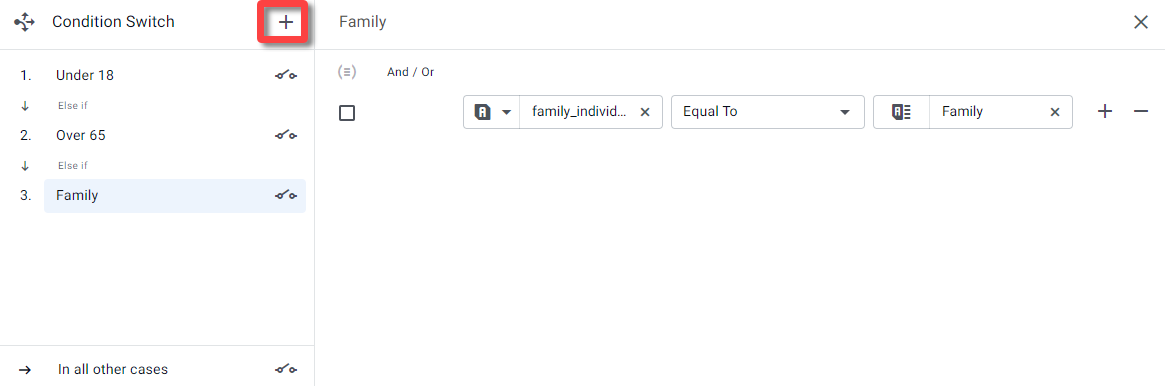
When you are finished defining all your conditions, close the Condition Switch dialog.
Connect all switch conditions to the relevant next steps in the flow.
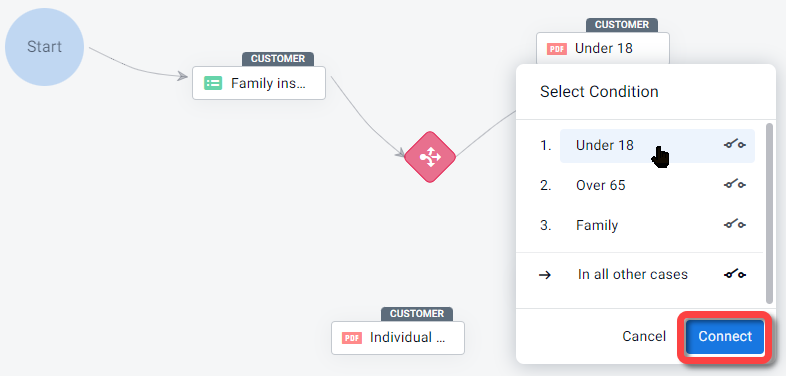
Drag a connector line from the Switch to the step you want the customer to proceed to when the condition is met.
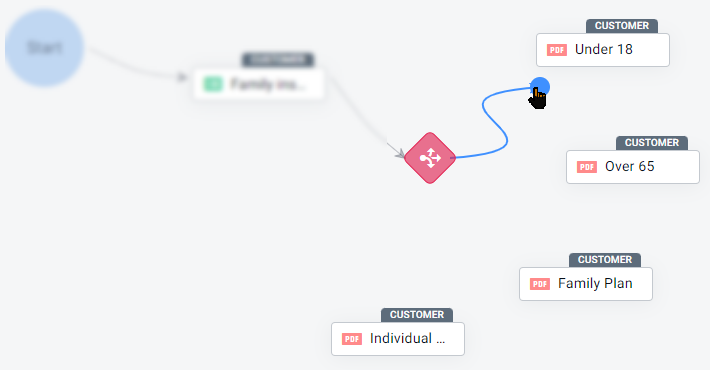
In the Select Condition dialog, select the condition you defined and click Connect.
The first path on the switch is completed.
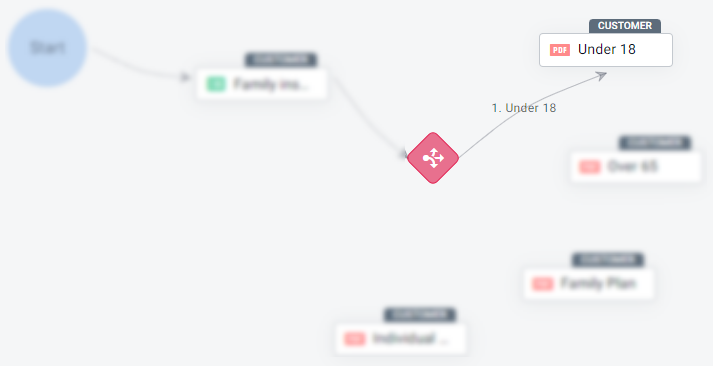
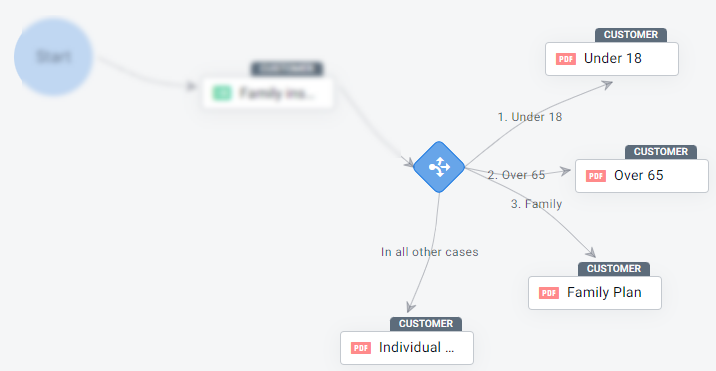
Continue connecting until all conditions are connected.
To change the order of the how the conditions are checked:
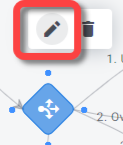
Select the switch and click the edit icon.
The Condition Switch dialog opens.
In the left pane, hover over a condition and drag it the required position.
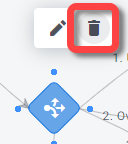
To delete a switch:
Select the switch element and click the delete button.
Condition hub
Use a condition hub when you need to share different documents with your customer based on multiple criteria. Each condition in the hub is evaluated independently—so even if one condition is met, others are still checked. For every condition that applies, the corresponding document is shared with the customer.
Example:
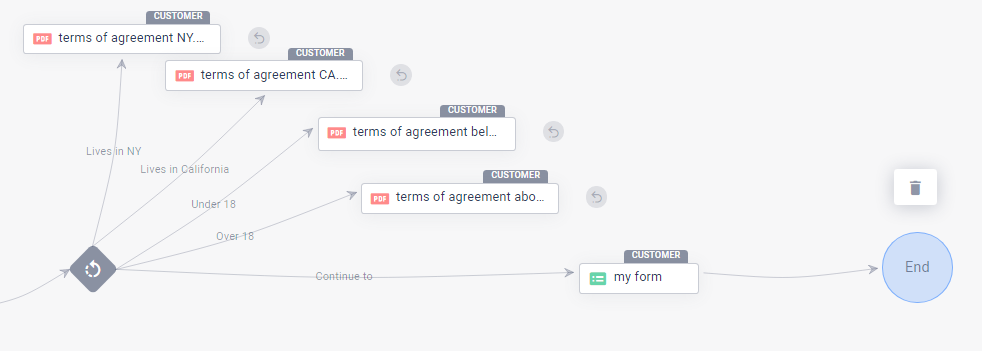
Imagine you have a Terms & Conditions agreement that varies depending on the customer’s state and age. A 56-year-old in California might need different clauses than a 17-year-old in New York. Each part of the agreement is stored in a separate PDF, and you can set specific conditions for each one. That way, customers only see the sections relevant to them.
At the end of the Workflow, all applicable documents are automatically combined into a single PDF for the customer to review.
Note
The result of each condition can only be a PDF Template or External Document.
You can only assign one document to each condition.
To add a condition hub to a Workflow:
Drag the Condition Hub element from the right pane. The Condition Hub screen opens.
Enter one condition for each document that you want to share.
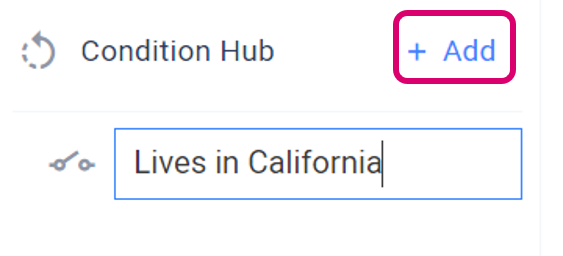
In the left pane, enter a name for your condition, for example Lives in California.
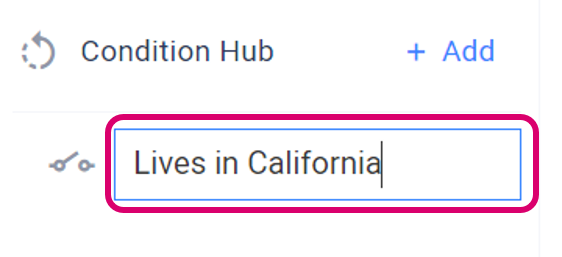
Enter the first condition statement. For example, the Attribute state_address contains California.
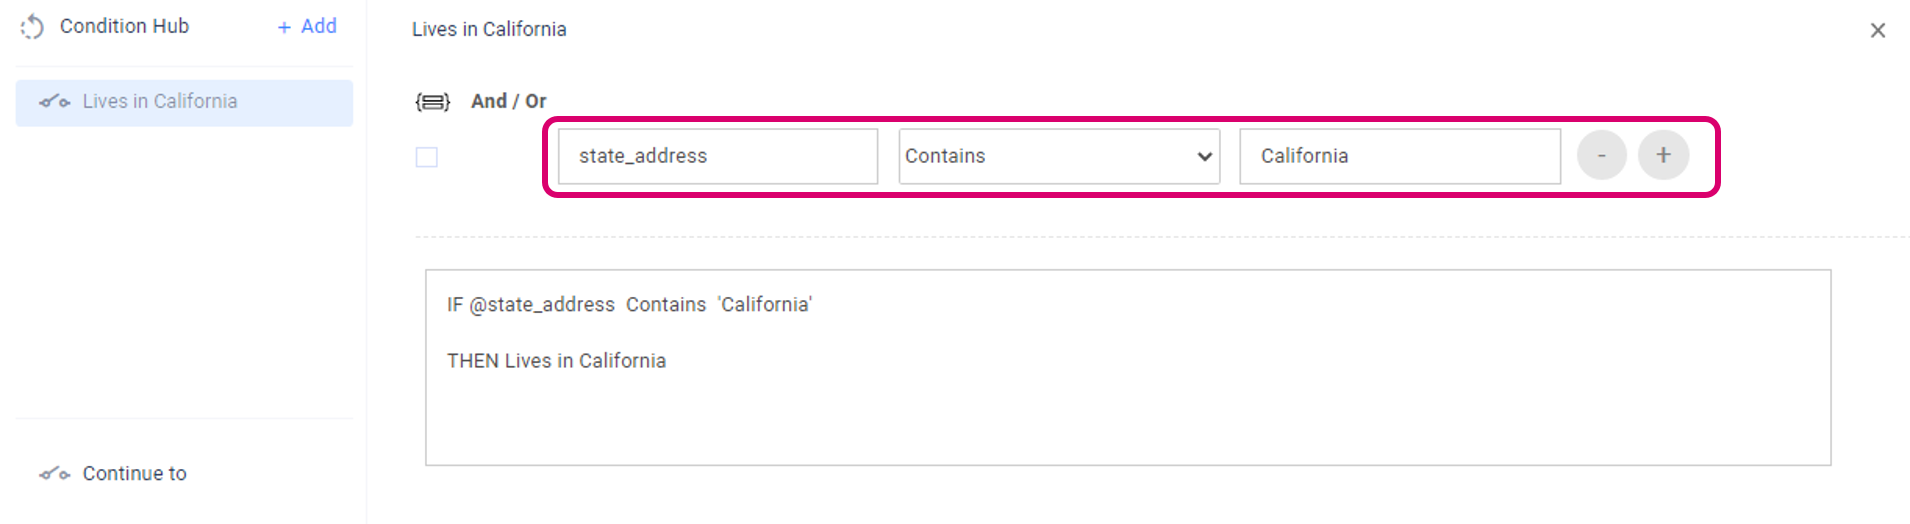
You can combine multiple condition statements using And / Or logical operators. You can also create more complex conditions by including some condition statements in parentheses. For more information about working with conditions, see Setting conditions in Workflows.
To add a new condition, click the Add button and repeat the above steps.
After you have added all your conditions, close the Condition Hub screen.
Connect each condition with the document you want to share.
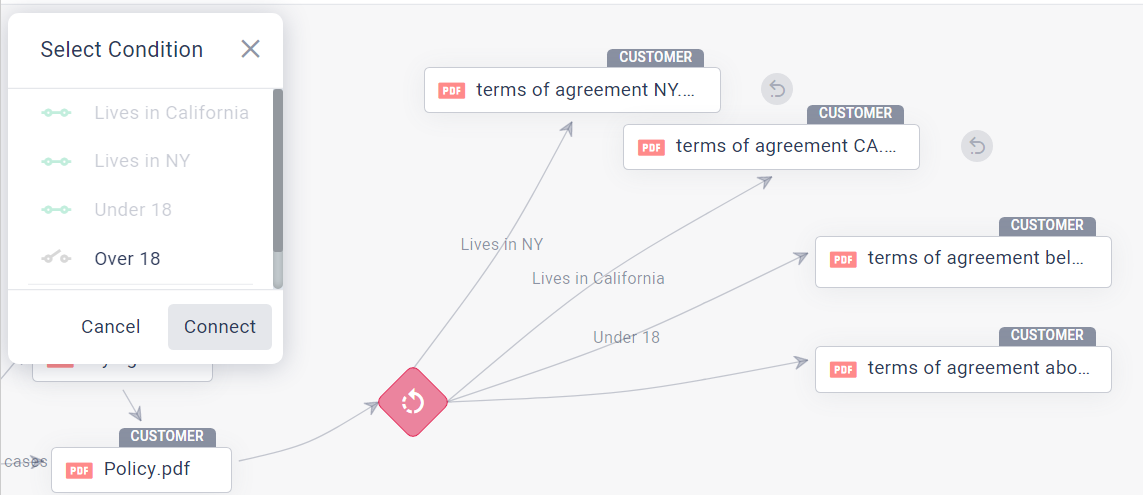
Select the condition hub element and drag a connector line to the document you want to share when the condition is met.
In the Select Condition dialog, select the relevant condition and click Connect.
Repeat these steps for all the conditions you defined until each condition is connected to a document.
The connection indicator next to each condition indicates whether or not the condition is connected to a document.
Connect the condition hub to the next step in the flow.

After all the conditions are checked, the users move to the next step in the flow, regardless of the results of the conditions.
Select the condition hub element and drag a connector line to the next step in the flow, for example a form.
In the Select Condition dialog, select Continue to and click Connect.
To delete a condition hub, select the condition hub element and click the delete button.
Function
You can insert a function step into a Workflow to perform a calculation and assign the result to an Attribute. This is useful when the information you need isn’t provided directly by the customer but can be derived from other inputs.
For example, you can calculate a customer’s age using the built-in age function, which takes the birthdate entered in a Form and computes the age automatically. The result is stored in an Attribute and can be used in later steps—such as populating a field in a PDF or triggering a conditional decision.
Adding a function step to your Workflow
Add the function step
Drag the Function element from the add Workflow Element tab in the left pane.
The Create new function dialog box opens.Create the function expression
In the Function expression box, build your function using following icons:
system values (a), Attributes (b), and built-in functions (c).
See the next section for details on how to construct different types of functions..png)
Bind the result to an Attribute
In the Bound Attribute box, select the Attribute where the result of the function will be stored.
This Attribute is saved in the session and can be used in later steps of the Workflow.
Edit the function
Select the function element and click the Edit button.
Duplicate or delete the function
Select the function element, click the three-dot menu, and choose Duplicate or Delete.
Types of functions
Function expressions can be built in different ways depending on the type of calculation you need.
Simple arithmetic function
Use this type when you want to perform basic math using Attributes or system values.
How to build:
Using the icons above the Function expression box, add an Attribute or system value, followed by an arithmetic symbol (+,-,*,/), and then another Attribute or value.Example:
To calculate the final price of a discounted item:
@list_price - @discount
Built-in function
Use this type when you need a predefined operation like calculating age, combining values, or comparing dates.
How to build:
Click the function icon and select a built-in function (e.g.,
datediff,concat,agecalc).
The function template is inserted into the Function expression box.In the parentheses, insert the required inputs separated by commas.
Examples:
datediff(date1, date2)
Calculates the difference between two dates.
Use two date Attributes or system values separated by a comma.concat(value1, value2, ..., value7)
Combines up to 7 values (Attributes or system values).If all values are numbers, the result will be their sum.
If values include text, the result will be a combined string.
agecalc(date_of_birth)
Calculates the age based on a given birthdate.
Use a single date Attribute as input.