Zapier users can use Lightico triggers (events) and actions in automated workflows together with over 5000 other apps.
For example, in a session, when a Lightico workflow is completed, you can have an automatic notification go out to your team on Slack.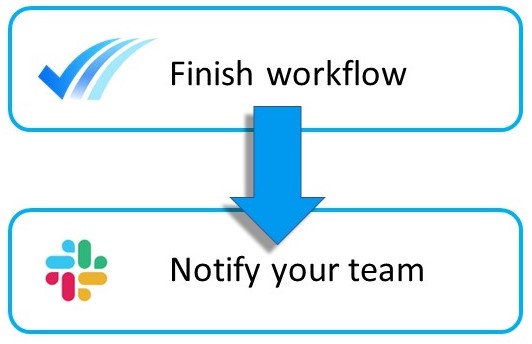
You can also create Zapier automations where Lightico is both the Trigger and the Action. Like automatically adding a specific eSign document after a session invitation is sent out..JPG)
To use the Lightico integration with Zapier, you'll need to do some configurations in the Lightico and Zapier UI, as explained in the following sections.
Add an Integration Hub and Generate Credentials
First you need to generate credentials in a Lightico integration hub. Later, you'll enter these credentials into the Zapier UI.
To add an integration hub and generate credentials:
- From the Lightico Administration page, go to Integration hubs and click the Zapier hub.
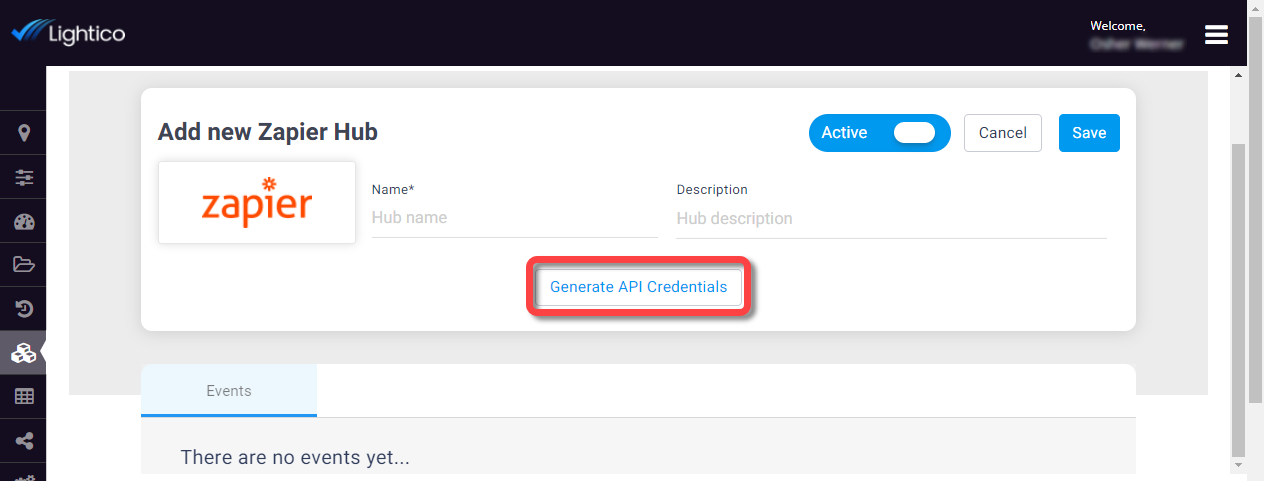
The Zapier Hub opens. - Enter a name and description for the hub.
- Click Generate API Credentials and enter your Lightico Username and Password.
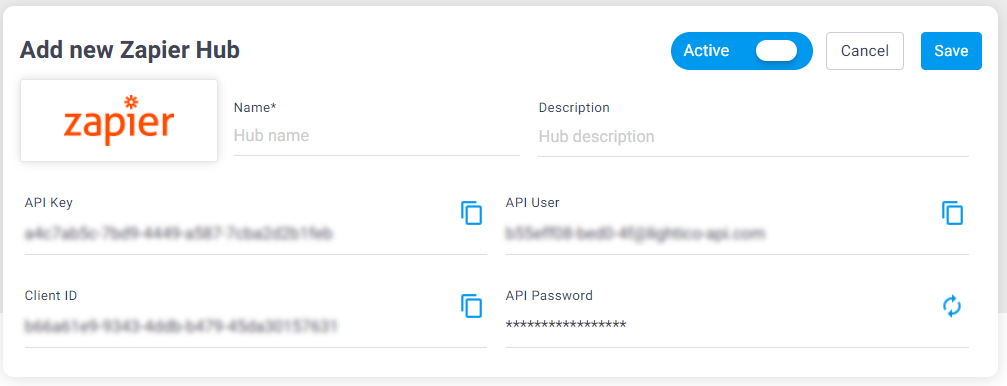
 Your Zapier API credentials appear.
 - Click Save.
Connect Lightico and Create Your First Zap
Now, you'll go over to Zapier and connect Lightico as you create your first Zap.
To connect Lightico and create your first Zap:
- If this is your first time creating a Zap that includes Lightico, click the following invitation link, which takes you to the Zapier website:
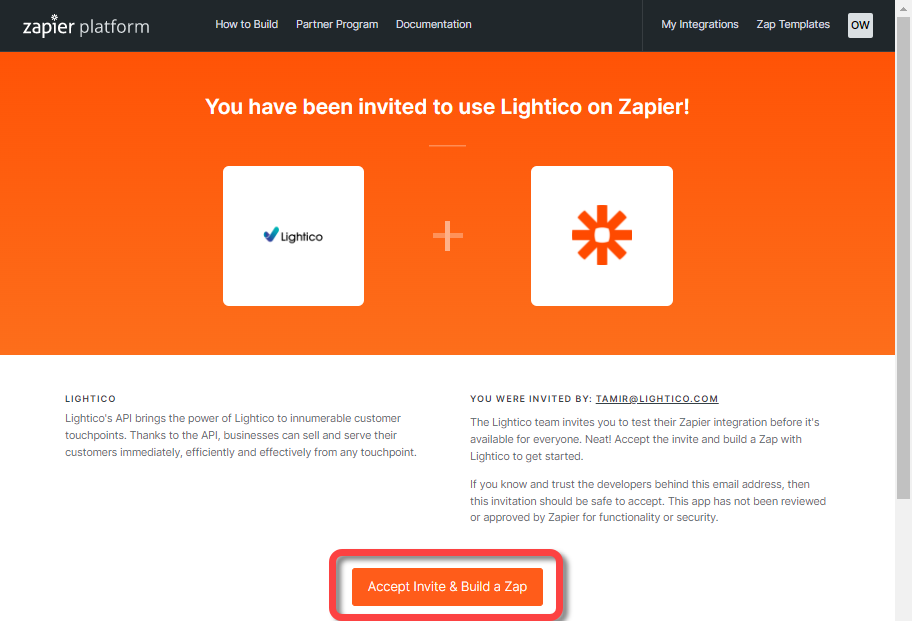
https://zapier.com/developer/public-invite/125334/172eb2b1c5c4f1e39ca5b4be8adc433c/ - If you have not yet done so, log in to your Zapier account.
The Lightico invite page appears. - Click Accept Invite & Build a Zap.
 The Zapier Home page opens.
 - Click to create a new Zap.
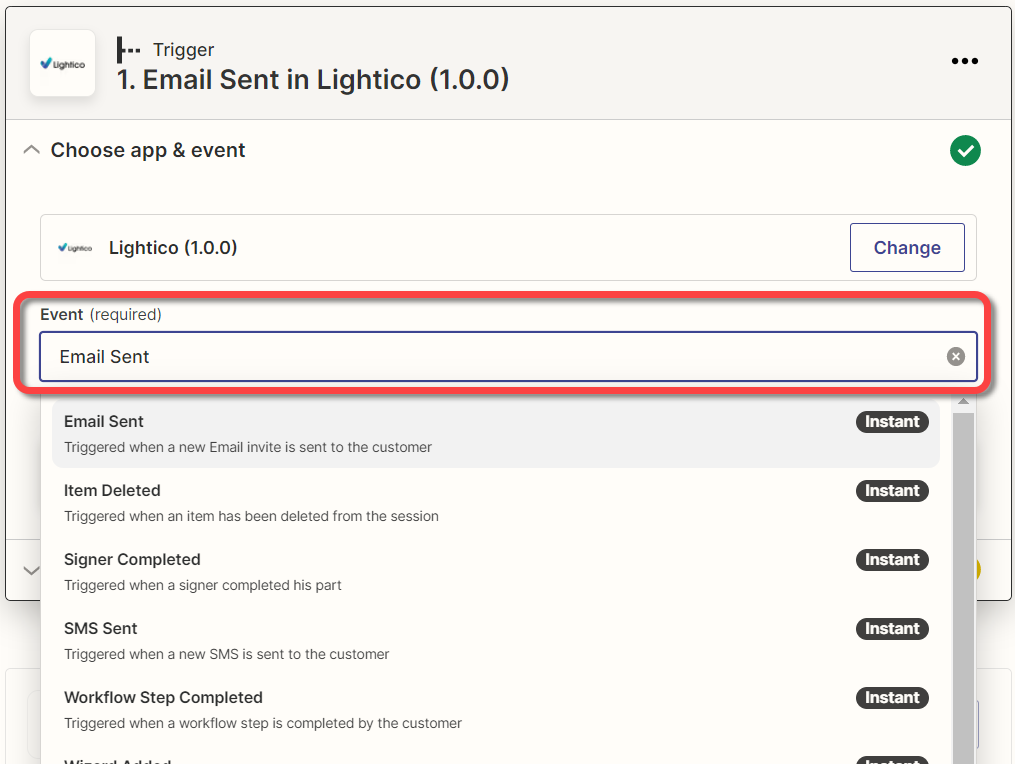
- For the Trigger, search for and select Lightico.
- From the Event dropdown, select an event and click Continue.
- Under Choose account, select the Lightico account.
- If it's your first time using this account, click Connect a New Account.
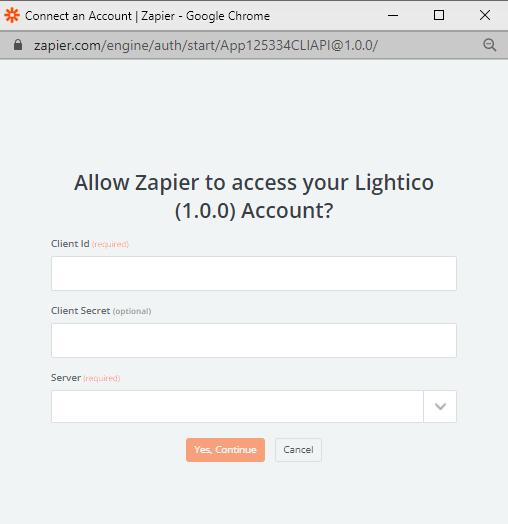
The Connect an Account window appears. - Enter the following credentials that you generated in the Zapier integration hub in the Lightico UI:
- Client Id
- Client Secret (API Key in the integration hub)
- Select Production or Sandbox from the Server field and click Yes, Continue.
- Complete the zap by adding at least one action.
If you are using a Lightico action, each action requires you to define certain fields by selecting the option that matches the title of the field. For example, for the action of adding an eSign after an email was sent, you need to match the session id option to the Lightico session id field.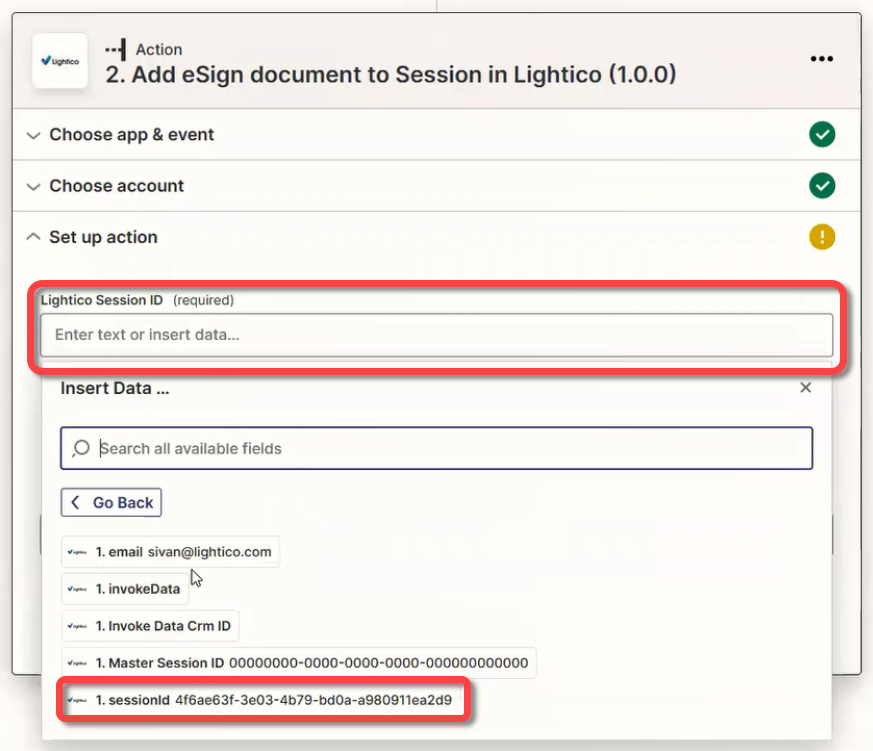
You must select the same Lightico account for all triggers and actions in the same Zap.