During a Lightico session, you manage customer interactions in the Interaction Bubbles that are located in the left pane of the agent console.
The interaction bubble provides information about each interaction and allows you to perform certain actions on the relevant document or asset.

Interaction data and status
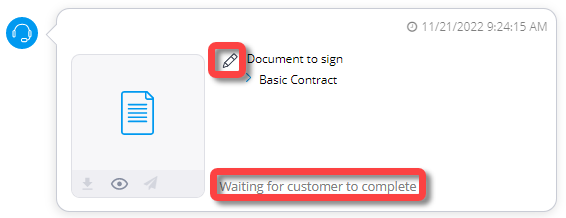
When you send a document or an asset to a customer, the bubble includes the name of the asset and information about whether or not the customer has completed the required action.
In the example below, the name of the asset is “Basic Contract” and the pencil next to the document, as well as the text at the bottom of the bubble, indicate that the customer has not yet completed the document:
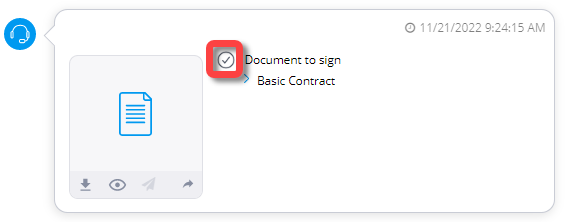
After the customer (and if relevant, the agent) has completed the document, a check mark is displayed next to the name of the document.
Working with the interaction bubble toolbar
.png)
Depending on the type of customer interaction, you can perform the following actions from the interaction bubble toolbar:
Download

Download the asset or Workflow to your local drive.
Notes
Depending on your administrator’s policy, you may be able to download a draft version before the customer completes the asset or Workflow.
A visual cart Workflow cannot be downloaded until it is completed by the customer.
Preview

Preview documents during a session to see exactly what the customer sees and guide them through completion.
PDF Templates – Preview is available as soon as the Workflow is added to the session.
Dynamic Documents – Preview is available only after the customer reaches the document step in the Workflow.
Sign as agent

When the agent signs last, this icon enables you to open and sign the document.
Forward for approval

Forward the asset to a third party for review and/or approval after it has been completed by the customer. When you click the icon, the new session window appears. Fill in the contact information and start the session; the asset is added to this new session.
Agent details
![]()
After a document is added via API, click this icon and complete the agent details before the document is sent on to the customer.
Deleting an interaction
Workflows and stand-alone assets can be deleted from the session.
Note
Once a customer has started a Workflow or stand-alone asset by clicking the Start button, it cannot be deleted.
To delete an interaction from the session:
Hover over the interaction bubble.
An arrow appears in the upper left corner.
Click the arrow and select Delete.
.png "image(94).png")
Interacting with multiple participants
When you send an asset to multiple participants (multi-sign), you can check the status of each participant by clicking See all co-signers.
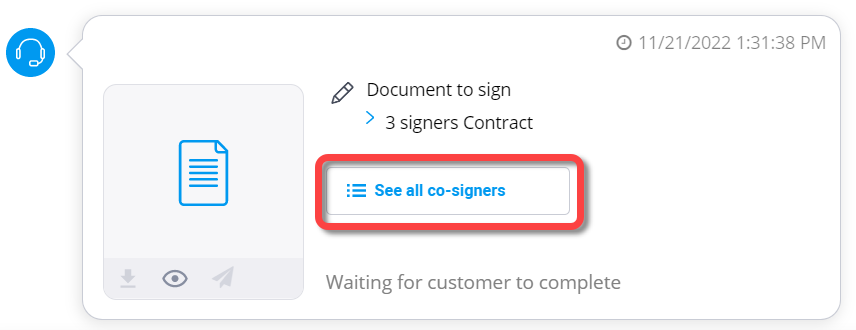
The Document Participants window opens.
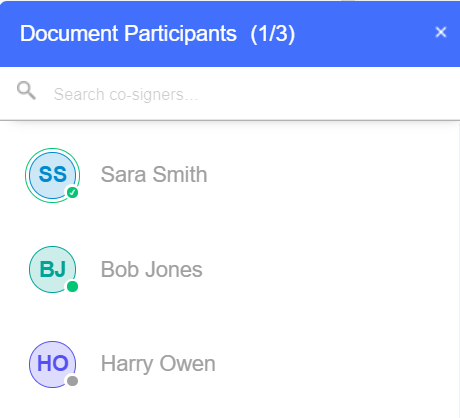
The icon next to each participant displays their status.
If the icon is green, the participant is connected to the session.
If there is a check mark inside the icon, the participant has completed their assignment.
The number in the title bar (for example, "1/3") indicates how many participants have completed the document.
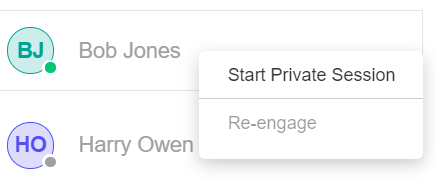
If you need additional information from one of the added participants, for example, requesting an ID document, you can start a private session with that participant. To start a private session with a co-signer, click the 3 dots next to the participants name and select Start Private Session. An invitation is sent to the relevant participant to start a dedicated session with that participant.
Customer verification information
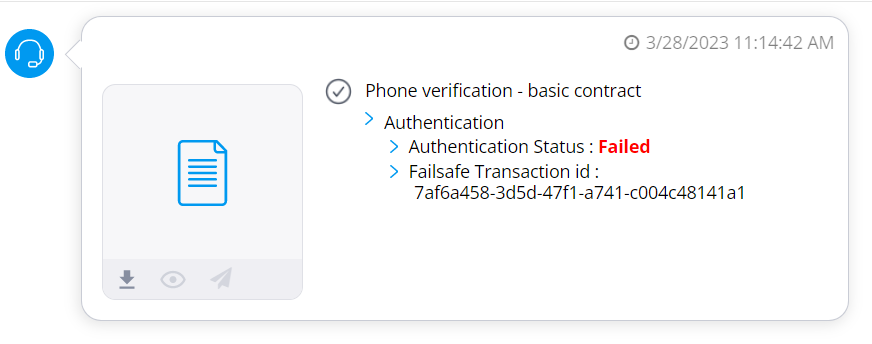
If you send a Workflow to a customer that includes a verification step such as phone or OTP verification, you will see the following information:
Authentication status
Failsafe Transaction ID (for phone verification only)
Q & A
Can I delete a Workflow from a session if I filled in a Form before sending it to the customer?
Yes. A Workflow that starts with an agent Form can be deleted from the session as long as the customer has not started it yet.