The HTML Designer is a user-friendly tool that enables you to create dynamic HTML-based documents like a Dynamic Document without requiring any knowledge of HTML coding. This article explains the basics of creating a Dynamic Document.
🎦 Watch related video:
Create a new Dynamic Document
To create a new Dynamic Document:
In the Admin Center, in the left navigation pane, click HTML designer.
In the top right corner of the HTML designer page, click Create new.
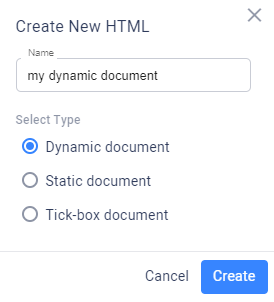
In the Create New HTML dialog box, select Dynamic Document, enter a unique name for your document, and click Create.
The new Dynamic Document opens.
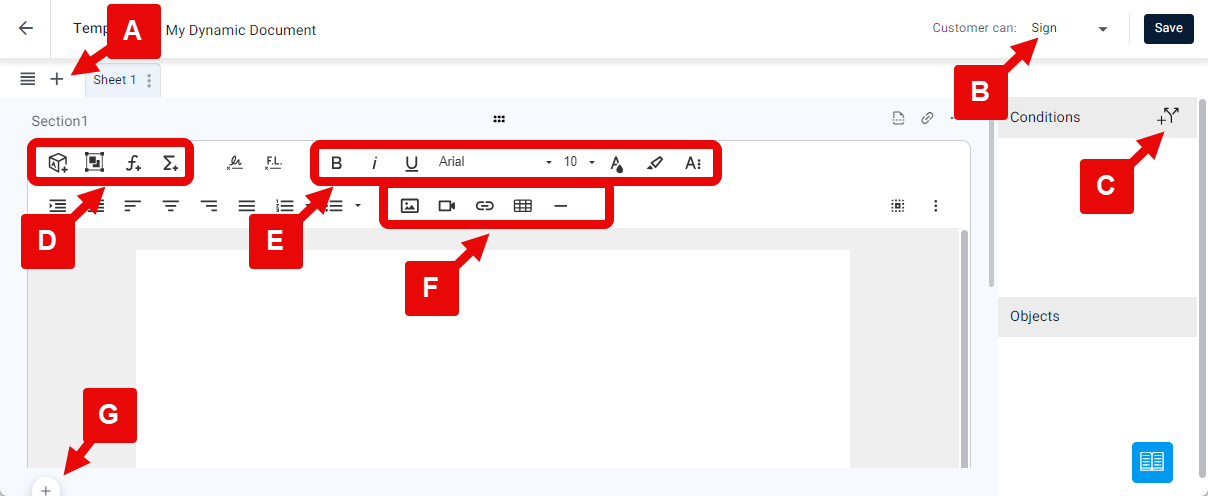
Use the HTML Designer tools to do any of the following (for more details, follow the links):
Add and edit text (E).
Add sections (G) and sheets (A) to your document.
Insert Attributes, objects and functions (D).
Insert images, videos, hyperlinks, and tables (F).
Set conditions that define the content of the document (C).
Define the document for signing, approval, review, or download (B).
Click Save.
Import a Dynamic Document from a different profile
If you have created a Dynamic Document and want to use it in a different profile, you can save it as a template and then import it to the new profile.
Before you begin
If the Dynamic Document uses Attributes or linked Forms, make sure they exist in the target profile. If they do not, create them and relink the Forms after import.
To import a Dynamic Document from a different profile:
In the source profile, go to the HTML designer page.
Search for the Dynamic Document that you want to export.
Click the options menu next to the Dynamic Document, then click Export.

A file browser appears.
Save the file on your computer.
In the target profile, go to the HTML designer page and click Import.

A file browser appears.
Select the file.
The Import HTML dialog appears.Select one of the following:
Import as new - Create a new Dynamic Document
Replace existing document - Select an existing Dynamic Document to change its underlying HTML
Tip
Use Replace existing document to keep the same GUID. This is useful when uploading a new version of a document that is already referenced by an API integration, so you don’t need to update the GUID in the integration.
Click Next.
The builder opens with the imported HTML, either as a new Dynamic Document or as an updated version of an existing one.
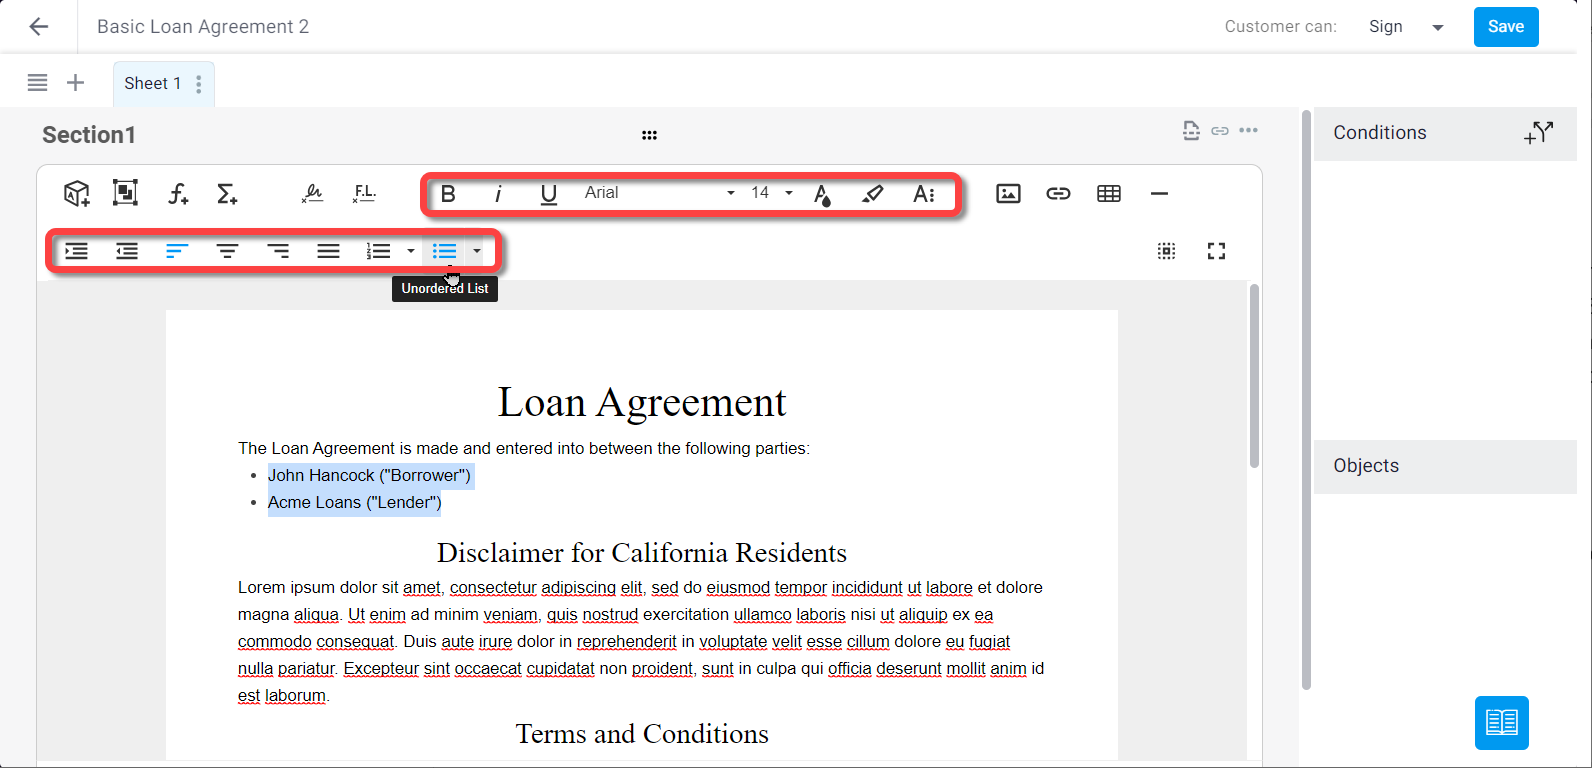
Add and edit text
Create the body of your Dynamic Document by typing into the window and using the editing tools in the tool bar.
Define the customer action
You can define what the customer can do with the document.
To define the customer action for a Dynamic Document :
Select one of the following options from the Customer can dropdown in the upper right corner:
Sign- Customer digitally signs or initials the document. When you define the action as Sign, you'll be required to add a signature or intials field to the doc (see below).
Approve - Customer reviews the document on-screen and clicks an Approve button to approve the document
Review - Customer reviews the document on-screen
Download - Customer can download the document only

Add a signature element
When you define the customer action as Sign, the signature and initial icons on the tool bar are enabled. You are required to add at least one of these before saving the Dynamic Document.
To add a signature or initials element to the Dynamic Document:
Place your cursor in the location of the Dynamic Document in which you'd like to place the signature or initial field.
Click the signature or initials icon.

The field appears in the selected location.Select the field, click and drag to resize.

Set the following from the context menu:
Alignment - When the field is in Break Text mode (see next point), you can position it left, right, or center.
Display mode - Select Inline (same line as the text) or Break Text (on it's own line).
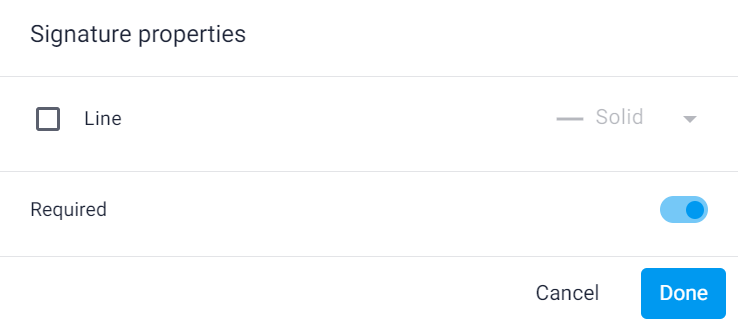
Signature properties - Check the Line box and choose the desired line style to display beneath the signature. Toggle to Required to ensure the Dynamic Document cannot be completed without a signature.
Delete - Remove the field from the document.
Add sections
Use sections to organize the information in your Dynamic Document. The customer does not see the division into sections. Although you can add a page break before a section in some cases (see below).
You can also set conditions to determine if and how a section is displayed. For more information, see Add conditions.
To add a new section:
Click the add section (+) icon below the existing sections.
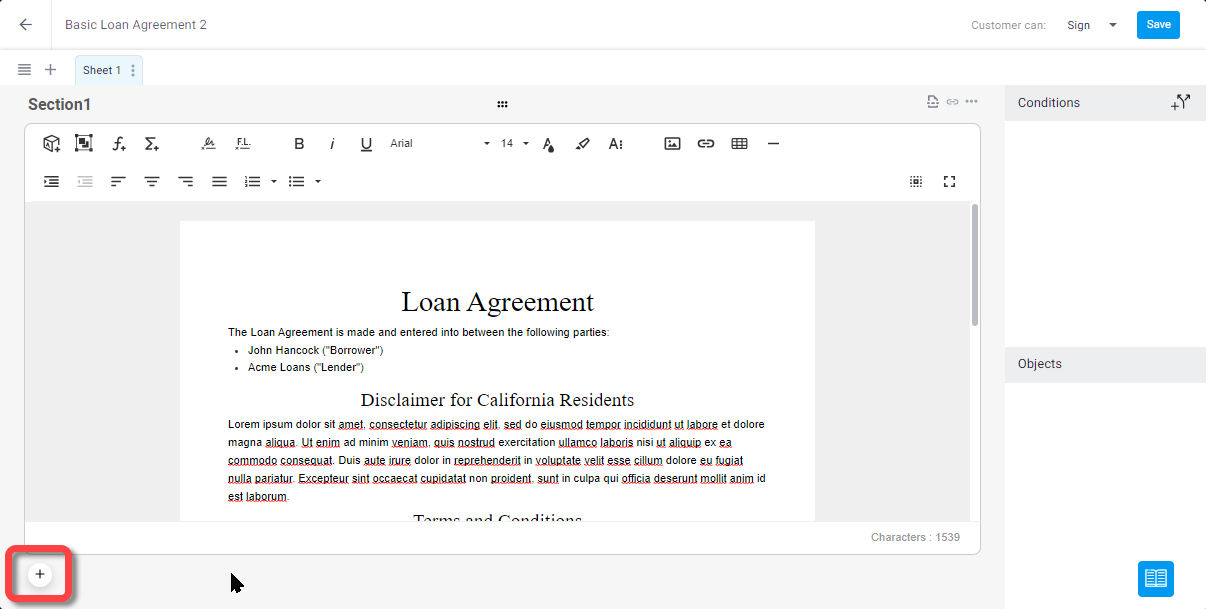
A new section appears below the existing ones.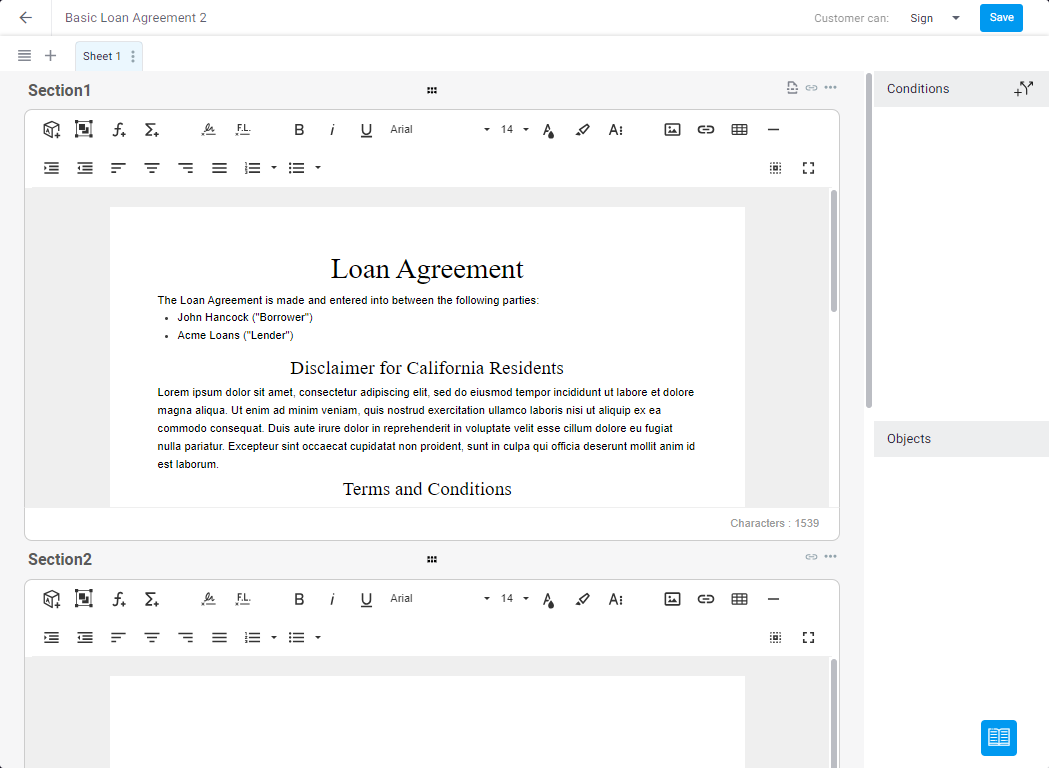
Add more sections as needed.
Click and drag the section to change the order of the section.
The section changes order and the section name changes to reflect the new order.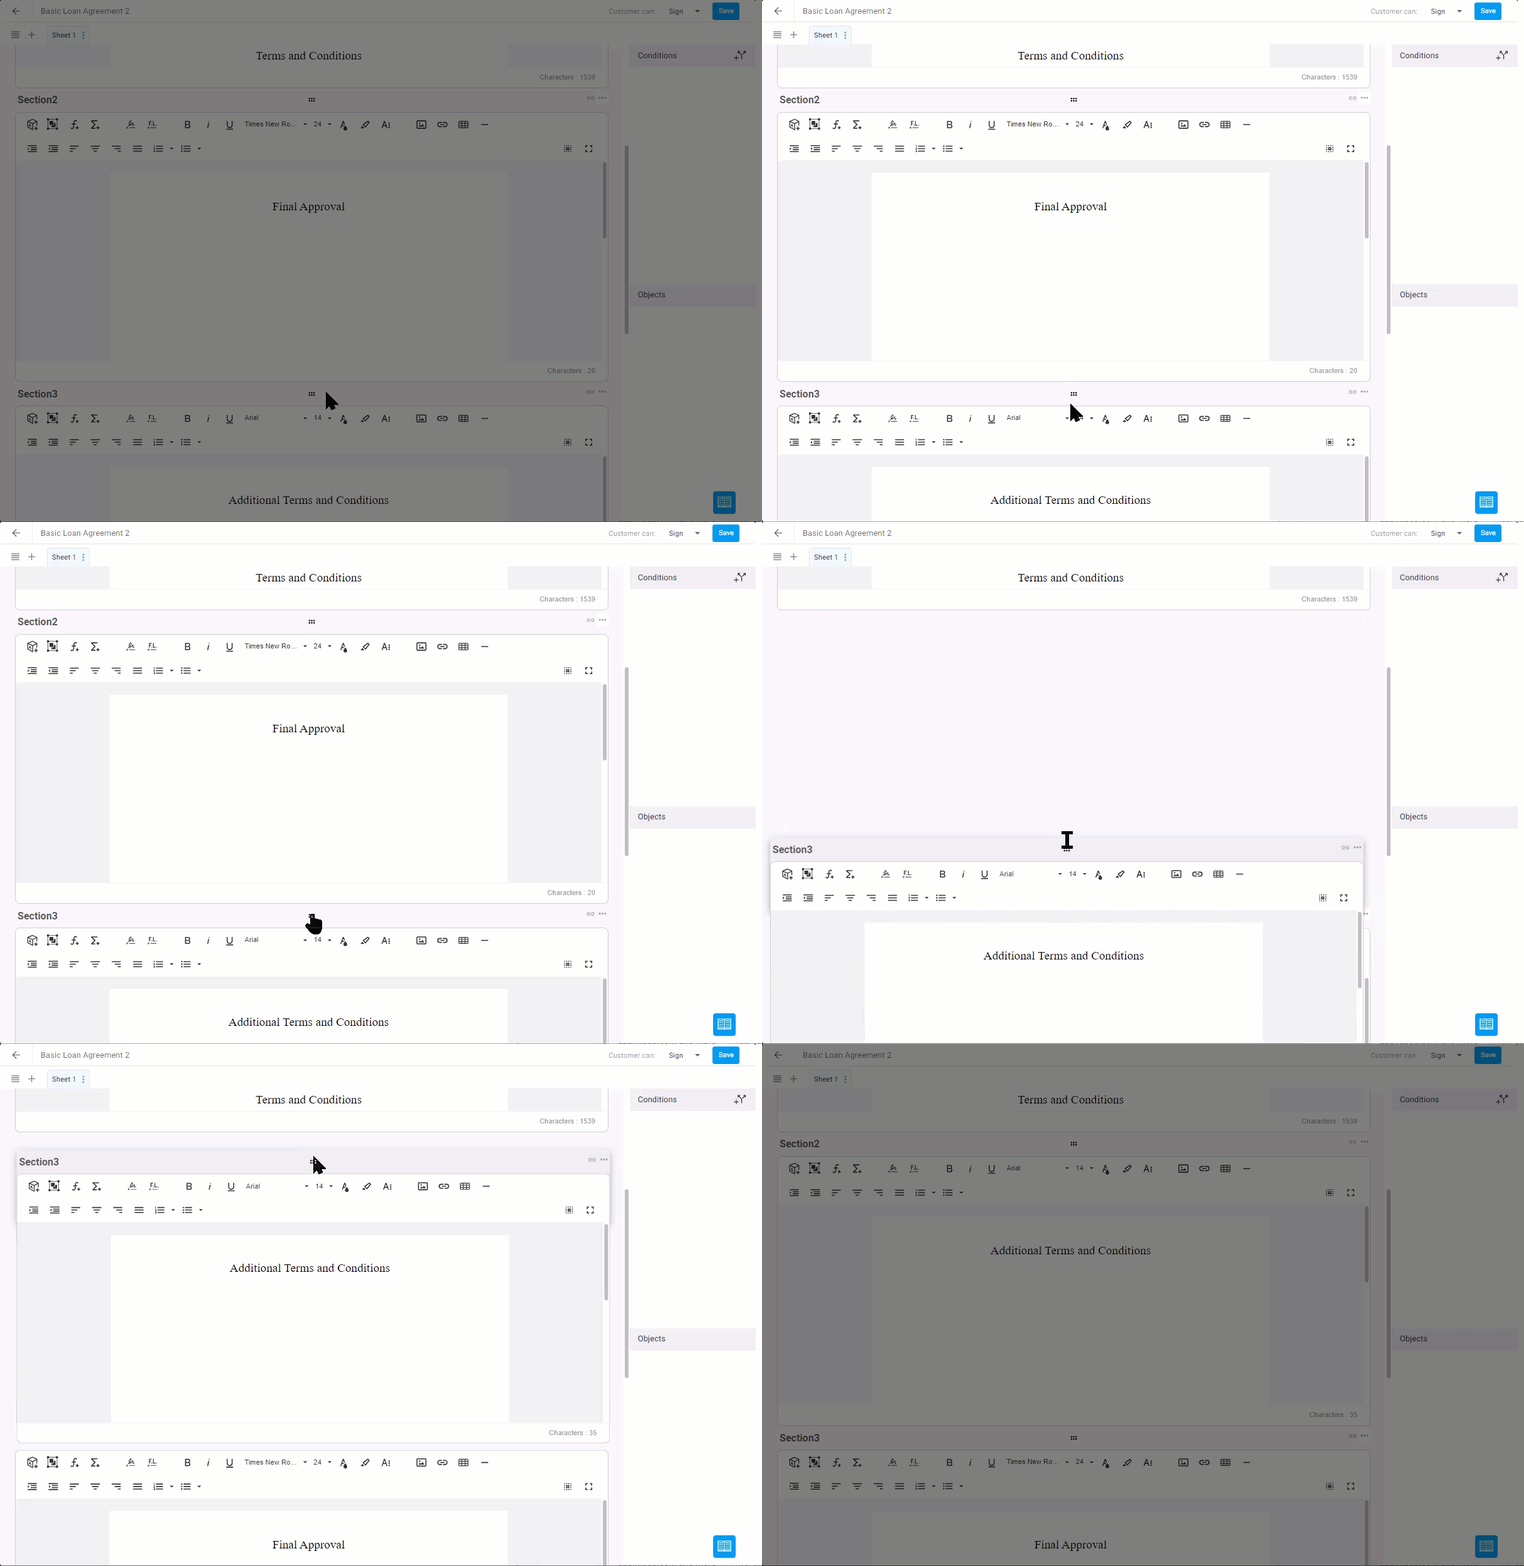
Note:
Section names are not editable.
To delete a section:
Click the menu in the top right corner of the section and select Delete Section.

To create a page break before this section:
Click the page break icon and turn in the toggle. 
Note:
Page break can only be used on a sheet that contains only one section.
Add sheets
Adding sheets is another way to organize the information in your Dynamic Document. There will be no page break for a new sheet in the final PDF.
You can also set conditions to determine if and how a sheet is displayed (see Add conditions below).
To add a new sheet:
Click the Add tab button in the top left corner.

Enter a name for the sheet, and click Done.
The new sheet appears.
