The HTML Designer is a user-friendly tool that enables you to create dynamic HTML-based documents like a Dynamic Document without requiring any knowledge of HTML coding. This article explains the basics of creating a Dynamic Document.
🎦 Watch related video:
Create a new Dynamic Document
To create a new Dynamic Document:
In the Admin Center, in the left navigation pane, click HTML designer.
In the top right corner of the HTML designer page, click Create new.
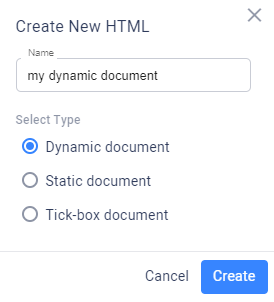
In the Create New HTML dialog box, select Dynamic Document, enter a unique name for your document, and click Create.
The new Dynamic Document opens.
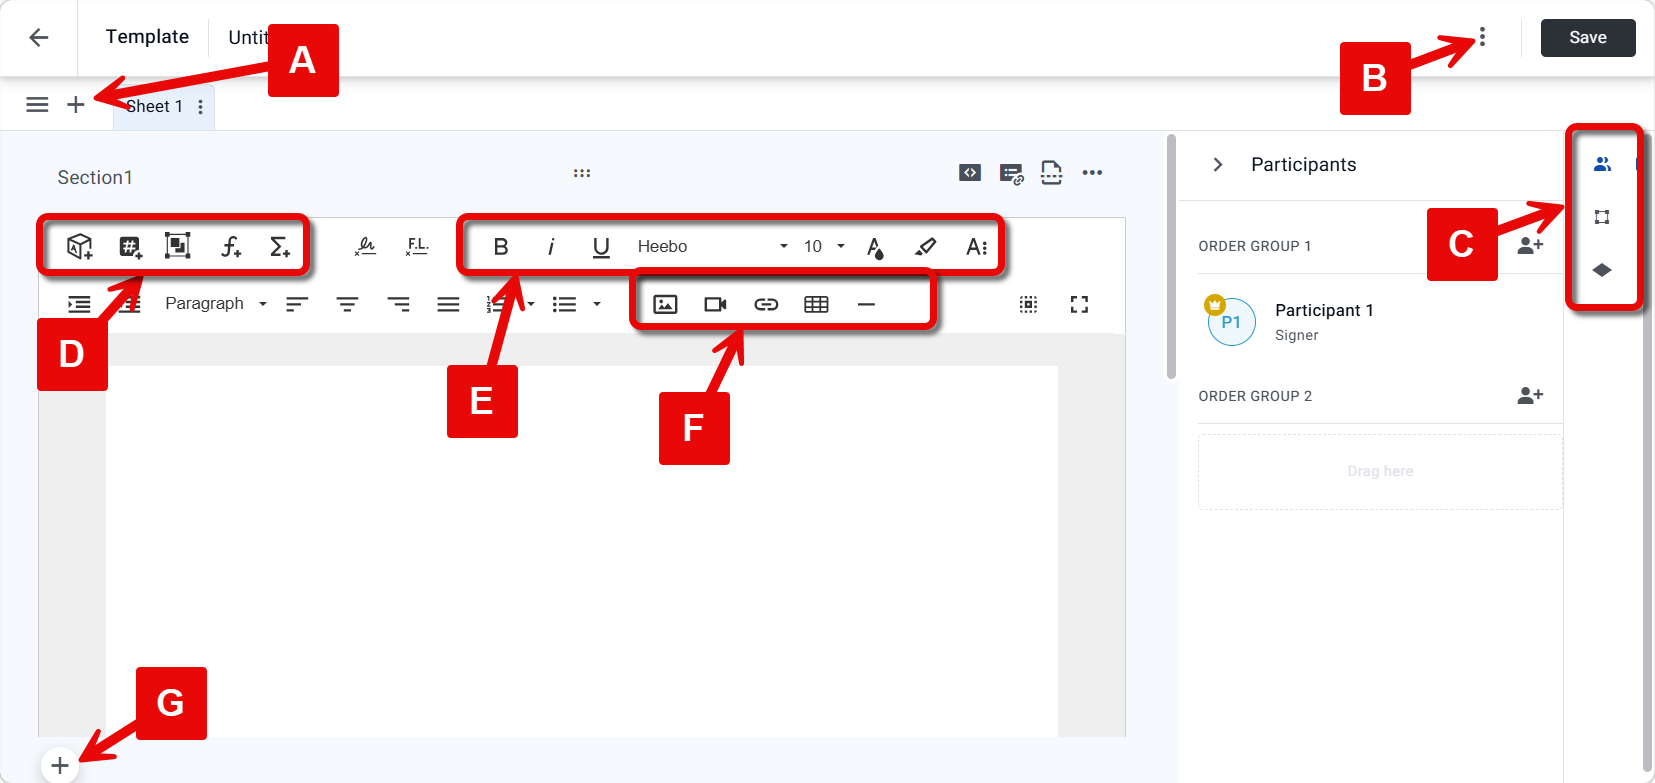
Use the HTML Designer tools to do any of the following (for more details, follow the links):
Add and edit text (E).
Add sections (G) and sheets (A) to your document.
Insert Attributes, objects and functions (D).
Insert images, videos, hyperlinks, and tables (F).
Open the participants, conditions, or objects tabs(C).
Create a document code for this document (B).
Click Save.
Import a Dynamic Document from a different profile
If you have created a Dynamic Document and want to use it in a different profile, you can save it as a template and then import it to the new profile.
Before you begin
If the Dynamic Document uses Attributes or linked Forms, make sure they exist in the target profile. If they do not, create them and relink the Forms after import.
To import a Dynamic Document from a different profile:
In the source profile, go to the HTML designer page.
Search for the Dynamic Document that you want to export.
Click the options menu next to the Dynamic Document, then click Export.

A file browser appears.
Save the file on your computer.
In the target profile, go to the HTML designer page and click Import.

A file browser appears.
Select the file.
The Import HTML dialog appears.Select one of the following:
Import as new - Create a new Dynamic Document
Replace existing document - Select an existing Dynamic Document to change its underlying HTML
Tip
Use Replace existing document to keep the same GUID. This is useful when uploading a new version of a document that is already referenced by an API integration, so you don’t need to update the GUID in the integration.
Click Next.
The builder opens with the imported HTML, either as a new Dynamic Document or as an updated version of an existing one.
Add and edit text
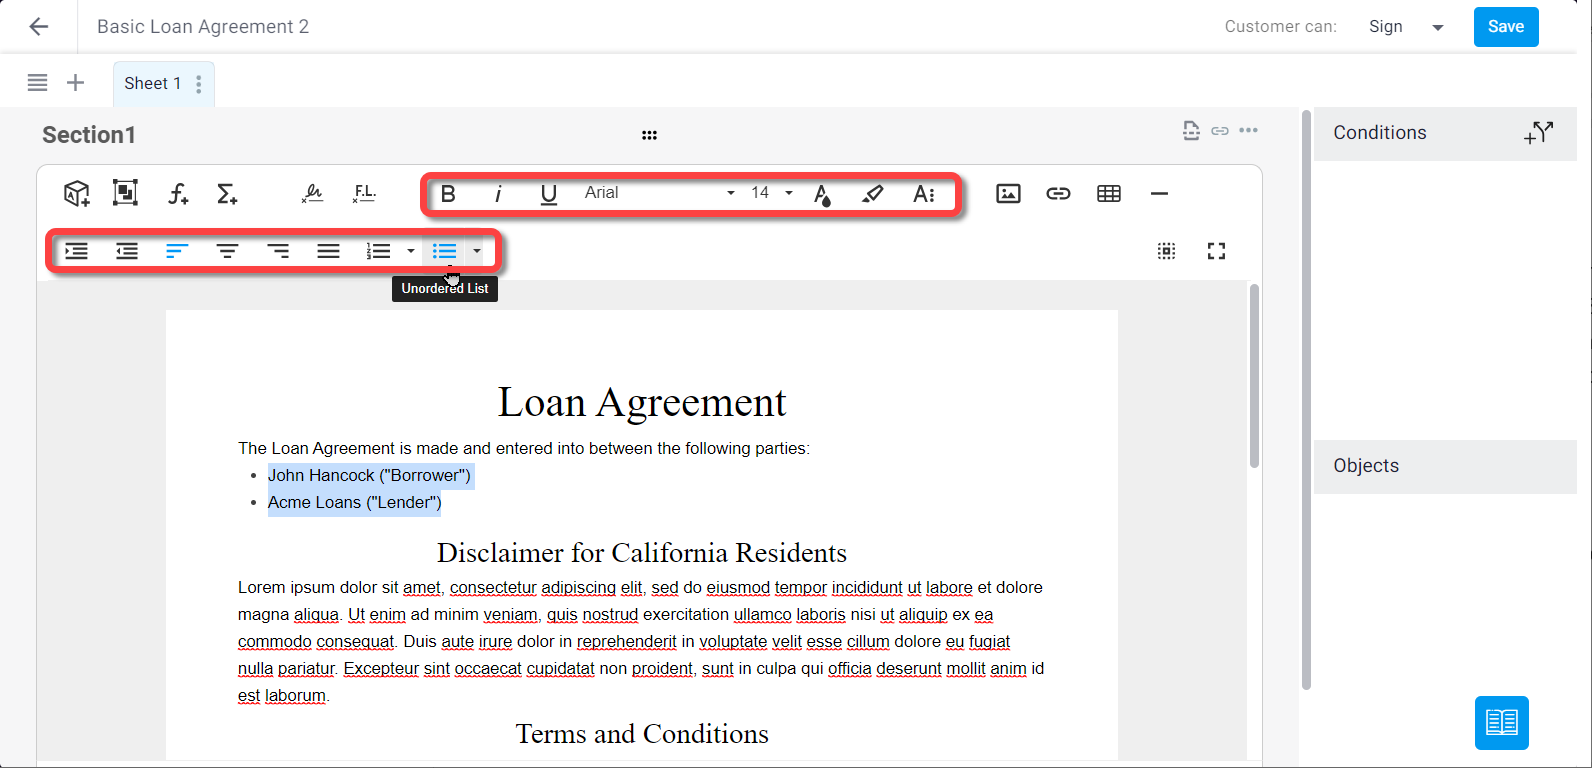
Create the body of your Dynamic Document by typing into the window and using the editing tools in the tool bar.
Add and edit tables
Add a table to your Dynamic Document to present structured information, such as a summary of values or a comparison the customer can scan at a glance.
To add a table:
Place the cursor where you want the table to appear.
In the toolbar, click the Insert Table icon and select the number of rows and columns.
.png)
The table is added to the document.
To edit a table:
Click inside the table to open the table toolbar.
Use the toolbar icons to adjust the table — add or remove rows and columns, merge cells, set alignment, and more.
.png)
Set the table width
The table width is one of the settings available from the table toolbar. The same document is often viewed on both desktop and mobile, and the width unit you choose affects how the table displays across screen sizes.
To set the table width:
Click inside the table to open the table toolbar.
Click the Edit Table Style icon.
.png)
The Table size dialog opens.From the Unit dropdown, select one of the following:
Pixels — fixed width. The table stays the width you set. If it is wider than the screen on mobile, the customer can scroll left and right to see the rest of it. This is the default for new tables.
Percent — relative to the page width. The table width scales with the screen size.
In the Width field, enter the width value.
.png)
Use Percent only for tables with short content, such as a summary of a few values per row, where the table adapts well across screen sizes. Tables with longer text become cramped at higher percentages, especially at 100%, and can be difficult to read on smaller screens. For text-heavy tables, keep Pixels. Always preview the document on both desktop and mobile before publishing.
Define the customer action
The following explains setting the action or role for the primary participant. To add addional participants and define their roles, see Add multiple participants to a Dynamic Document.
To define what the customer is required to do with the document in the collaboration session:
In the participants tab, hover over Participant 1 to reveal the edit icon.
Click edit.
.png)
The Edit participant dialog appears.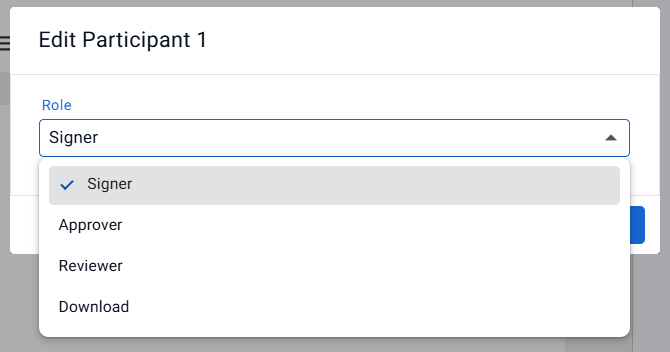
Select the desired role:
Signer (default) - Customer digitally signs or initials the document. When you define the action as Sign, you'll be required to add a signature or initials field to the doc (see below).
Approver - Customer reviews the document on-screen and clicks an Approve button to approve the document
Reviewer - Customer reviews the document on-screen
Download - Customer can download the document only
Add a signature element
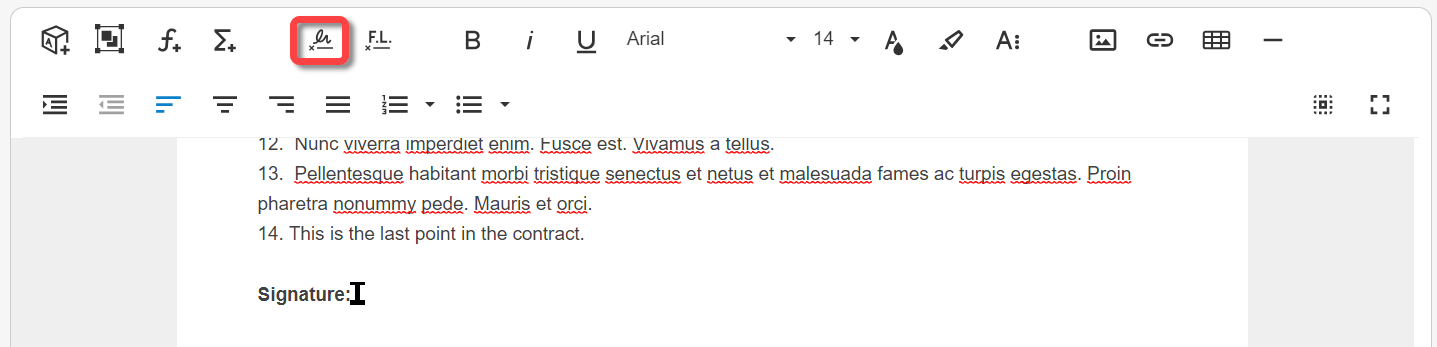
When you define the customer action as Sign, the signature and initial icons on the tool bar are enabled. You are required to add at least one of these before saving the Dynamic Document.
To add a signature or initials element to the Dynamic Document:
Place your cursor in the location of the Dynamic Document in which you'd like to place the signature or initial field.
Click the signature or initials icon.
The field appears in the selected location.Select the field, click and drag to resize.
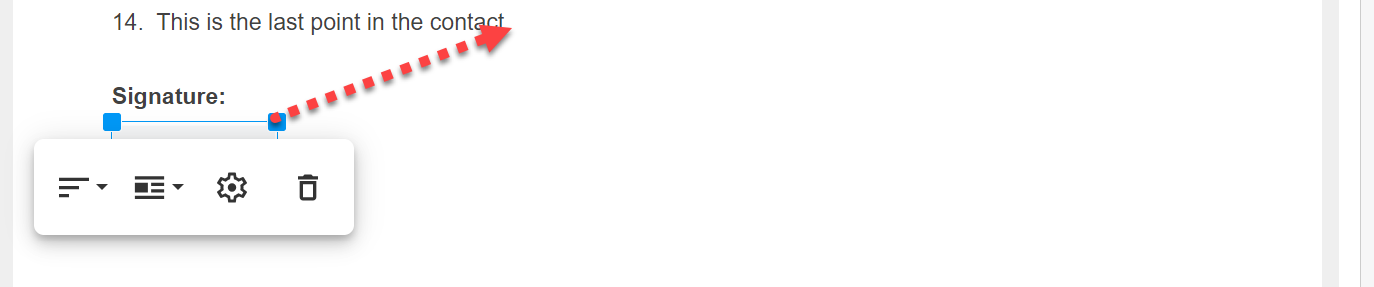
Set the following from the context menu:
Alignment - When the field is in Break Text mode (see next point), you can position it left, right, or center.
Display mode - Select Inline (same line as the text) or Break Text (on it's own line).
Signature properties - Check the Line box and choose the desired line style to display beneath the signature. Toggle to Required to ensure the Dynamic Document cannot be completed without a signature.
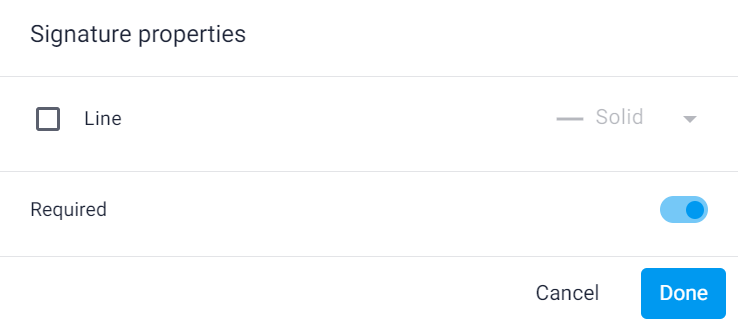
Delete - Remove the field from the document.
Add sections
Use sections to organize the information in your Dynamic Document. The customer does not see the division into sections. Although you can add a page break before a section in some cases (see below).
You can also set conditions to determine if and how a section is displayed. For more information, see Add conditions.
To add a new section:
Click the add section (+) icon below the existing sections.
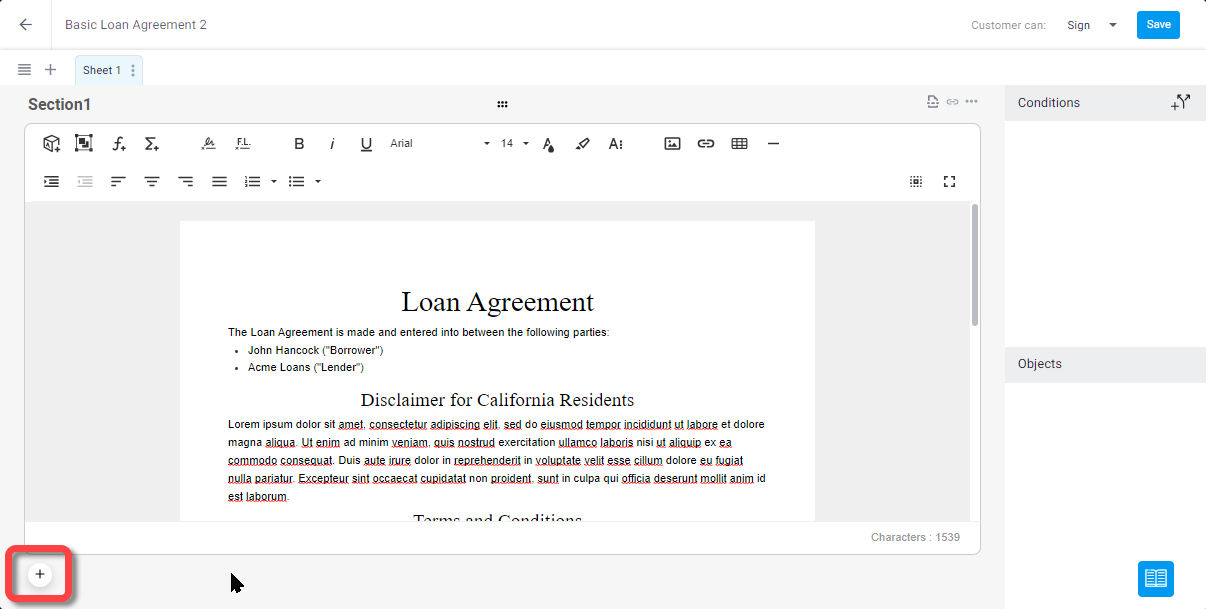
A new section appears below the existing ones.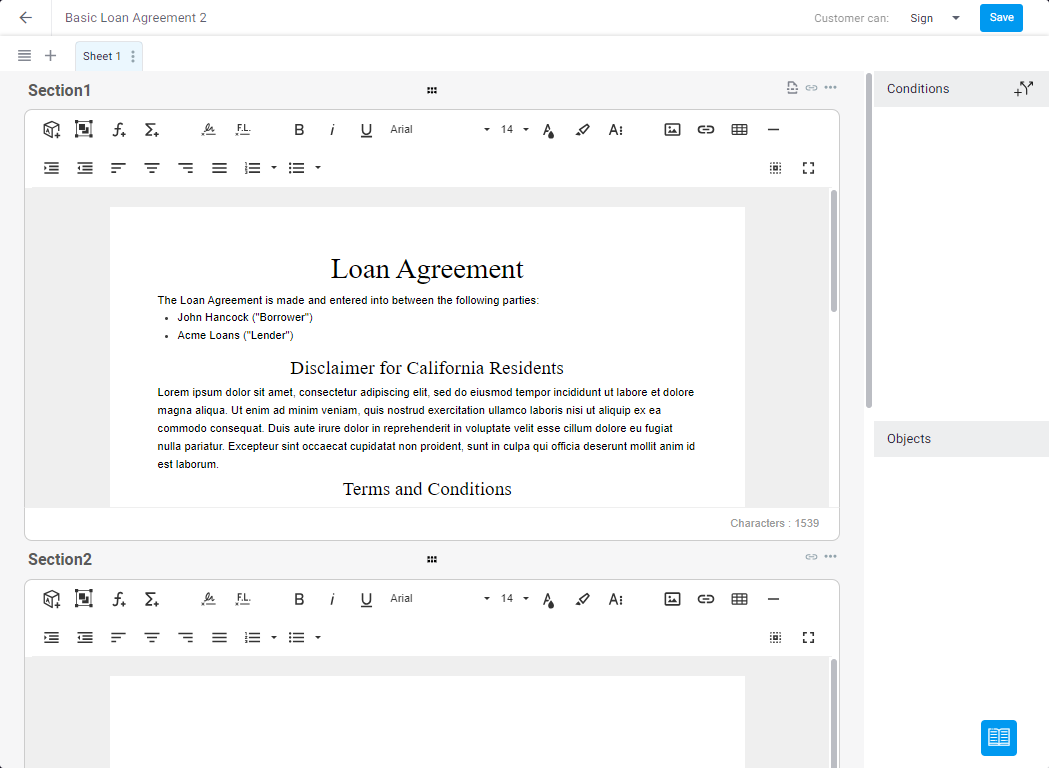
Add more sections as needed.
Click and drag the section to change the order of the section.
The section changes order and the section name changes to reflect the new order.
Note:
Section names are not editable.
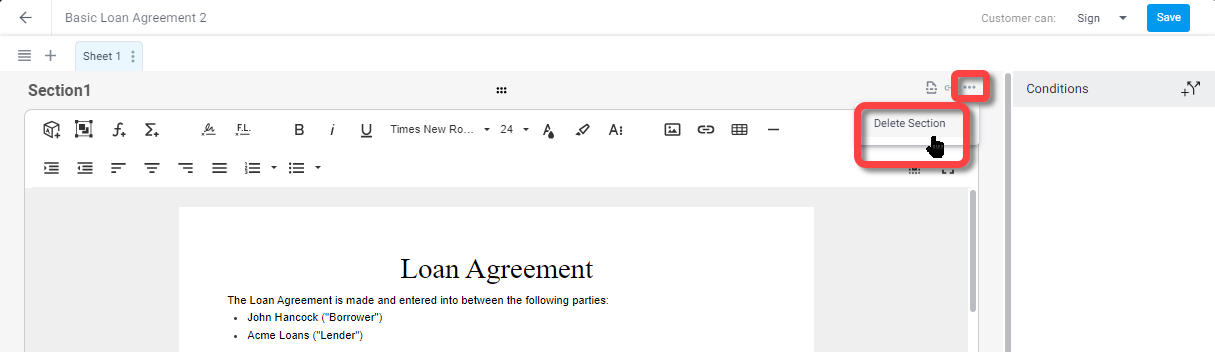
To delete a section:
Click the menu in the top right corner of the section and select Delete Section.
To create a page break before this section:
Click the page break icon and turn in the toggle. 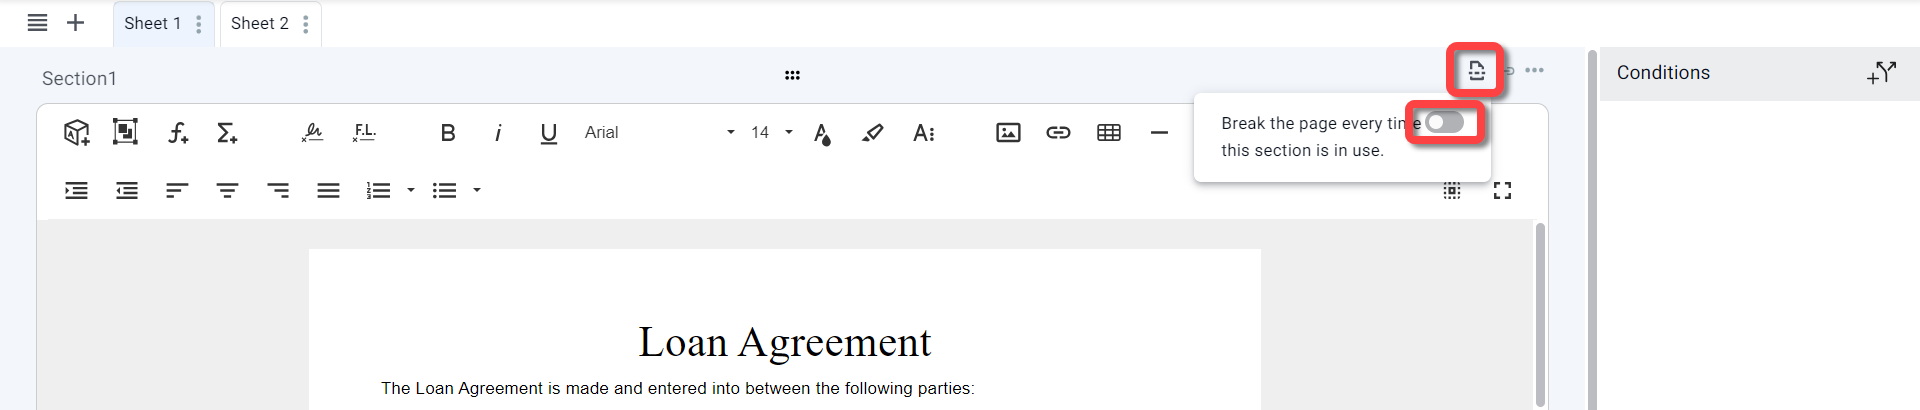
Note:
Page break can only be used on a sheet that contains only one section.
Add sheets
Adding sheets is another way to organize the information in your Dynamic Document. There will be no page break for a new sheet in the final PDF.
You can also set conditions to determine if and how a sheet is displayed (see Add conditions below).
To add a new sheet:
Click the Add tab button in the top left corner.
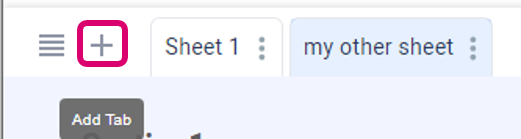
Enter a name for the sheet, and click Done.
The new sheet appears.
Q and A
What happened to the "Customer can" setting at the top of the document?
The Customer can setting has been replaced by the role assigned to the primary participant in the Participants tab. To define what the primary participant is required to do with the document, hover over Participant 1 in the Participants tab, click the edit icon, and select the relevant role — Signer, Approver, Reviewer, or Download.
What's the difference between the Reviewer and Approver roles?
Both roles require the participant to read the document, but they differ in what happens next. An Approver actively confirms acceptance by clicking an Approve button. A Reviewer only needs to open and read the document — no action is required beyond that.
Can I add a signature field for a participant whose role is set to Approver?
No. Signature and initials fields are only available when the participant's role is set to Signer. If you want a participant to sign the document, make sure their role is set to Signer before placing signature or initials fields.