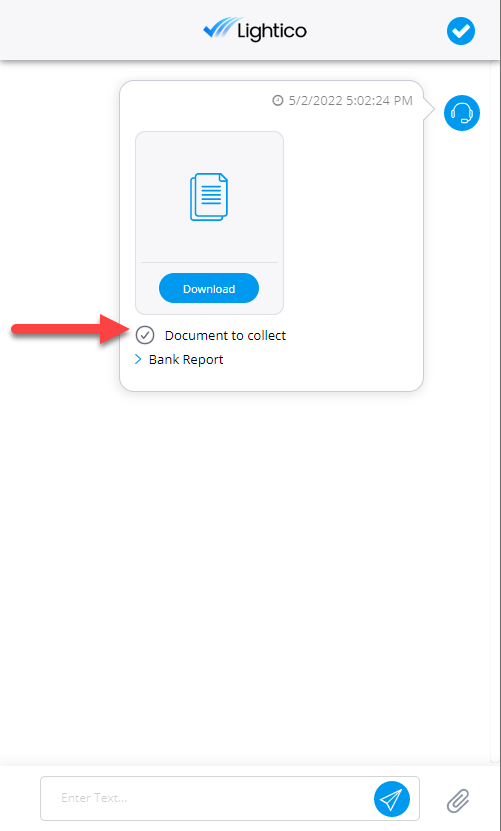
The new document request auto-capture feature is here and it makes collecting clear and complete document images a lot easier and more reliable. The customer experience is also new and improved.
The agent experience for document requests has not changed, but the customer experience has. So, this article takes you through the customer experience, step-by-step, so you'll know what they are seeing and can help them if needed.
The customer can use their mobile device camera to scan a document. Uploading PDF files can be done either using a mobile device or a desktop computer.
New Document Scanning Experience
The following are the steps for the customer after receiving a document request:
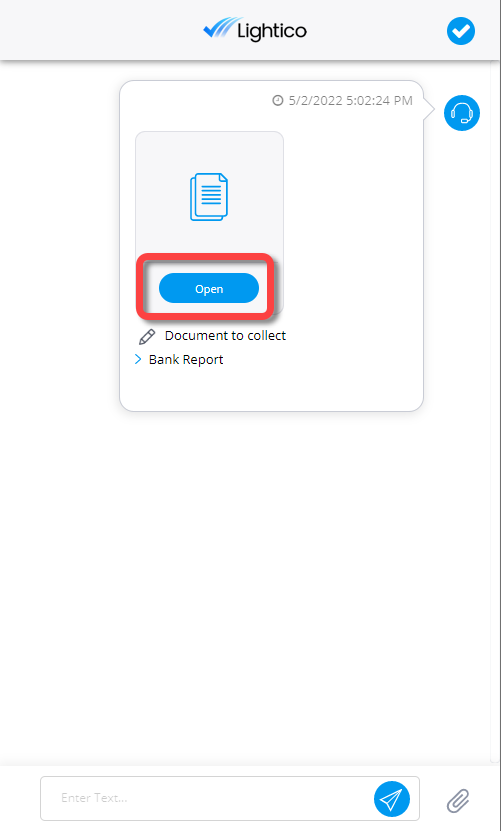
Click Open.
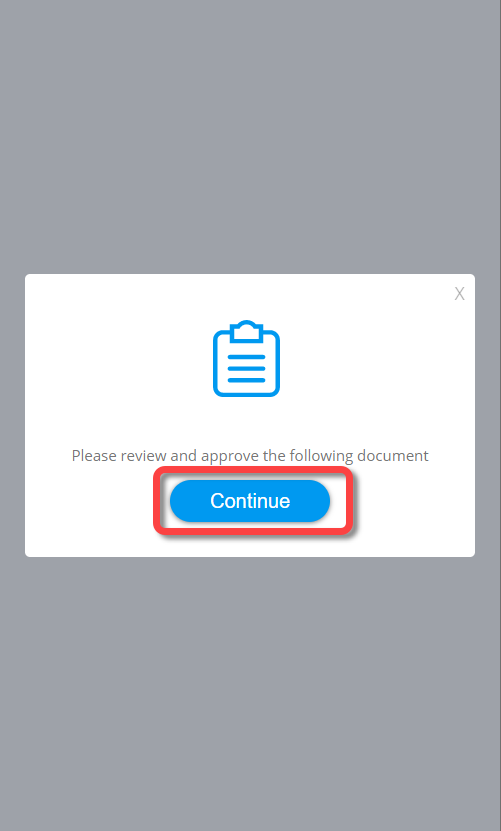
Click Continue.
Click the document request and then click Scan document from the dropdown.

Put your document on a flat surface or hold it up to your device camera, preferably on a dark background with adequate lighting.
The photo is taken automatically when the document is centered and in focus.
You can also tap the button to take the photo manually.
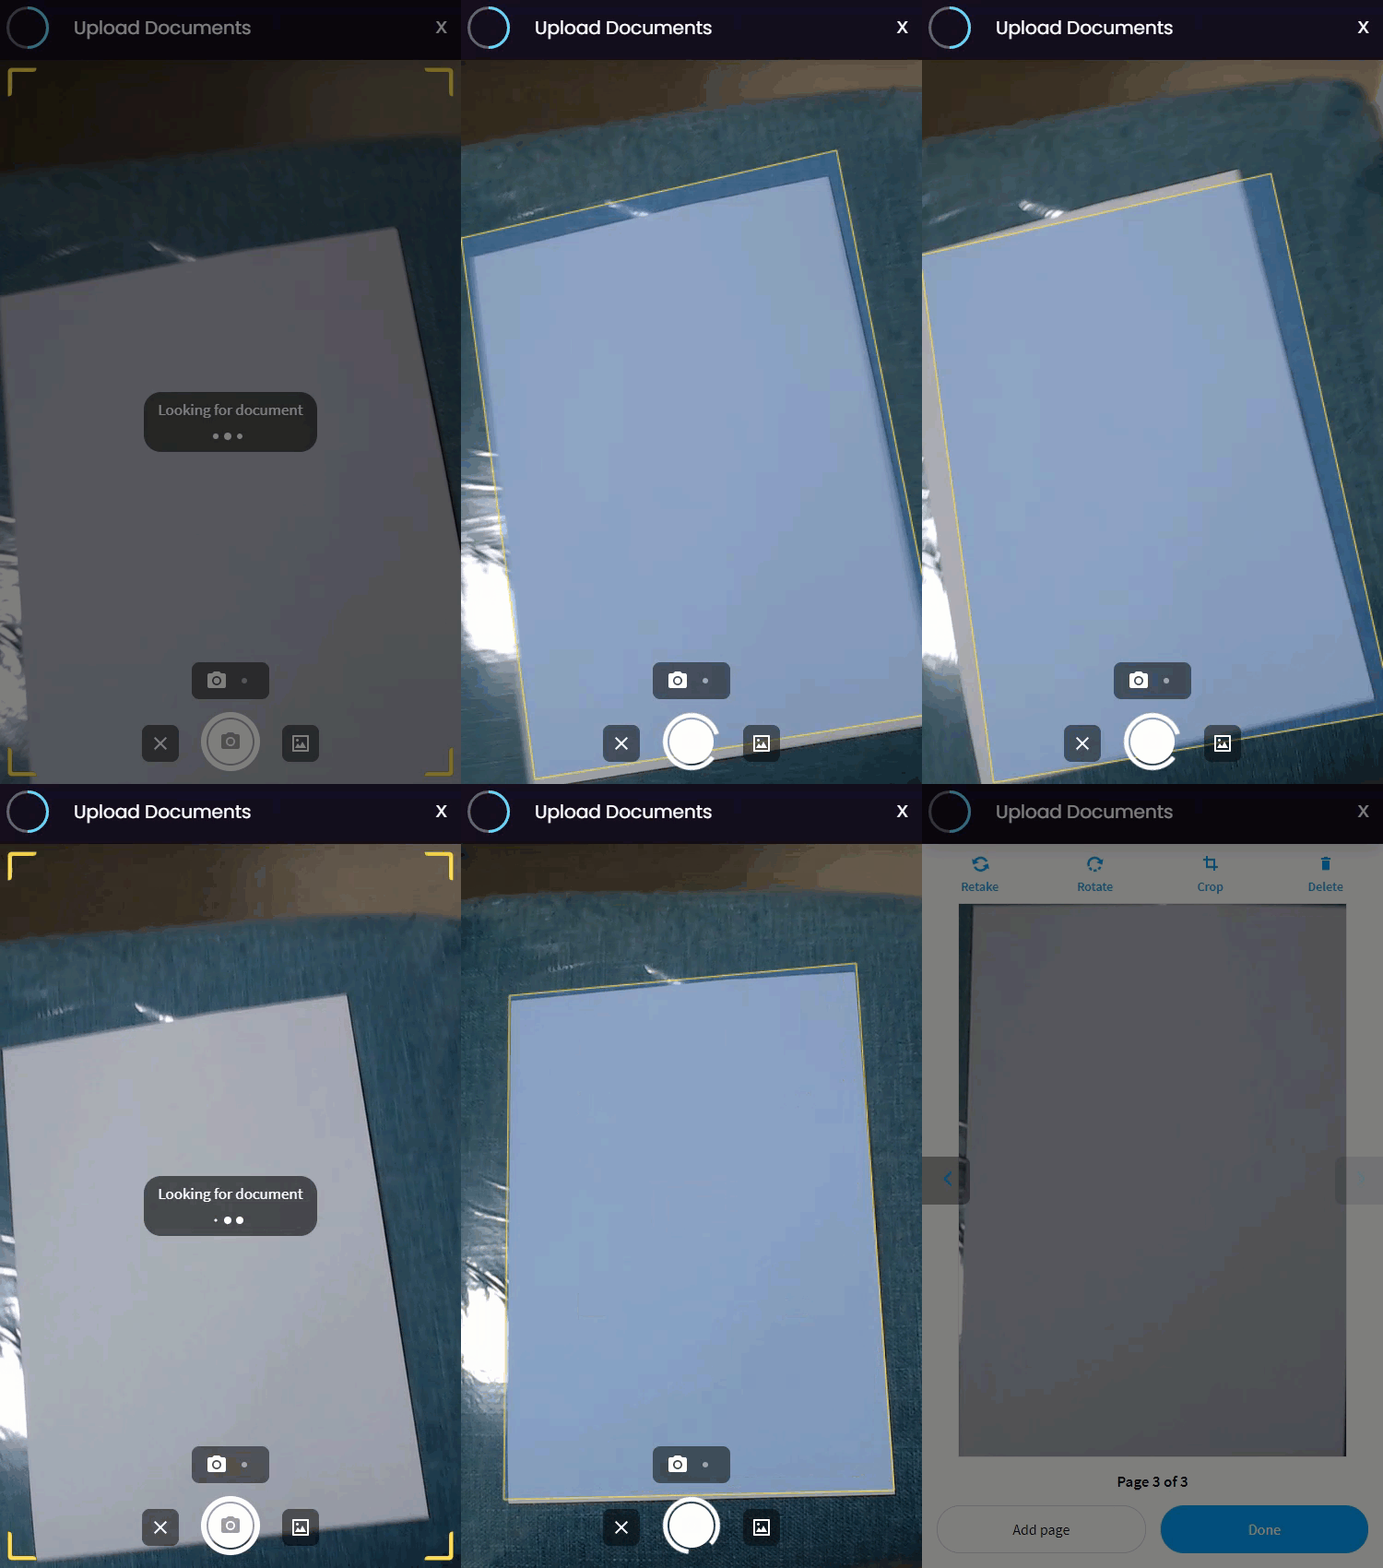
The image is automatically cropped.
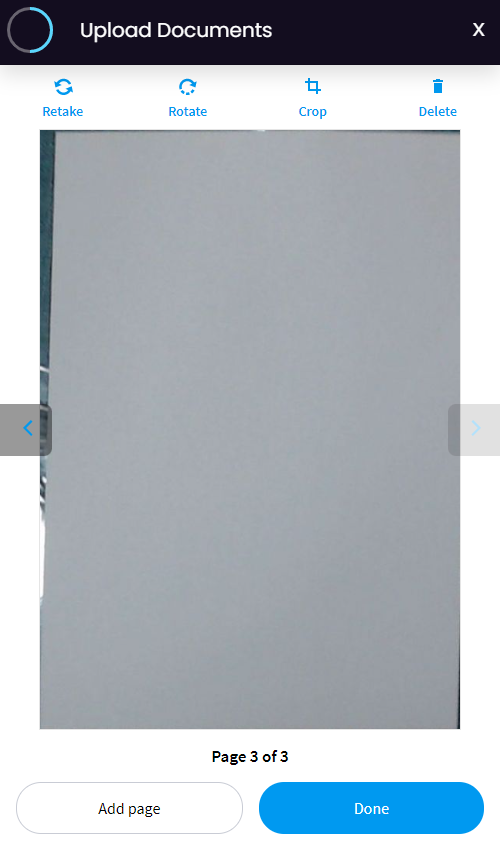
Review the auto-cropped image and do any of the following:
Click Retake to take the photo again.
Click Rotate to rotate image 90 degrees.
Click Crop to see the full original image and manually crop it. Click Apply to accept the new crop.
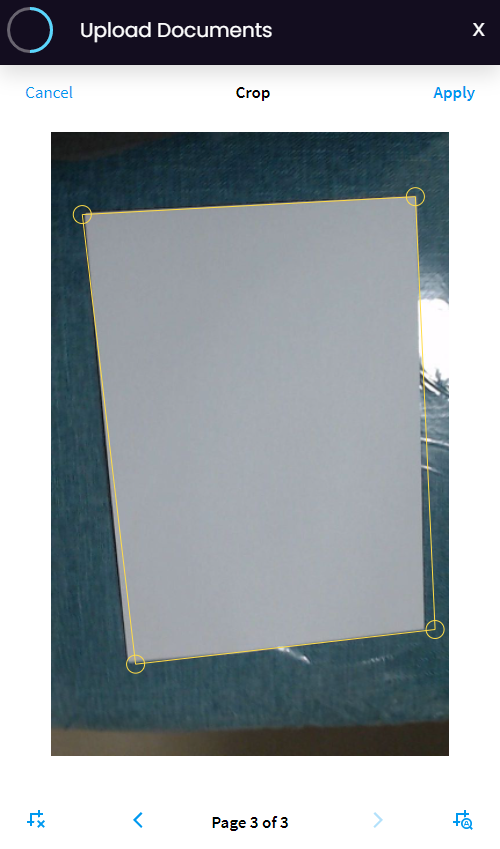
Click Delete.
Click Add page to save this page and add another one to the same file.
Click Done to complete the document scanning.
Review all images for this request and click Done.
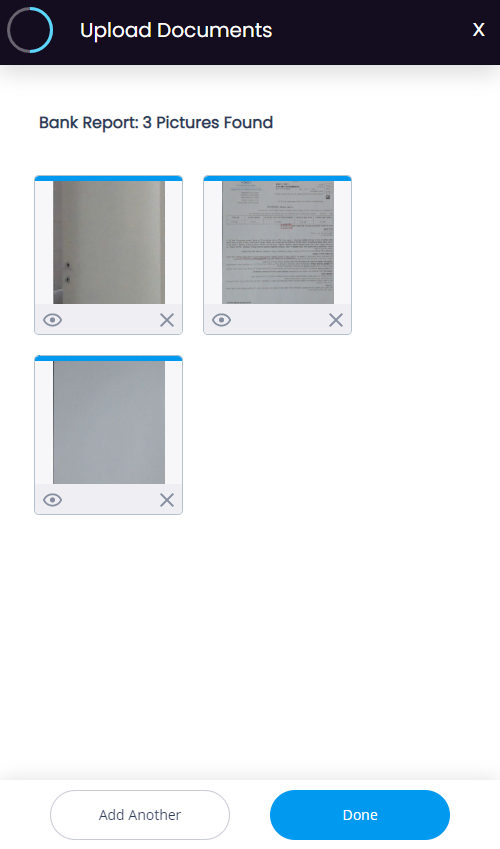
Click Finish.
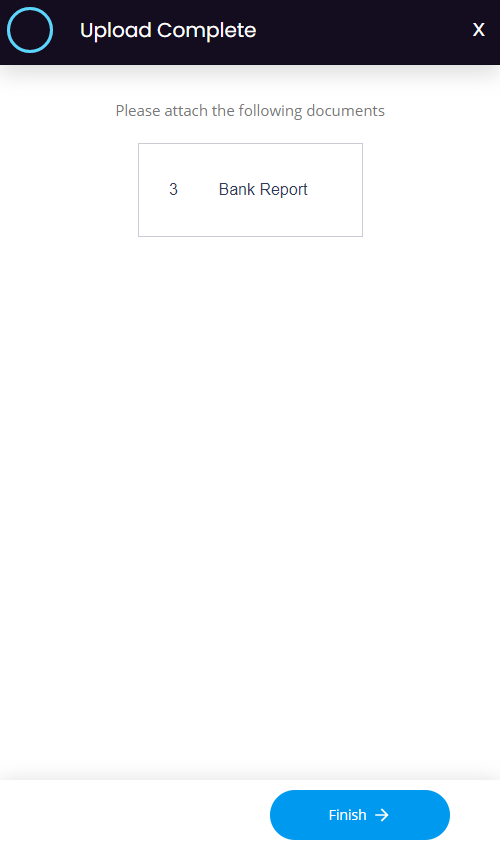
The document request appears with a checkmark, showing that it is completed.