This article explains how an agent sends a pre-defined PDF Template to multiple participants (multi-sign document) during a Lightico session. For example, you may be required to send a loan application that needs to be signed by both the loan applicant and a cosigner and then approved by the bank manager.
For an introduction to sending PDF Templates, see Send a PDF template.
If you are a business configurator, you'll find information about configuring PDF Template, here.
Understanding participant roles and order groups
In a PDF Template, participants are assigned one of the following roles:
- Signer - Signs the document and/or completes the details.
- Approver - Approves the document and/or completes the details.
Participants are also assigned to an order group, which determines when the participant receives the document. In our example of a loan, if the borrower and cosigner are assigned to order group #1 and the bank manager is assigned to order group #2, the bank manager only receives the document for approval after it is signed by both the borrower and the cosigner.
Send the multi-participant PDF Template
To send a multi-participant PDF Template:
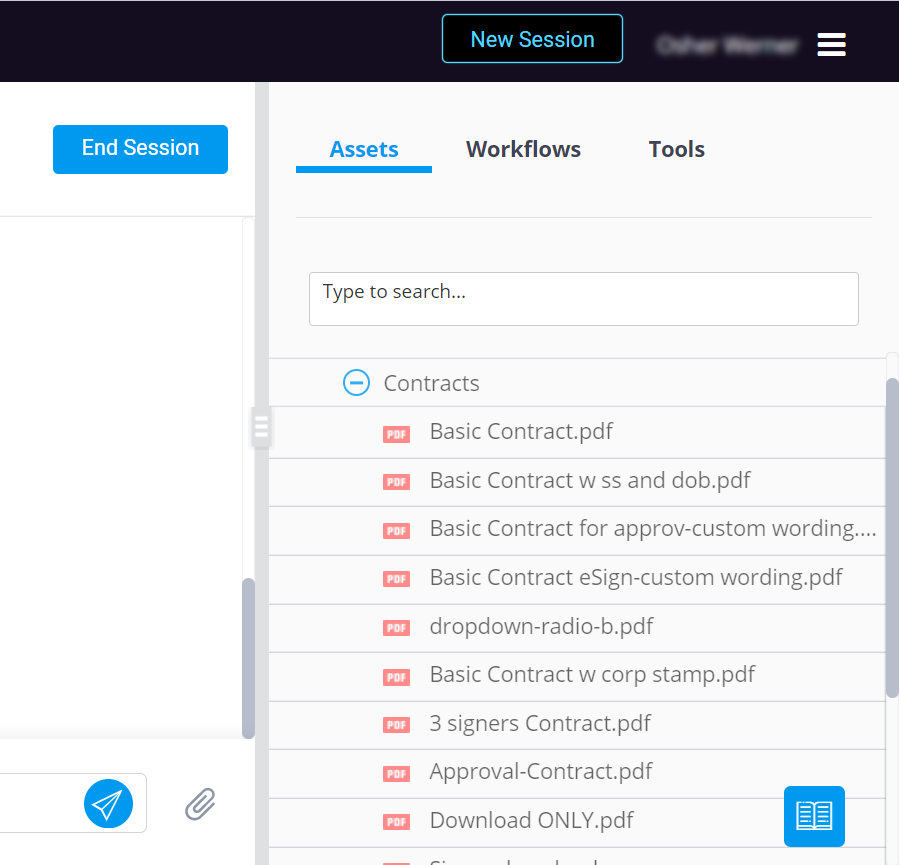
After initiating a Lightico session with the customer, select the relevant PDF Template from the Assets in the right pane.
The document opens displaying the participants in the left panel. The primary participant's details appear on top of the list including their role and order group. In the document preview, the fields that need to be completed by each participant are displayed.
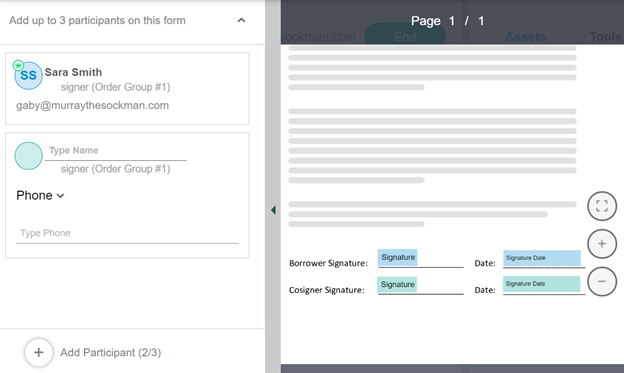
Enter the details of the additional participants.
In this example, you need to enter the details of a participant with the role of signer who is in order group #1. This cosigner will receive the document to sign at the same time as the primary participant.
- Enter the Name of the participant.
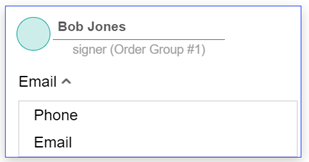
- Enter either a phone number or an email address using the Phone/Email toggle.
 Note:
Note:- You can enter the same phone number or email as another participant. For example, if 2 family members share the same email address, they will still be regarded as 2 separate participants.
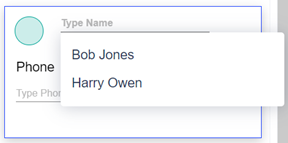
- Each participant’s details are saved for this session after you enter them the first time. If you send additional multi-sign PDFs during this session, you can select the saved participants from a list.
Add more optional participants (if relevant).
- Click the Add Participant button at the bottom of the left pane. The Add Participants window opens:
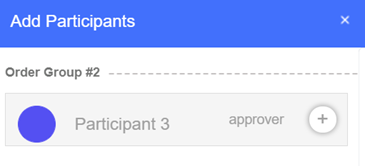
In this example, you can add one more participant with the role of approver who is in order group #2. For example, you can add the bank manager who will receive the loan application for approval after the customer and the cosigner have signed. - Select the relevant participant and click the + button.
- Enter the new participant’s details.
- Click the Add Participant button at the bottom of the left pane. The Add Participants window opens:
Click Send at the top right corner of your screen.
The document is sent to the participants in the pre-configured order.
In this example, the document is sent to the primary participant and the cosigner who both need to sign the document. After they both sign the document, it is automatically sent to the bank manager for approval.To manage the customer interaction after the document has been sent, use the interaction bubble, displayed in the left pane.
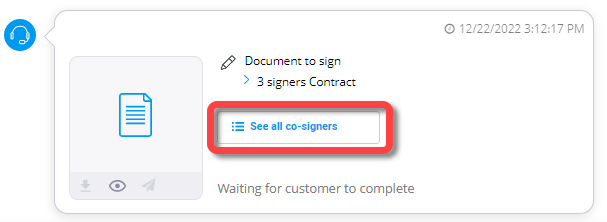
The interaction bubble allows you to track the status of this interaction, to interact with participants and to perform certain actions on the relevant documents or assets. For more information, see Using interaction bubbles.