This article explains how to use the PDF Template builder to configure a PDF Template document to include more than one participant.
Note
To benefit from all features of multi-participant documents, like labels and reassign, add your multi-participant PDF Template to a Workflow. For more information, see Create multi-signer Workflow.
Introduction to multi-participant documents
Lightico supports multiple participants in a single document, enabling you to collect signatures, approvals, and reviews from more than one person as part of the same process — without requiring participants to be in the same place or on the same call.
Each participant receives their own invitation and interacts with the document in their own private collaboration session. The agent manages and tracks all participants from a single session, with real-time visibility into every participant's status from the agent UI.
Why use multiple participants?
Collect signatures or approvals from all required parties on the same document
Allow participants to complete their part independently, from any location, at any time
Control the order in which participants engage — sequentially, in parallel, or a combination of both
Maintain a full audit trail covering every signer and approver
Keep the entire process visible and manageable from the agent's single session
Common use cases
Joint loan agreement — Two co-borrowers each sign their portion of the same agreement independently, from their own device, while the agent tracks both from a single session
Collections repayment plan — A primary account holder and a guarantor both sign a hardship arrangement during or after the collections call, each from their own device
Regulated onboarding — A customer signs terms and a compliance approver countersigns in sequence; the approver is only invited once the customer has completed their part
Order groups
Order groups control when each participant receives their invitation. All participants in the same group are invited simultaneously. The next group is not invited until every participant in the current group has completed their part.
This allows you to sequence participation — for example, collecting all signatures before sending to an approver — or to invite multiple participants in parallel within the same group.An example of order groups could be as follows:
Group 1: Signer and co-signer receive an invitation to sign a loan agreement
Group 2: Lender receives an invitation to sign
Group 3: After all the signatures are on the agreement, the bank manager looks it over and approves it
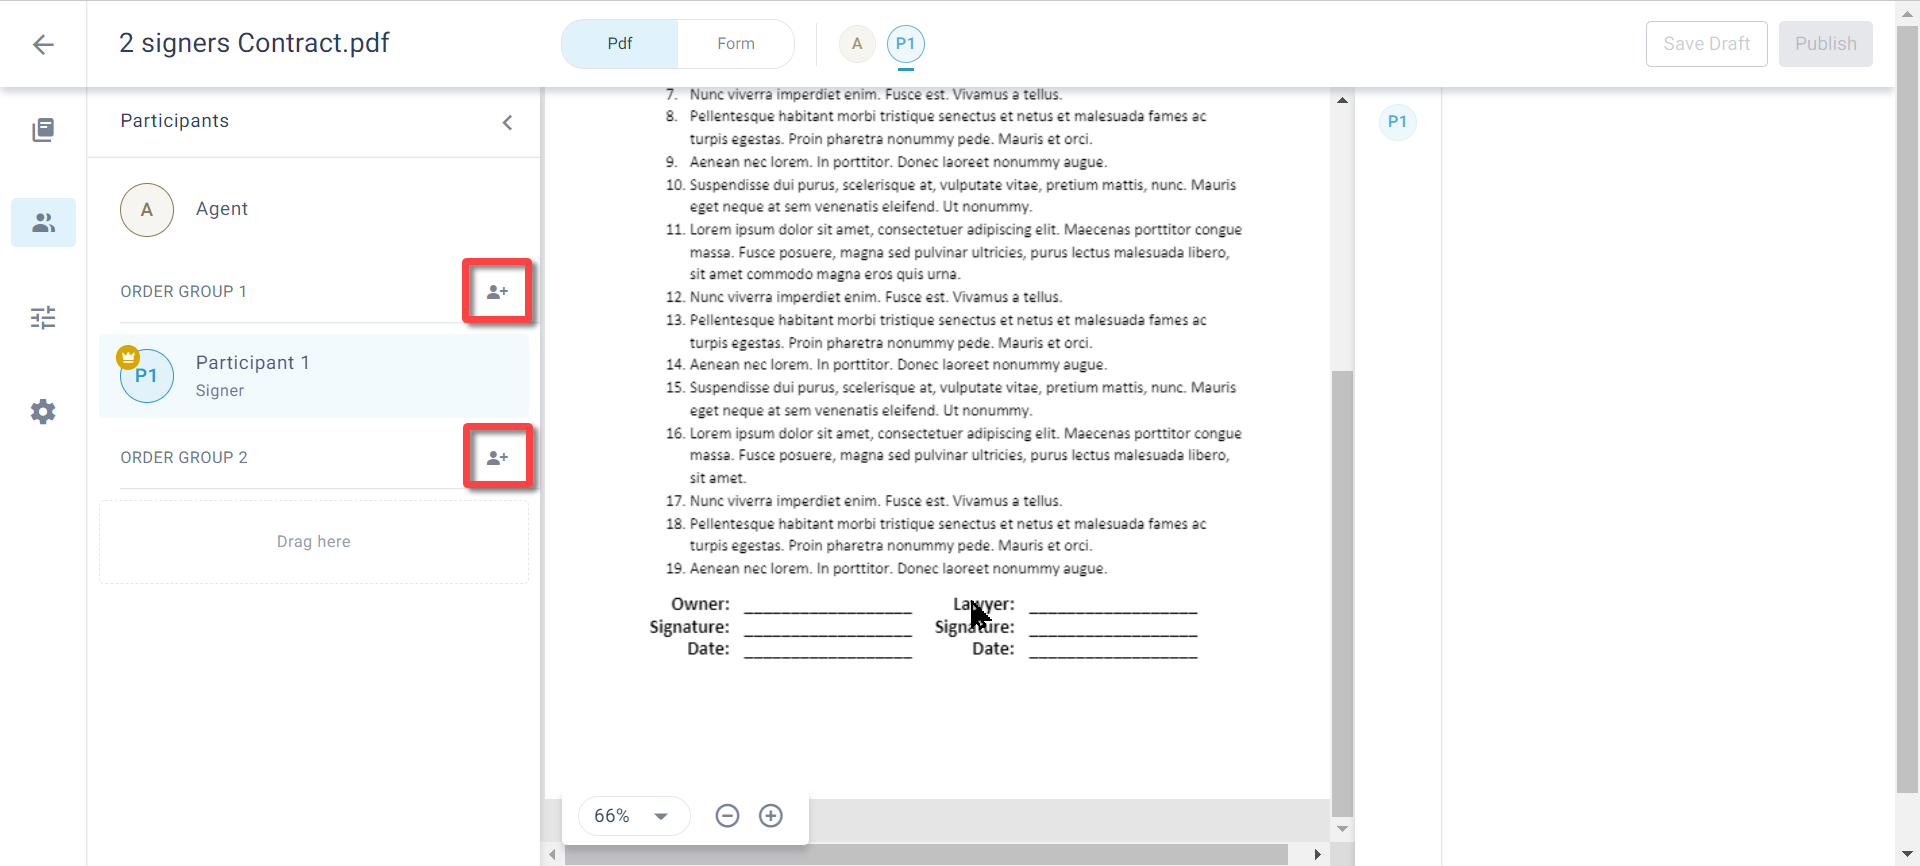
Add participants to a PDF template
In the PDF Builder, you can add participants, assign them roles such as signer or approver, and define the order in which they receive the PDF.
In the example below, there are three participants - two signers and one approver.
To add participants to a PDF:
Open the participant tab and click the add participant icon next to the relevant groups. Add a participant to group 1 and to group 2.
The participants are added to the selected groups.Hover over Participant 3 and click the edit icon.
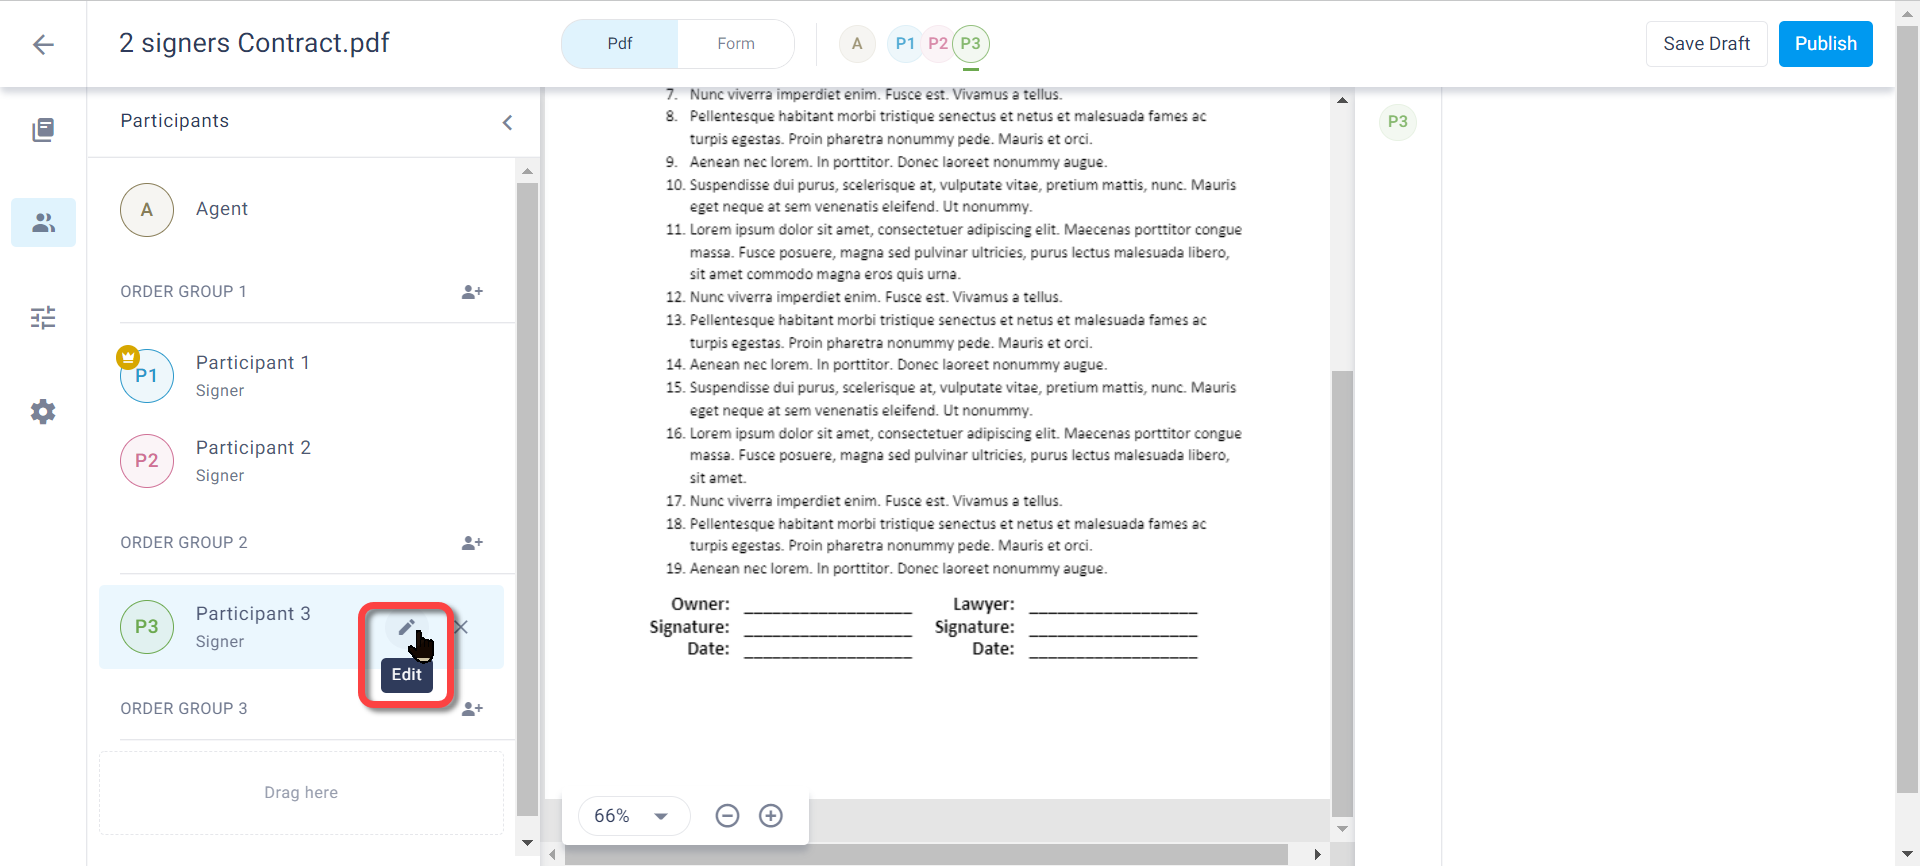
The Edit Participant 3 dialog opens.In the Role dropdown, change the role from Signer to Approver.
Select the Optional checkbox so that the agent can choose not to include this participant.
Click Done.

Select Participant 1 and add a text (for entering a name), signature, and signature date field to the PDF (see Configure fields).
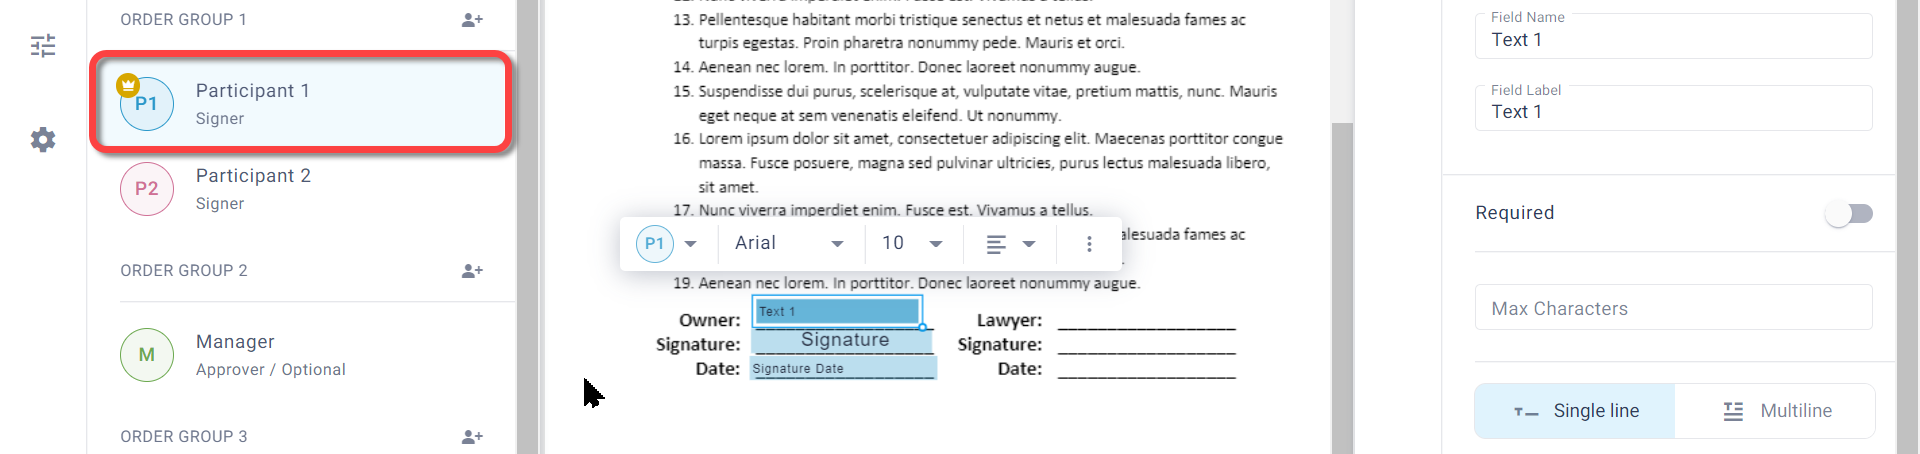
Select Participant 2 and add the relevant fields.

Click Save Draft or Publish to save this template.
Allow any participant in an order group to sign
You can allow any one of the group members to sign for completion. For example, if a contract requires only one spouse to sign, whichever enters the session and signs first completes the signatures for that order group. The other spouse does not need to sign.
To allow any participant in an order group to sign:
Click the order group menu and turn on the Allow any … toggle..png)
The Any status is displayed next to the group name..png)
Changing Participant Order
Click and drag participants to change the order of participants in a group or to move a participant to a different group.
Agent Participation
Select the Agent participant to add fields for the Agent to complete.
Hover over the Agent participant and click the icon to move the Agent to the last participant spot or back to the first again.
