This article describes how to configure interactive fields that you've added to a PDF Template.
For information about how to add fields to your PDF template, see Getting started with PDF Templates.
For information about binding fields to Attributes, see Bind fields to Attributes.
Field properties pane
In the PDF Template builder, field properties are configured from the field properties pane to the right of the document preview. Select a field in your document to open the field properties panel for that field.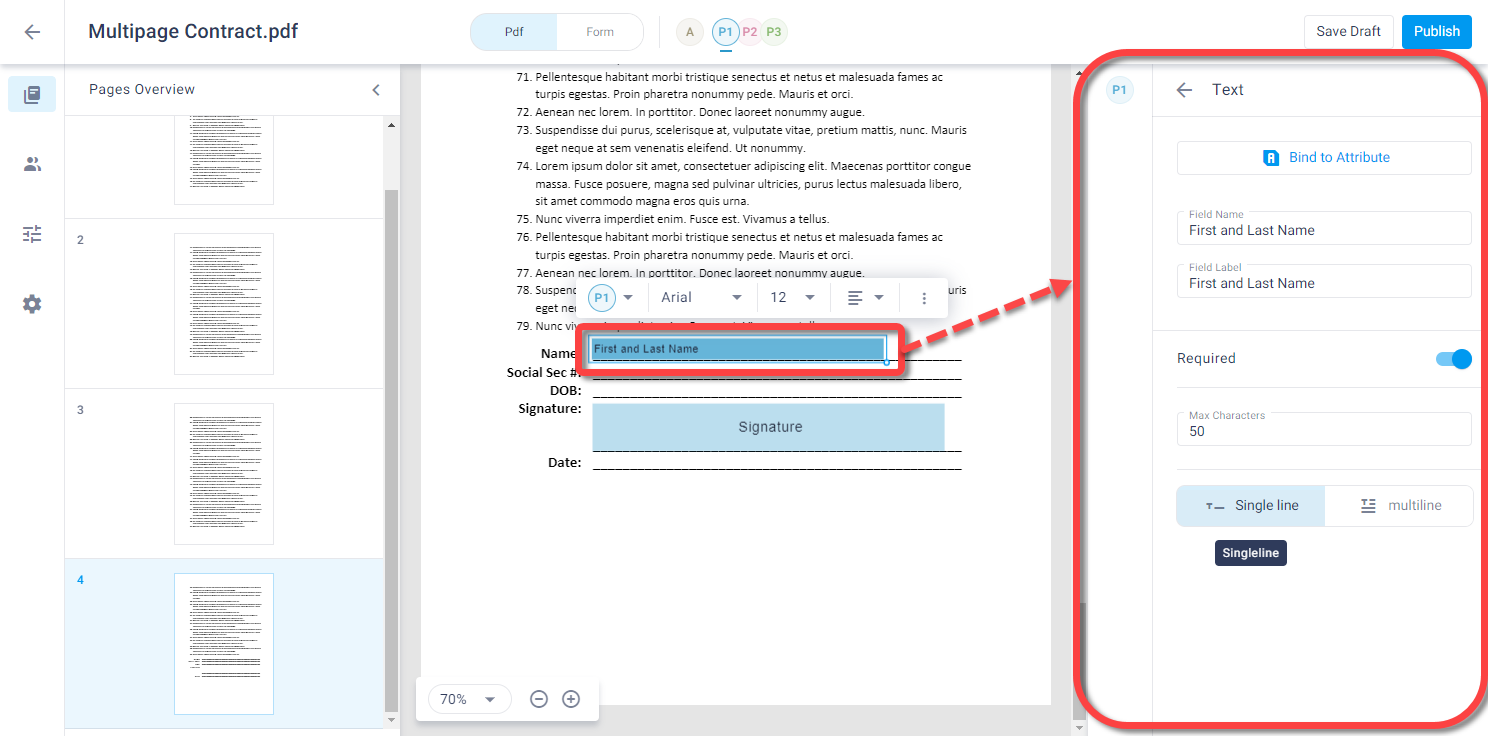
Navigate to a field
When no field is selected, a list of fields in this template appears in the right panel. Click a field to select and move the document view to that field.
When there are multiple participants in the template, click the relevant participant icon above the document preview to display the fields for that participant (see Add multiple participants to a document).
Field types
You can configure properties for the following types of fields:
Signature, initials, corporate stamp fields
Signature and initials fields enable your customer to digitally sign the document using their finger (on a mobile device) or mouse (on a computer).
A corporate stamp is a combination of 3 fields that the customer completes:
Corporate name (up to 28 characters)
Corporate file number
Signature.

Configure the following properties for these fields:
Conditional signature - see Conditional signature
Required - Turn on the toggle to require your customer to complete this field in order to complete the document.
Signature Date field
You can add a signature date field to your template. This field is automatically populated with the date on which the customer provides a signature or initials.
Configure the following properties for the signature date field:
Required - Turn on the toggle to require your customer to complete this field in order to complete the document.
Date Format - The format of the date as it appears on the final document
Text and number fields
Add these fields to enable your customer to enter free text or numbers into the document such as full name or address.
Note
The text field allows text and numbers, but the numbers field allows only numbers.
Configure the following properties for these fields:
Field Name - Name of the field.
Tip
You can put the same field in multiple places in a document while only requiring the customer to enter the information once. To do this, define the same field name and field label properties for the relevant fields. See Linking fields below.
Field Label - Label displayed above the field in the customer form.
Preserve formatting (only for number field) - Switch off this toggle if you do not want to display the number formatting for this Attribute.
Required - Turn on the toggle to require your customer to complete this field in order to complete the document.
Max Characters - Maximum number of characters that can be entered for this field. If left blank, the maximum is 1024
Single/Multi Line (only for text field) - Single line allows only one line of text for this field. Multiline allows 2 or more lines to be entered, and it allows you to drag the field downward to increase the length of the field on the document.
.png)
Date field
Adding a date field, enables your customer to enter a date into the document by selecting it from a selectable calendar.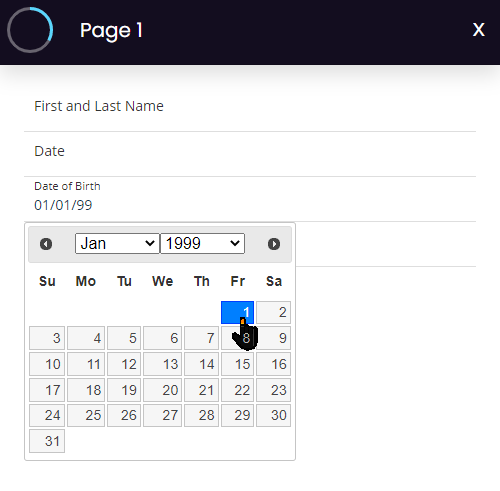
Configure the following properties for the date field:
Field Name - Name of the field.
Tip
You can put the same field in multiple places in a document while only requiring the customer to enter the information once. To do this, define the same field name and field label properties for the relevant fields. See Linking fields below.
Field Label - Label displayed above the field in the customer form.
Required - Turn on the toggle to require your customer to complete this field in order to complete the document.
Date Format - The format of the date as it appears inside the final document.
Dropdown field
You can add a dropdown list to your document, enabling customers to select one of several options. The options are presented in the customer form and are completed by the customer before signing or approving the document.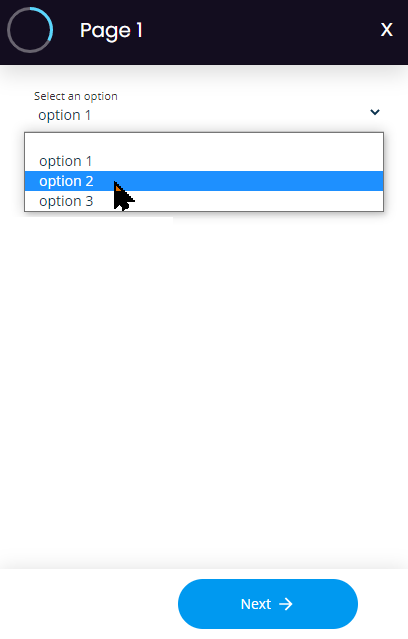
To add an option to the dropdown list, click Add Option in the right panel.
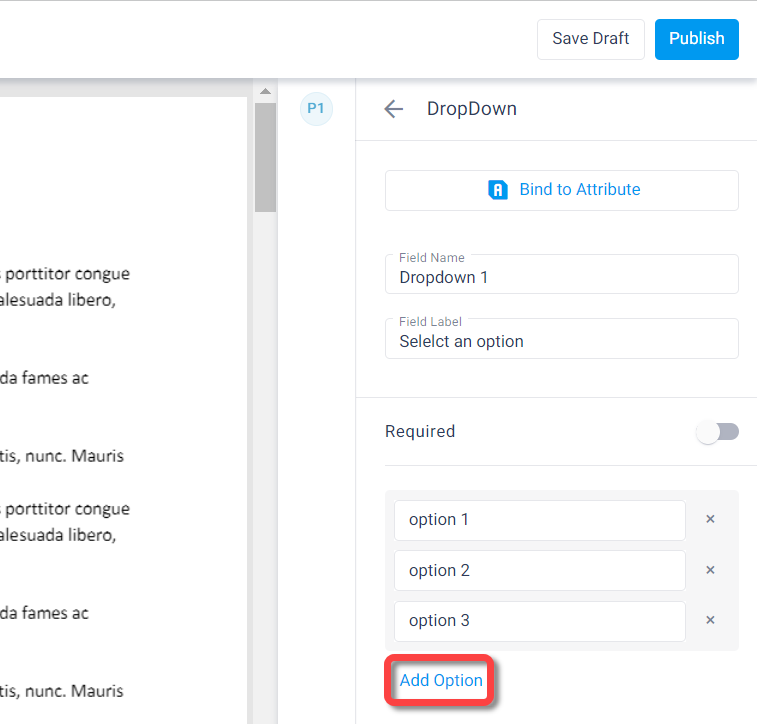
Configure the following properties for the dropdown field:
Field Name - Name of the field.
Tip
You can put the same field in multiple places in a document while only requiring the customer to enter the information once. To do this, define the same field name and field label properties for the relevant fields. See Linking fields below.
Field Label - Label displayed above the field in the customer form.
Required - Turn on the toggle to require your customer to complete this field in order to complete the document.
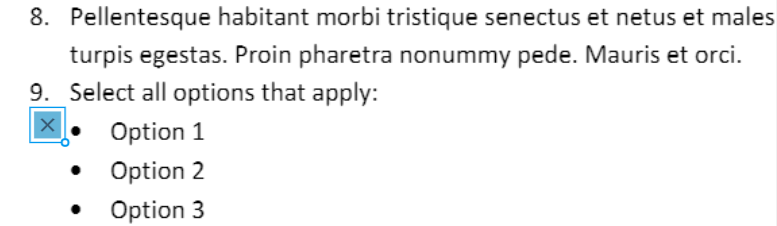
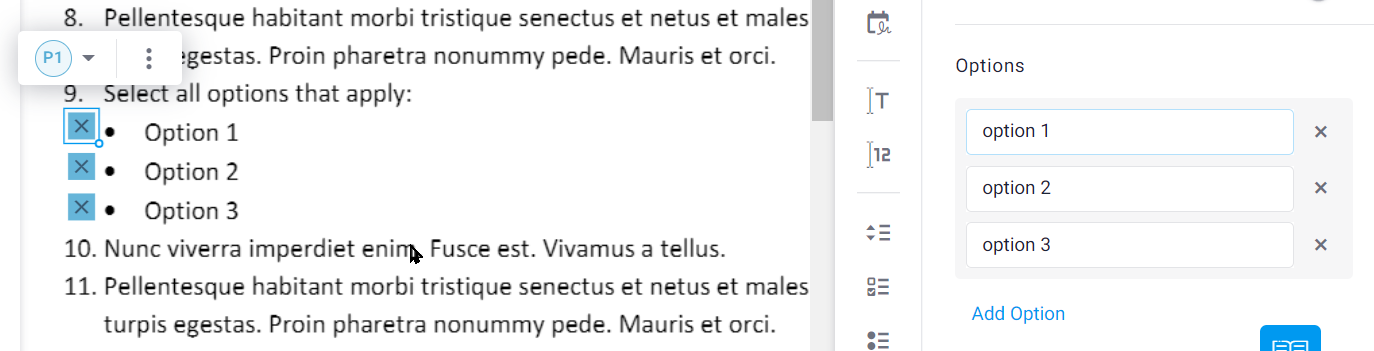
Checkbox group
You can add a checkbox group to your document, allowing customers to select multiple checkbox options. Each checkbox option appears as a small square that you can place in your template.
To add a checkbox group:
Right-click the document preview and place a checkbox in the document.
In the Field properties pane, enter the name of the first option in the Options box.
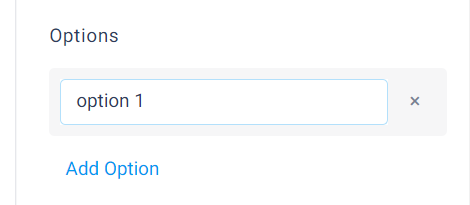
Click Add Option to add more options for this checkbox group into the document.
As you add options, additional boxes appear under the first box.Position the boxes next to the relevant text.
Select one of the boxes and configure the following checkbox field properties:
Required - Turn on the toggle to require your customer to complete this field in order to complete the document.
Field Label - Label displayed above the field in the customer form.
Radio Button group
Add a radio button group to your document to allow customers to select only one of the options. Each checkbox option appears as a small circle that you can place in your document.
To add a radio button group:
Right-click the document preview and place a radio button in the document.
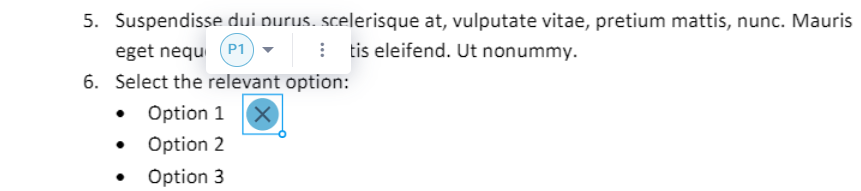
In the Field properties pane, enter the name of the first option in the Options box.
Click Add Option to add more options for this radio button group into the document.
As you add options, additional buttons appear under the first one.Position the buttons next to the relevant text.
Select one of the boxes and configure the following checkbox field properties:
Required - Turn on the toggle to require your customer to complete this field in order to complete the document.
Field Label - Label displayed above the field in the customer form.
Boolean
A Boolean field is a single checkbox that returns a value of true if it is selected and false if it is left blank.
You can configure the following properties for a Boolean field:
Required - Turn on the toggle to require your customer to complete this field in order to complete the document.
Field Label - Label displayed above the field in the customer form.
Field context menu
Select a field in your eSign document and use the context menu to do the following:
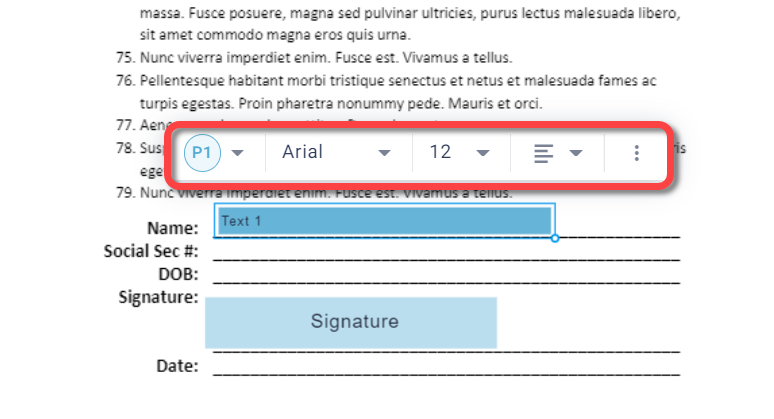
Format field text
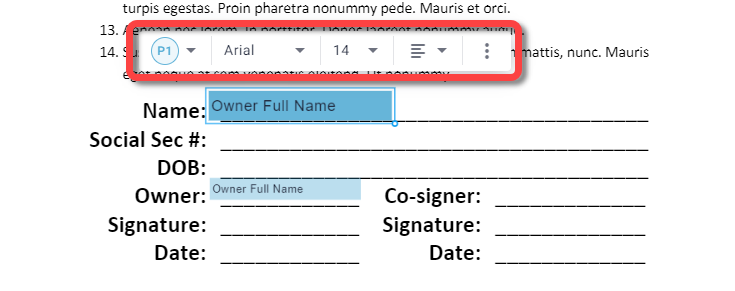
Use the context menu, to change the font family, font size, date format (for date and signature date fields), alignment of any field that displays text and more. This formatting defines how the text will appear in the final document that is generated from the completed template.
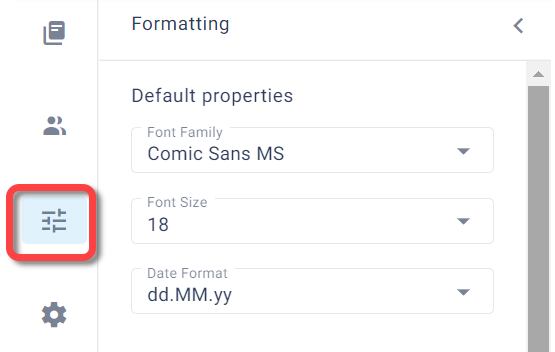
Tip
You can change the default field formatting for all newly created fields in the Formatting tab of the PDF Builder left panel.
Change participant
Select a new participant to change who needs to fill out the field.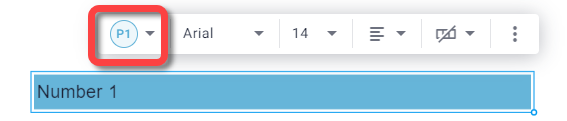
Define character spacing
Define the space between characters to accommodate a document that requires spacing. Spacing can be defined for text, number, and date fields.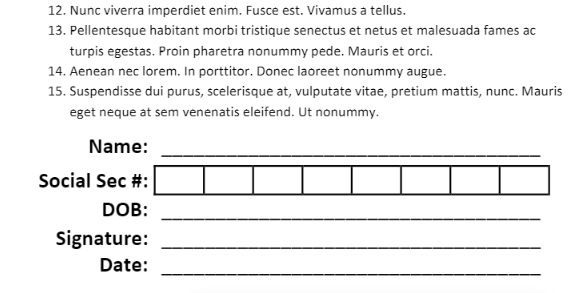
To define character spacing:
Define the max characters for the field.
The spacing icon is enabled.
Select Add spacing.
The field shows spacing according to the number of Max characters that you defined.

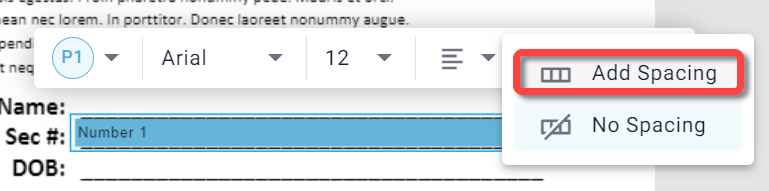
Select radio button, checkbox, Boolean symbol
The default radio button, checkbox, Boolean symbol is an "x". You can change it to a check mark or circle.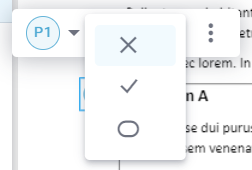
When you select circle, you can click and drag the circle to fit the size of the option(s) on your document.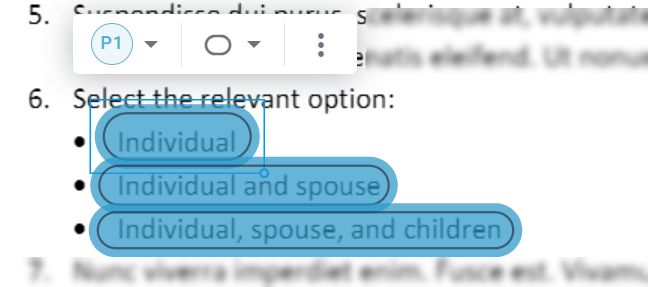
In the final PDF, only the selected option will be circled.
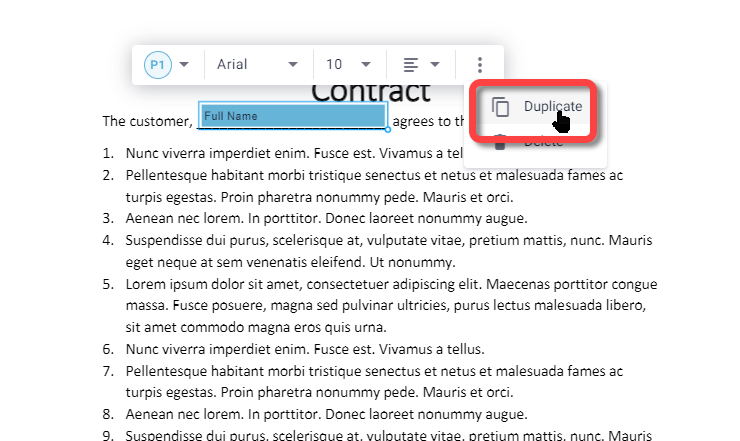
Duplicate or delete a field
Click the three dots on the context to duplicate or delete the field.
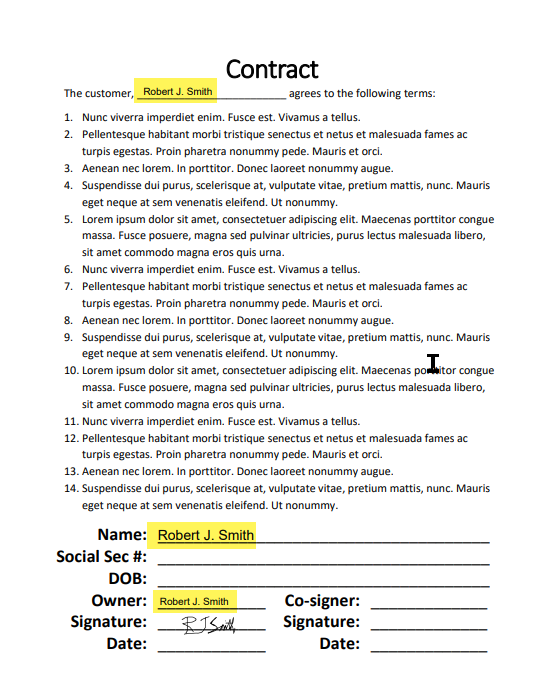
Linking fields
You may have information that needs to be repeated in multiple places in the template, for example, the customer's name or ID number. You can create multiple fields that are linked, so that the information only needs to be provided once in the customer form (see Design the customer form for PDF Template) and is duplicated wherever you place one of these fields.
There are two ways to create a repeating field:
Create and configure the first field and click Duplicate from the field context menu.
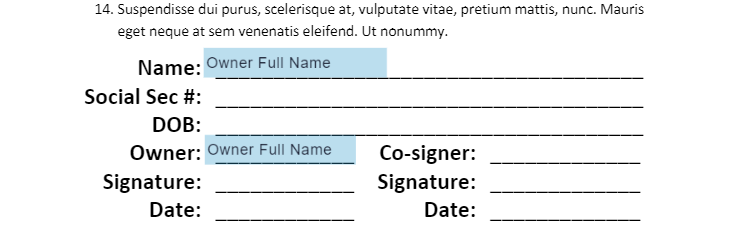
Create two or more fields and, in the field properties panel on the right, give them the same Field Name.
Properties for linked fields
Linked fields share the same properties. You can change the properties in the properties panel on the right and the changes will apply to all instances of the field.
The properties panel also shows how many instances there are of this field in the template. Click the arrows to navigate to one of the instances.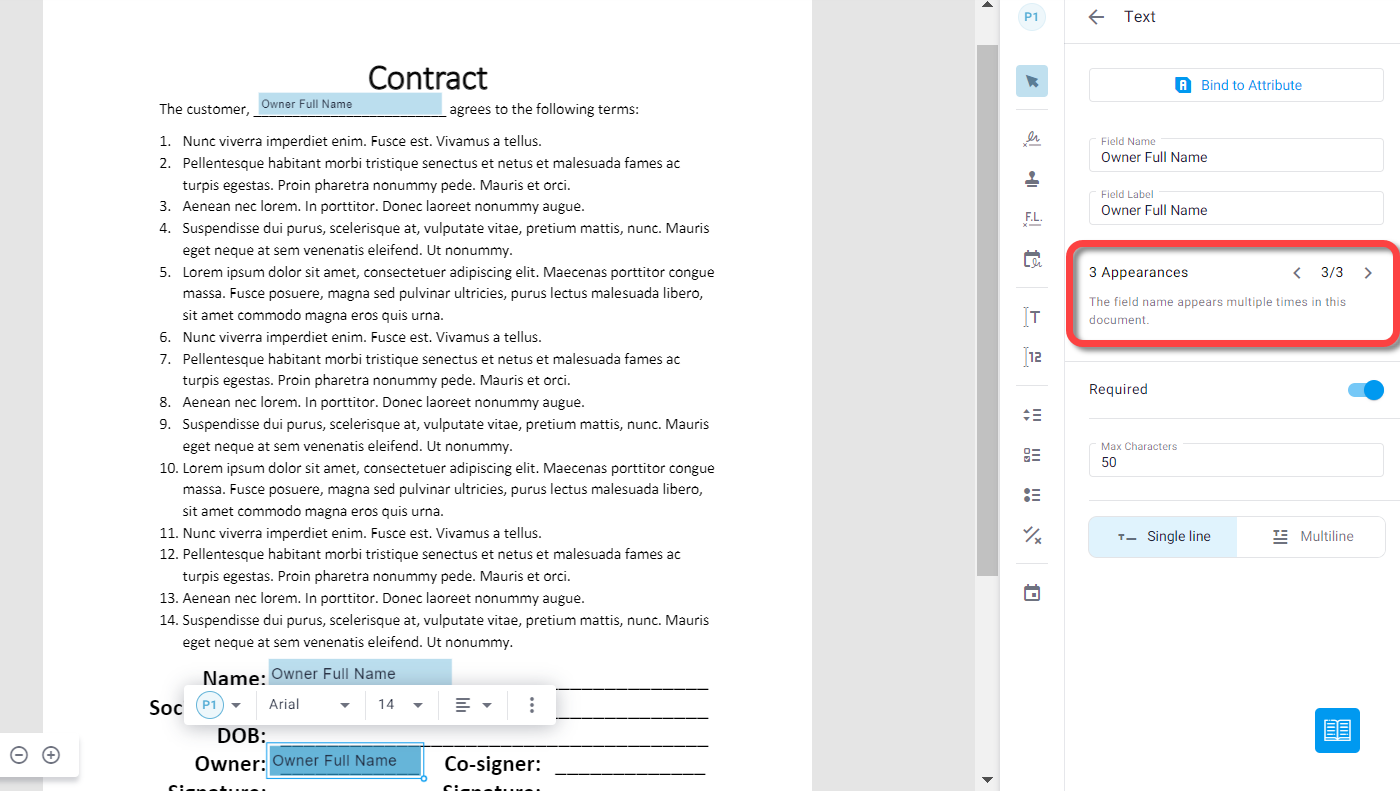
Formatting for linked fields
Even though properties for linked fields are identical, you can vary text formatting within a series of linked fields. Change the formatting in the context menu of each field.