This article explains how to add multiple participants to a template-based document. For example, an agent may want to send a loan application that needs to be signed by both the loan applicant and a cosigner and then approved by the bank manager.
You can configure participants with different roles, such as signer or approver, and you can also determine the order in which they receive the document.
During a Lightico session, the agent fills out the details of each of the participants that are configured in the document.
To add a new participant:
Create a document as described in Create template-based documents.
Add a new participant
- In the Home tab, Click Manage participants.
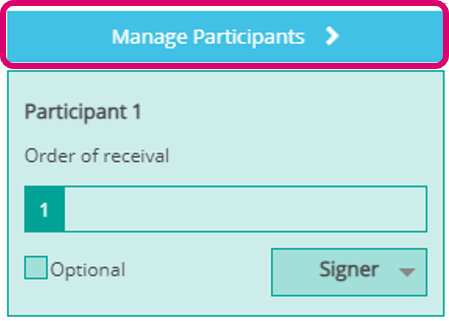
The Add participant window opens: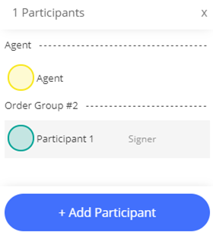
- Click Add Participant
A new participant, for example participant 2, is added to the list.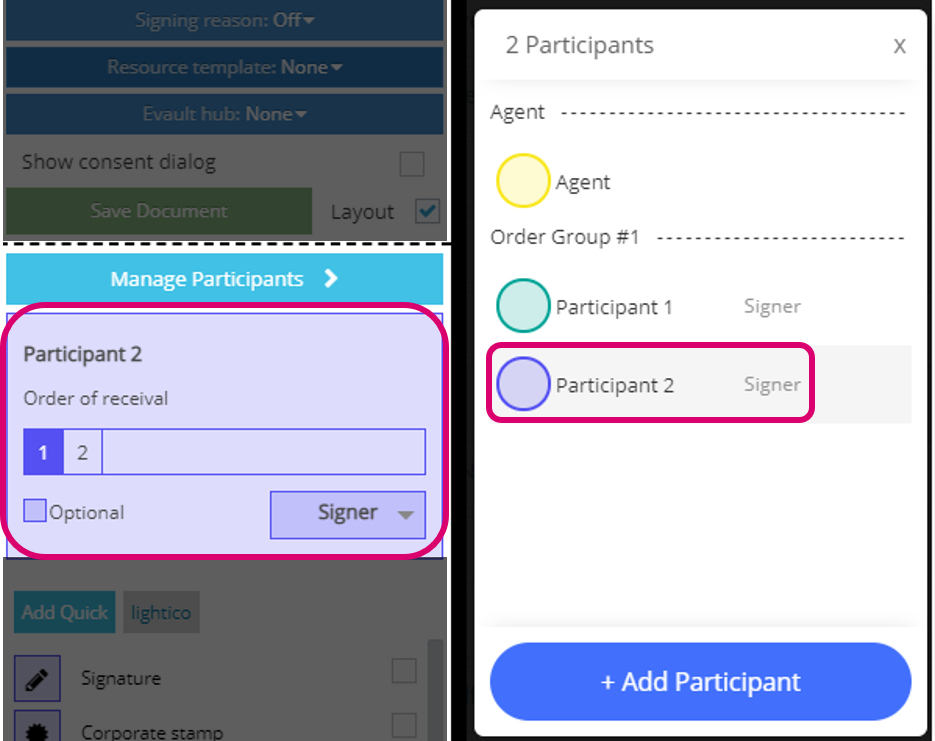
- In the Home tab, Click Manage participants.
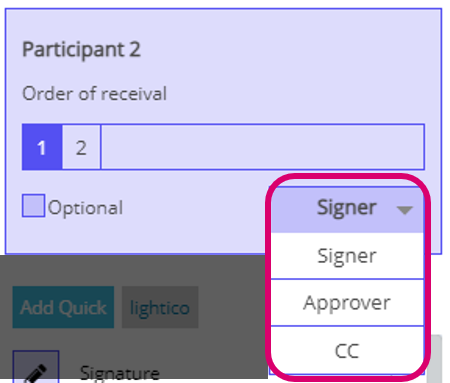
Assign a role to the participant in the role drop down list.
 You can assign participants one of the following three roles:
- Signer - Signs the document and/or completes the details.
- Approver - Approves the document and/or completes the details.
- CC - Receives an email of the final document, but does not perform any action. If you select CC, you need to enter an email address of the recipient.
Assign an order group in the order of receival box.
 The order group determines when the participant will receive the document. In our example of a loan, if the borrower and cosigner are assigned to order group #1 and the bank manager is assigned to order group #2, the bank manager will only receive the document for approval after it is signed by both the borrower and the cosigner.
Determine whether the participant is required or optional using the Optional box.
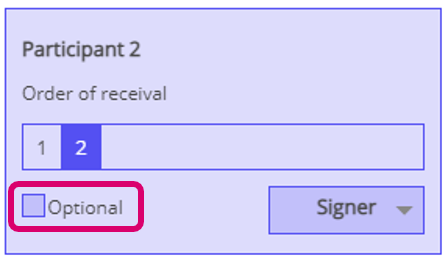 If the Optional box is selected, the agent will have the option of adding the participant to the session, but will not be required to do so.
Add the fields that you want the selected participant to complete.
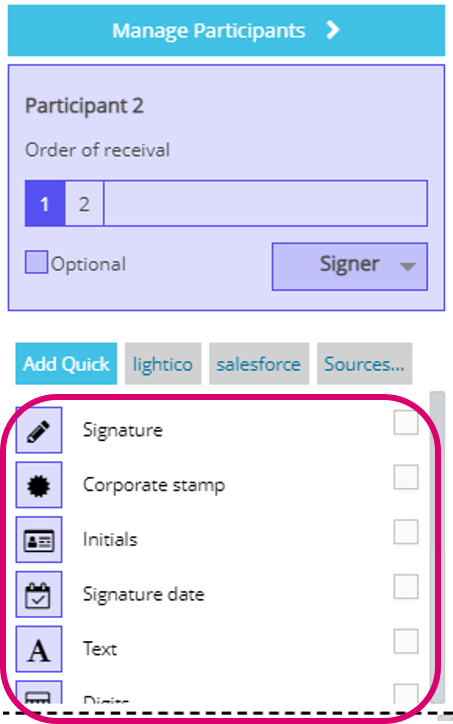 When the participant is selected, any fields you add to the document are assigned to that participant. The available fields match the color of the selected participant.
Depending on the role you selected, different fields are available. For example, if the participant is a Signer, all fields are available but if the participant is an Approver, the signing fields are not available.
For more information, see Add fields to your document.
Optional - Add fields for the agent to complete
Select Agent in the participants list and add fields that the agent needs to complete either before or after sending the document.
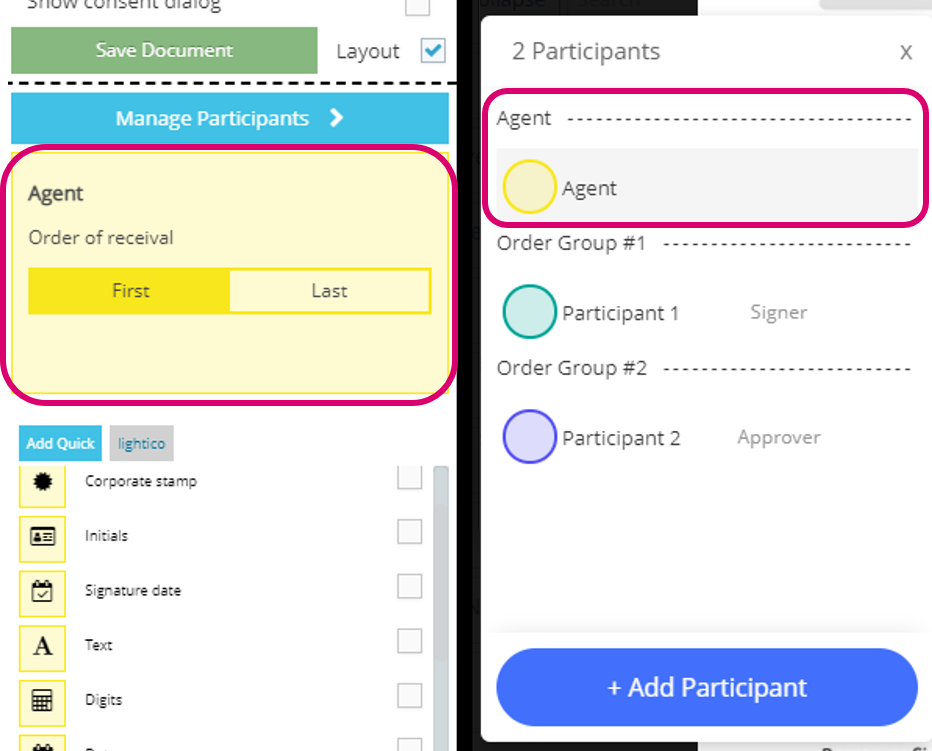 Select either First or Last in the Order of receival box to determine when the agent will need to sign.
Click Save Draft in the settings pane.