This article explains how to turn a static PDF document into an interactive eSign tool—called a PDF Template—that customers can complete during a Lightico collaboration session.
What can you do with a PDF Template?
The following features can be incorporated into a PDF Template:
Obtain a legally binding customer signature or approval
Collect customer information through a user-friendly digital form
Tag customer information with Attributes for reuse in a session or mapping to your CRM
Include multiple additional participants who also provide signatures, approval, and information
.png)
Information from the digital form is inserted into the PDF
Note:
The customer fills in the fields using a digital form and only then is the information placed into your document. For more information, see Design the customer form for PDF Template.
Configure a template in the PDF Builder
The instructions below give you a general idea of how to create and configure a PDF Template. See subsequent articles for more explanations of specific and advanced features.
To configure a PDF Template:
On the Admin Center home page, under Start creating, click Create a PDF Template.
The PDF Template builder opens.Drop a PDF file onto the page
-OR-
browse and upload a file.
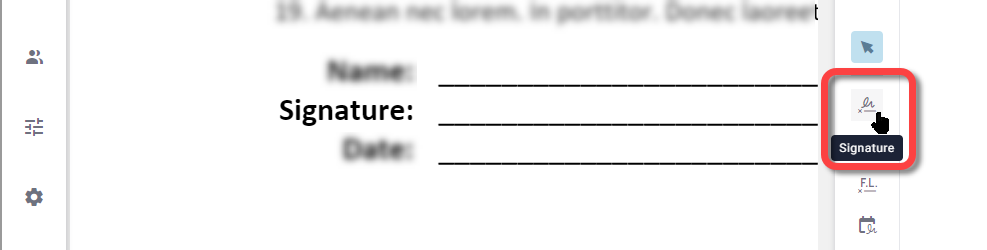
The file opens in the builder.Select an interactive field type to add to the template in one of the following ways:
When adding one interactive field at a time: right-click the template and select a field type from the context menu.
To add multiple fields of the same type one after the other: select a field type icon from the right tool bar.
Click and drag to render and position the field.
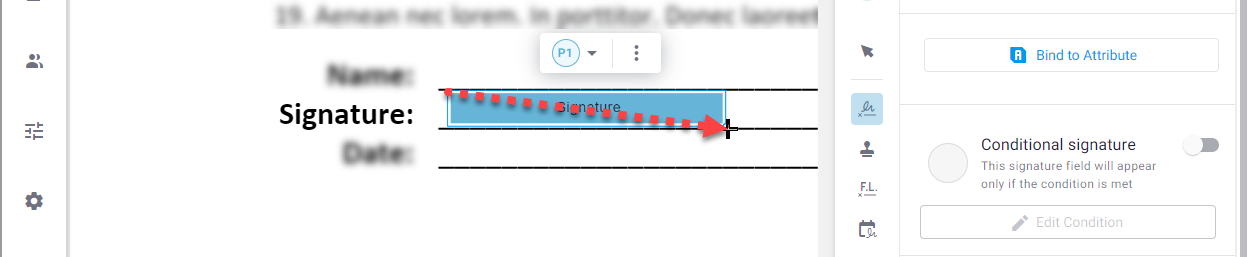
To reposition a field, drag it or use the arrow keys.
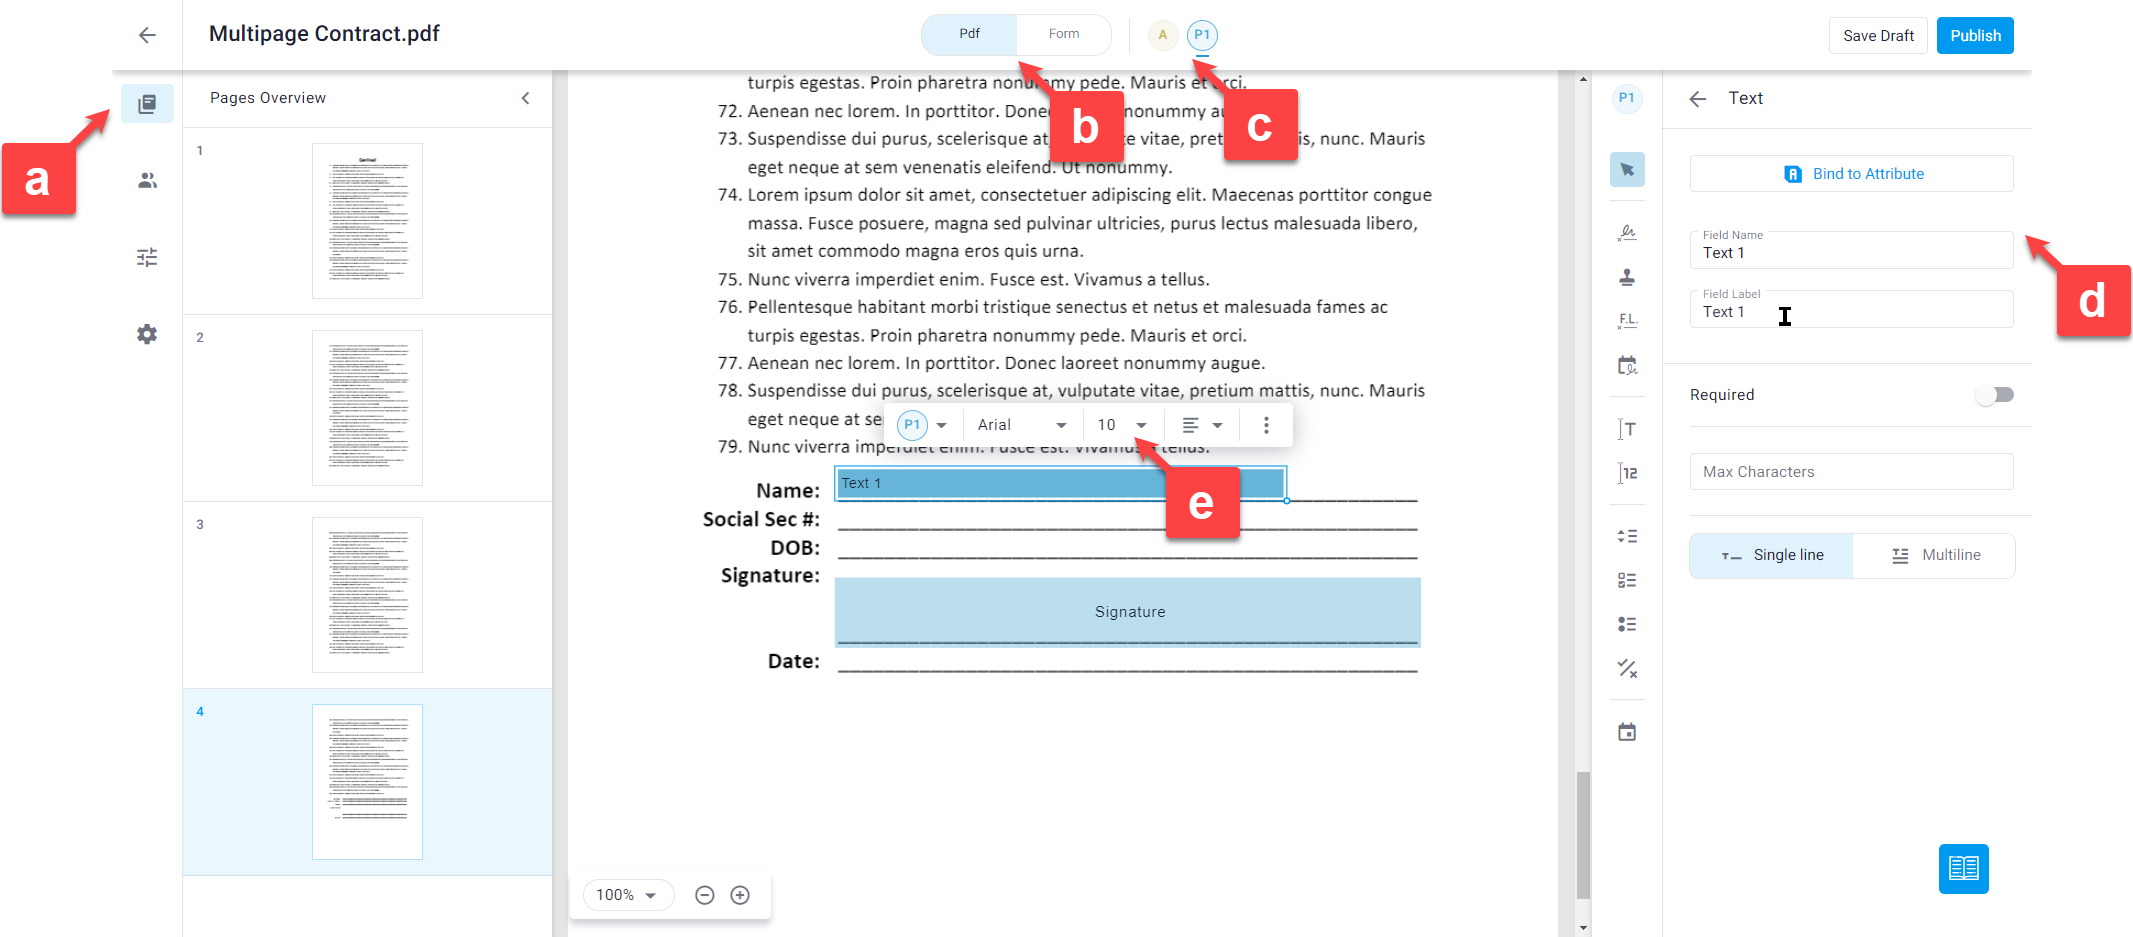
Edit all aspects of your template using the following controls:
Tabs:
Pages overview tab - View thumbnails of all document pages and jump to any point in the template.
Participants tab - Add participants and manage grouping of the participants (see Add multiple participants to a document).
Formatting tab - Define default field formatting, input language, custom wording template, and more (see Configure template settings).
Template settings tab - General settings for the document as a whole (see Configure template settings).
Version history tab - View the last saved draft and previously published version and, if desired, restore them.
PDF/Form - Toggle between viewing the document (PDF) only and viewing the customer form (wizard) alongside the document (see Design the customer form).
Participants - View all template participants and change the active participant for editing.
Field properties panel - Select a field to display and configure properties for that field (see Configure fields).
Field context menu - Appears when a field is selected. Format field text, change the participant to which the field is associated, and delete or duplicate the field.
To change the name of the template file, click inside the template name in the top left corner and edit the name.
When you're finished editing, click Publish or Save Draft to save your work without making it available to agents yet.