You can integrate Loqate address verification service with the Lightico platform so that your customer is provided with suggestions as they type their address into a Form. This integration streamlines the Form process for your customer and ensures that they provide a valid address.
In addition, each component of the address is broken down into separate elements called properties that can be used for different parts of the customer journey. For example, if a part of the journey depends upon what country the customer is from, the information is taken from the Country property that is defined by the autocomplete results.
Note
If you do not have a Loqate account, you may request an API key from Lightico customer success.
This feature is configured in the following steps:
Connect the address verification service
The first step in configuring this feature is to connect your Loqate account to your Lightico platform.
To connect Loqate address verification service to Lightico:
In the Lightico Administration screen navigation pane, click Integration hubs.
The Integration hubs page appears.
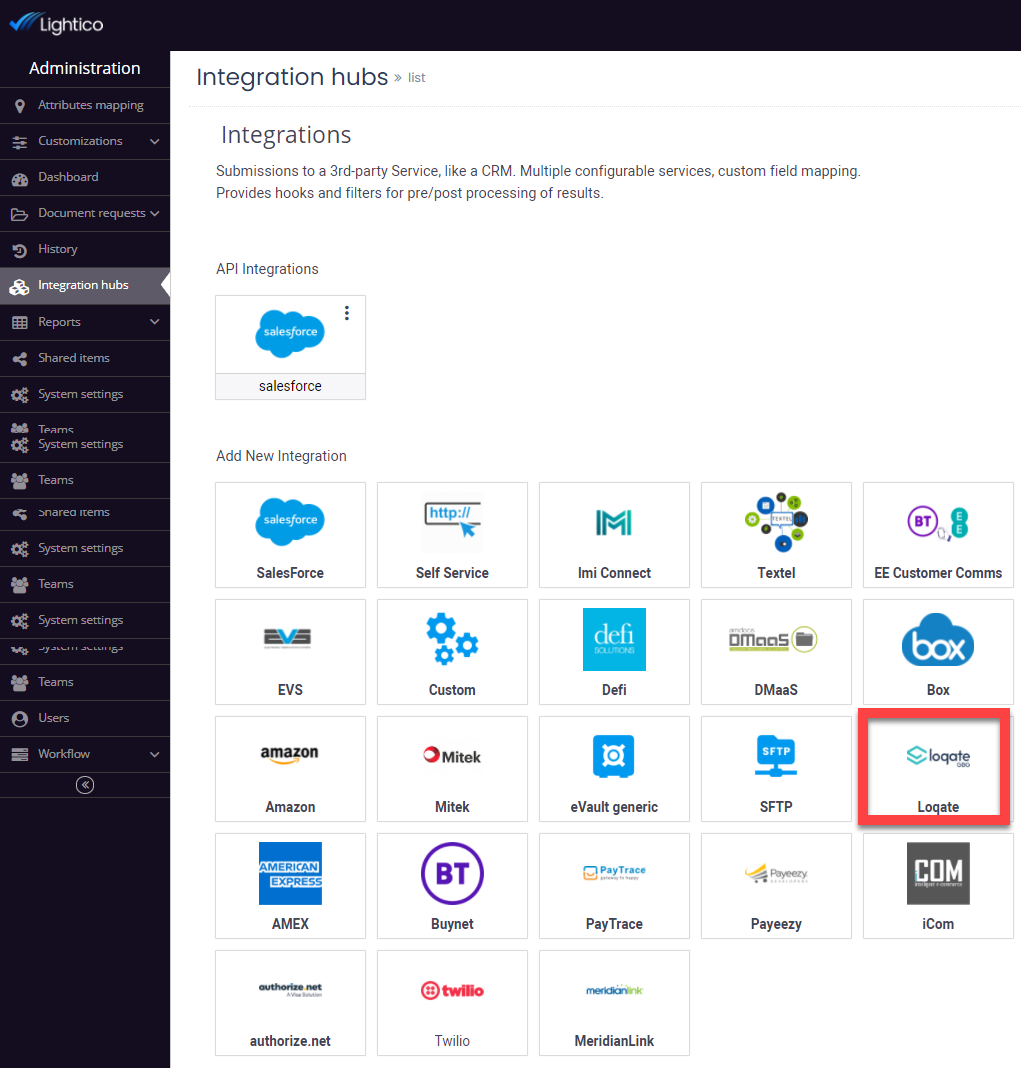
Under Add New Integration, click the Loqate hub.
The Loqate hub page opens.
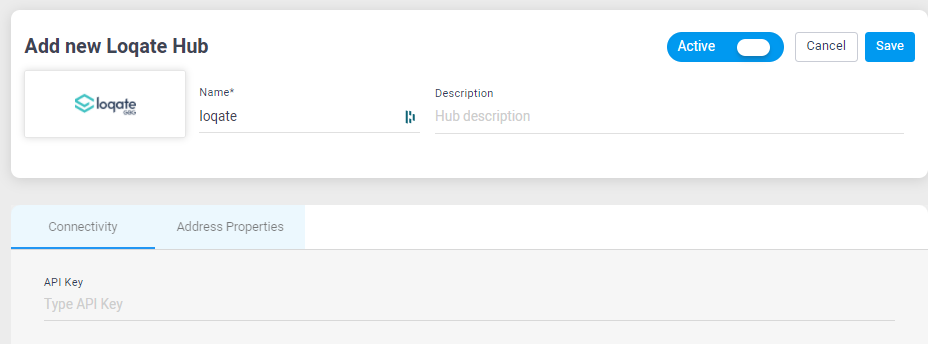
You can enter a name and description for this hub at the top of the page.On the Connectivity tab, enter your Loqate API Key and click Save.
The Loqate address verification hub is connected.Note
Only one Loqate account hub can be configured. After you configure one, the Loqate hub is grayed out in the Add New Integration area
Create custom address Attributes
The auto-completed address is broken down into separate elements called properties. You must map a custom Attribute to each of the address properties that you are using in order for the address auto-complete and validation feature to work properly.
In this section you will create custom Attributes for each of the address properties. Some of the properties are mandatory for the feature to work properly and some are optional. The tables below list all the properties and also suggest names for each of the corresponding Attributes.
For a full explanation of Attributes, start with this article: Understanding Attributes.
Tip
Each Attribute name used in a session must be unique. So, consider that you might need to collect two or more types of addresses from your customer. Instead of naming an Attribute “address_line_2”, we suggest naming it “address_line_2_home” so that you could later include “address_line_2_work” in the same session and there would be no conflict.
Required address properties
Required Property | Suggested Attribute Name |
|---|---|
Address line 2 | address_line_2_home |
Street | street_home |
Building/St. Number | building_number_home |
City | city_home |
Country | country_home |
State/Province/Region | state_home |
Zip Code | zip_code_home |
Optional address properties
Optional Property | Suggested Attribute Name |
|---|---|
SubBuilding | subbuilding_home |
BuildingNumber | buildingnumber_home |
BuildingName | buildingname_home |
SecondaryStreet | secondarystreet_home |
Block | block_home |
Neighborhood | neighborhood_home |
District | district_home |
ProvinceName | provincename_home |
ProvinceCode | provincecode_home |
CountryISONumber | countryisonumber_home |
POBoxNumber | poboxnumber_home |
To create custom Attributes for the address validation feature:
In the Lightico Administration screen navigation pane, click Attributes mapping.
The Attributes mapping page opens, displaying the existing Attributes.
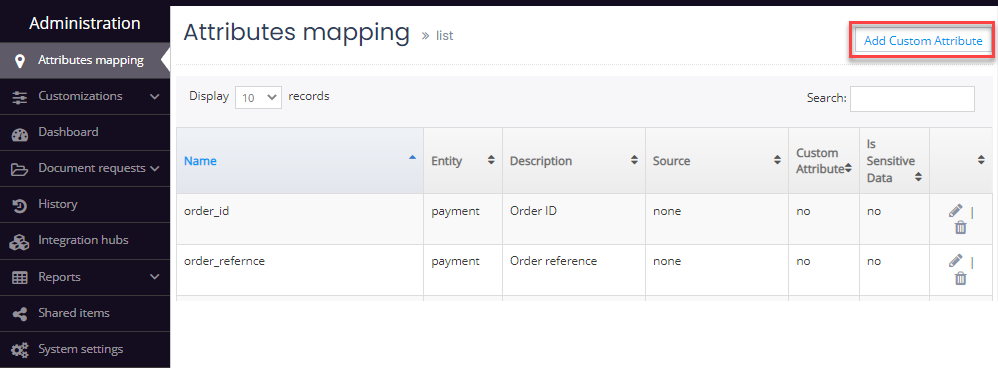
Click Add Custom Attribute .
The Add Custom Attribute dialog opens.
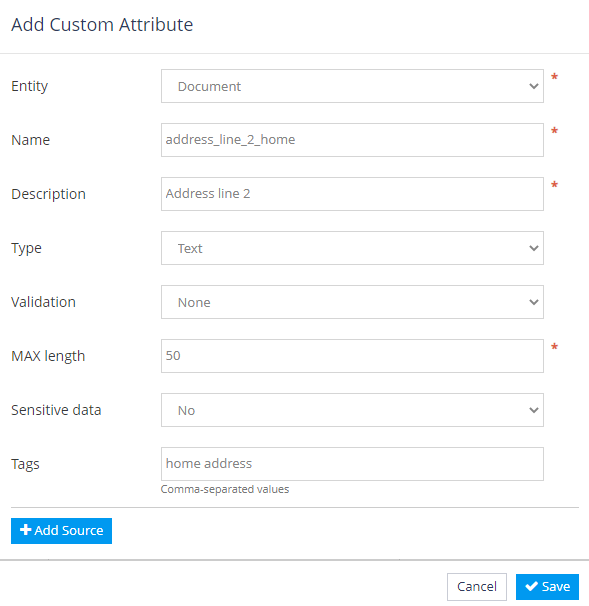
Complete the required fields as follows (see the above image as an example):
Entity - Select Document
Name - See the tables above for suggestions
Description - Enter the text that appears in the customer Form for this property.
Type - Select Text
Attention
For purposes of address validation, configure all Attribute types as text, even for information that is a number like street number or zip code.
Max Length - Enter the maximum number of characters that can be entered
Complete any optional fields if needed and click Save.
The first Attribute is saved.Repeat steps 2-5 to create an Attribute for all of the mandatory fields listed in the first table above and any of the optional Attributes that you wish from the second table.
Map the Attributes to the Address Properties
Now, you can map the custom Attributes that you created to the address properties. In addition, you will define a name for the entire group of mapped Attributes.
To map the Attributes to the address properties:
On the Attributes mapping page, click Add Custom Attribute.
The Add Custom Attribute dialog appears.In the Entity drop-down, select Document.
In the Name field, enter a name that will serve as the group name for all the Attributes.
Note
Take note of this name for the next section when you create a Form.
From the Type drop-down, select Address.
The Address Validation settings appear at the bottom of the dialog box showing all the Mandatory and Optional properties that are relevant to the address validation hub.
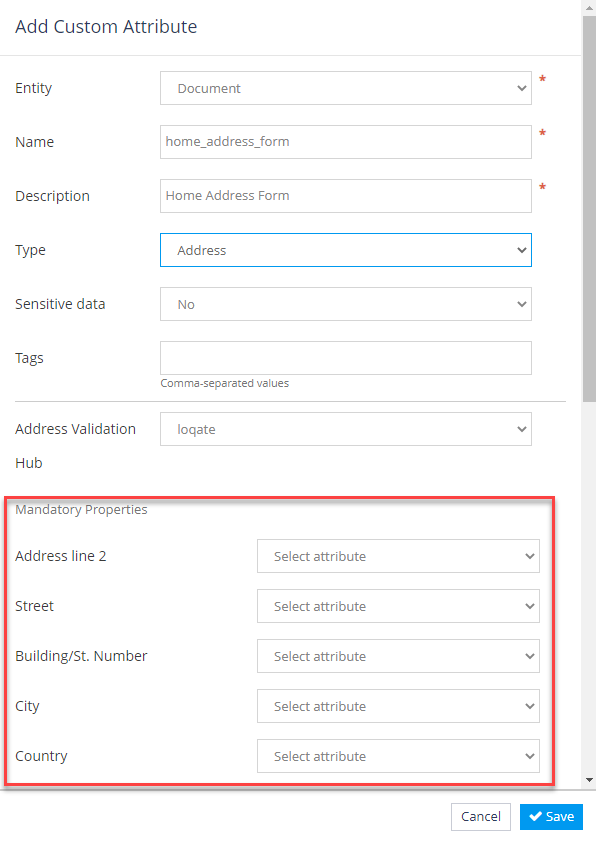
For each of the Mandatory and Optional properties that you are using, select the Attribute that you want to map it to.
Click Save.
All the address Attributes are mapped to the address properties.
Create a Form for Obtaining Validated Addresses
The last step in configuring the Address Auto-Complete and Validation feature is to create a Form. This Form enables your agent to obtain a validated address from your customer during a Lightico session.
For the purposes of this article we will show how to create a simple Form with an address field. To create a more detailed Form, see Create Forms.
To create a Form for obtaining validated addresses:
In the Lightico Administration screen navigation pane, click Workflow > Form Designer.
The Forms page opens.Click Create in the top right corner.
The Create New Form dialog appears.
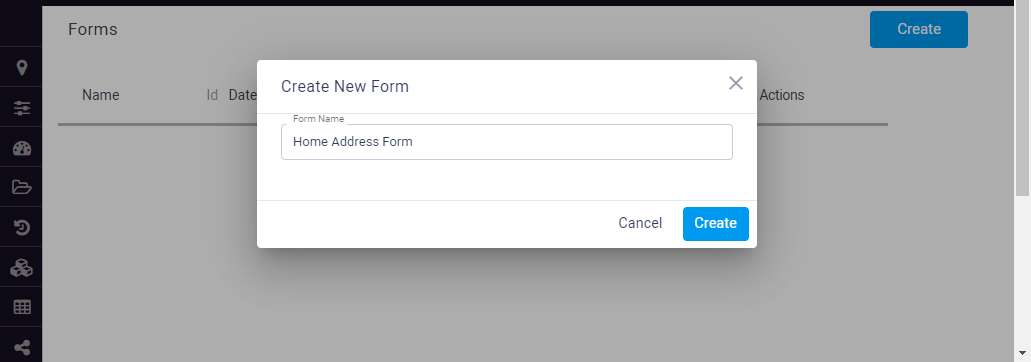
Enter a name for the Form and click Create.
The Form Designer opens.
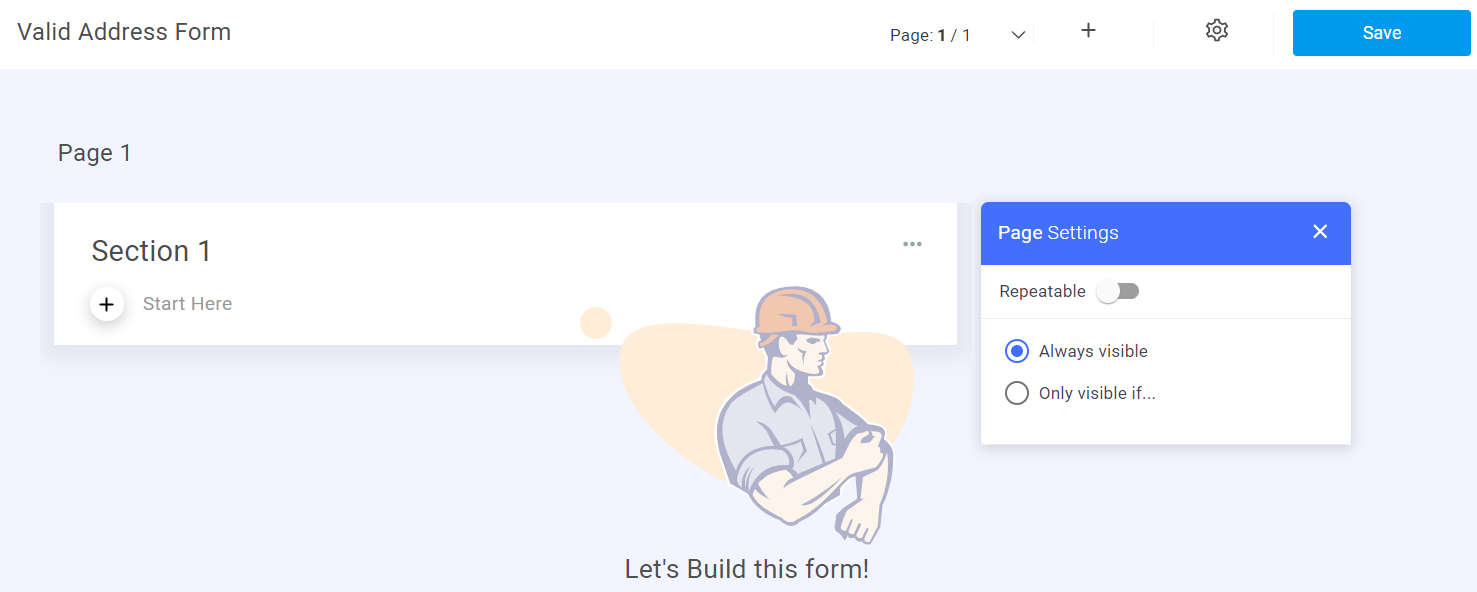
Add text fields for the customer’s first and last name (or any other fields you need).
Click + to add another field.
The Add item dialog appears.
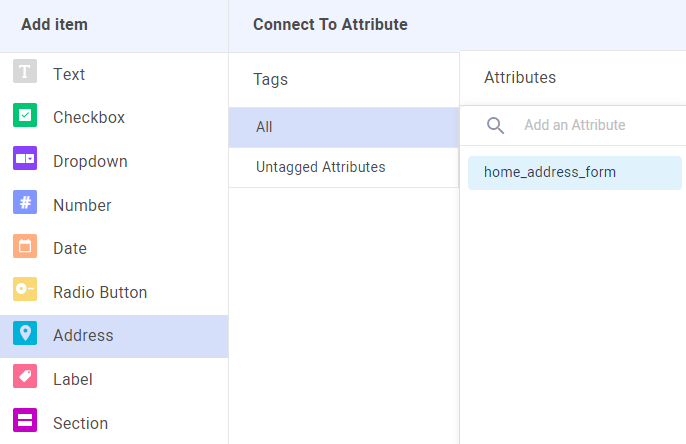
Select Address and in the Attributes column, select the name that you gave to the group of address Attributes in the previous section of this article.
Two new fields appear on the Form designer page:Address - Connected to all the Attributes that you created. This is an active field that will show suggested addresses when the customer starts typing.
Address Line 2 - Text field for the customer to add any custom descriptions of their address, such as apartment, suite, unit, floor, etc.
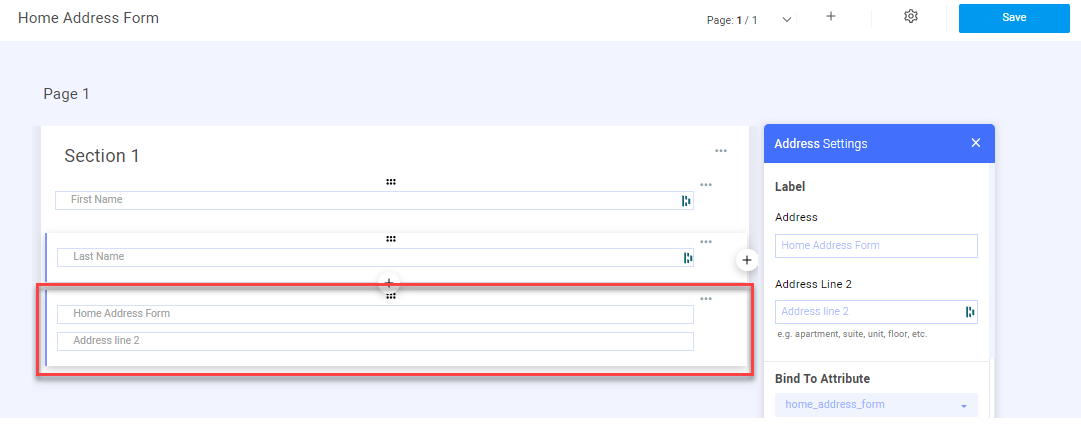
In the Address Settings to the right of the page configure the following:
Label | Edit the text that appears in the main address field and the “address line 2” field before the customer fills it in. |
|---|---|
Required |
|
Validations | You can customize the message that the customer receives if they type an address that cannot be validated. The default message is “Invalid address”. |
Configuration |
|
Property Labels | Customize the text that appears in the “address line 2” field before the customer fills it in. |
Click Save at the top of the page.
Now, all you have to do is create a Workflow for this Form like the one below (for more detailed instructions, see Create Workflows).

Send the Valid Address Form to a Customer
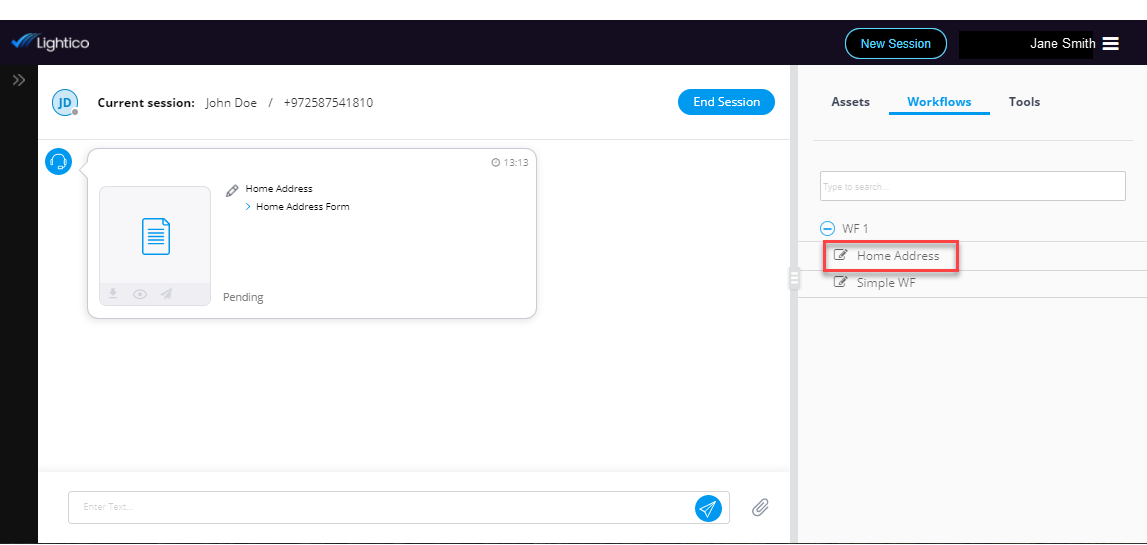
To send the Form to a customer:
From the Agent screen, click Workflows and select the Address Workflow.
The customer receives the Form and clicks Open.
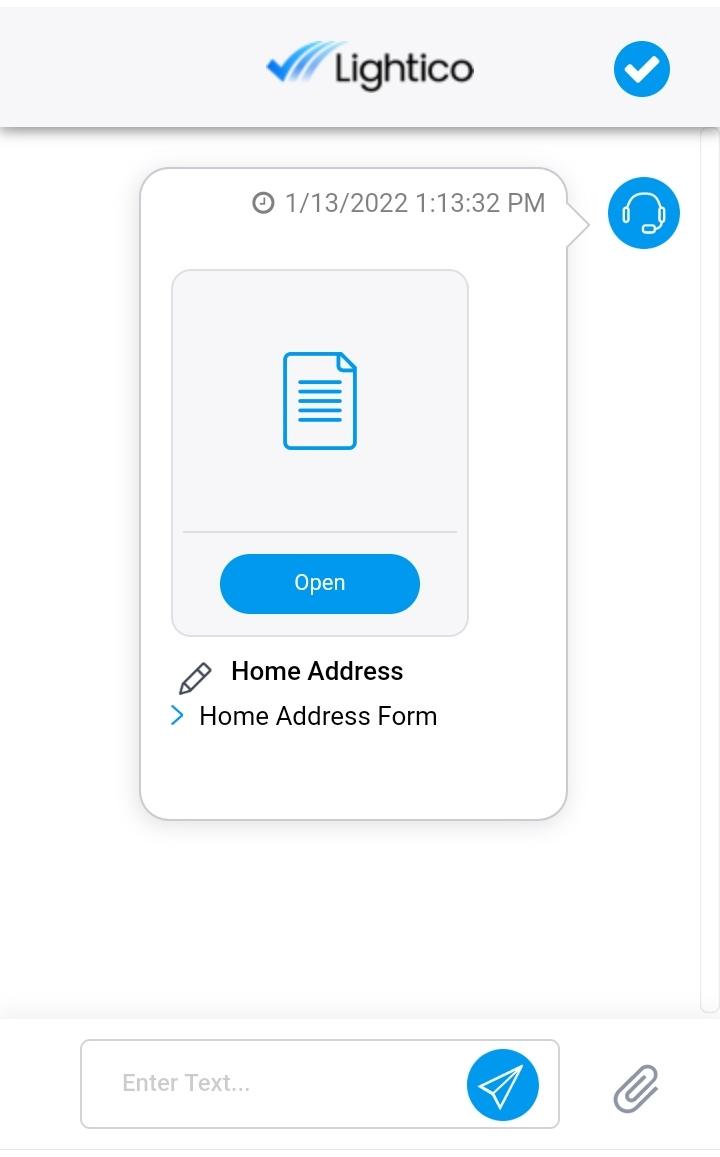
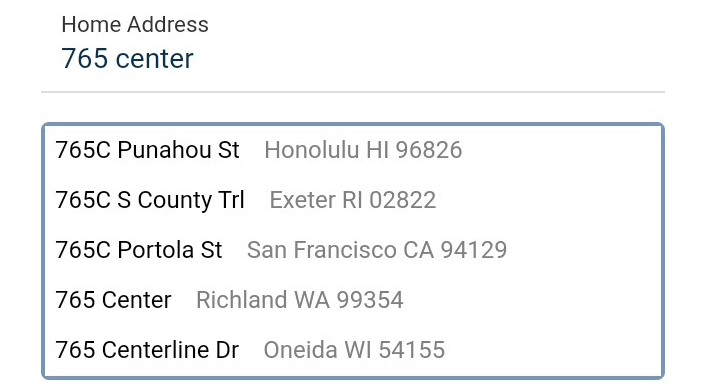
The customer starts typing until the correct address appears in the suggestions.
Note
No more than five suggestions appear at a time.
The customer must select one of the suggestions. Typing an address not suggested or adding to a suggested one results in an error.
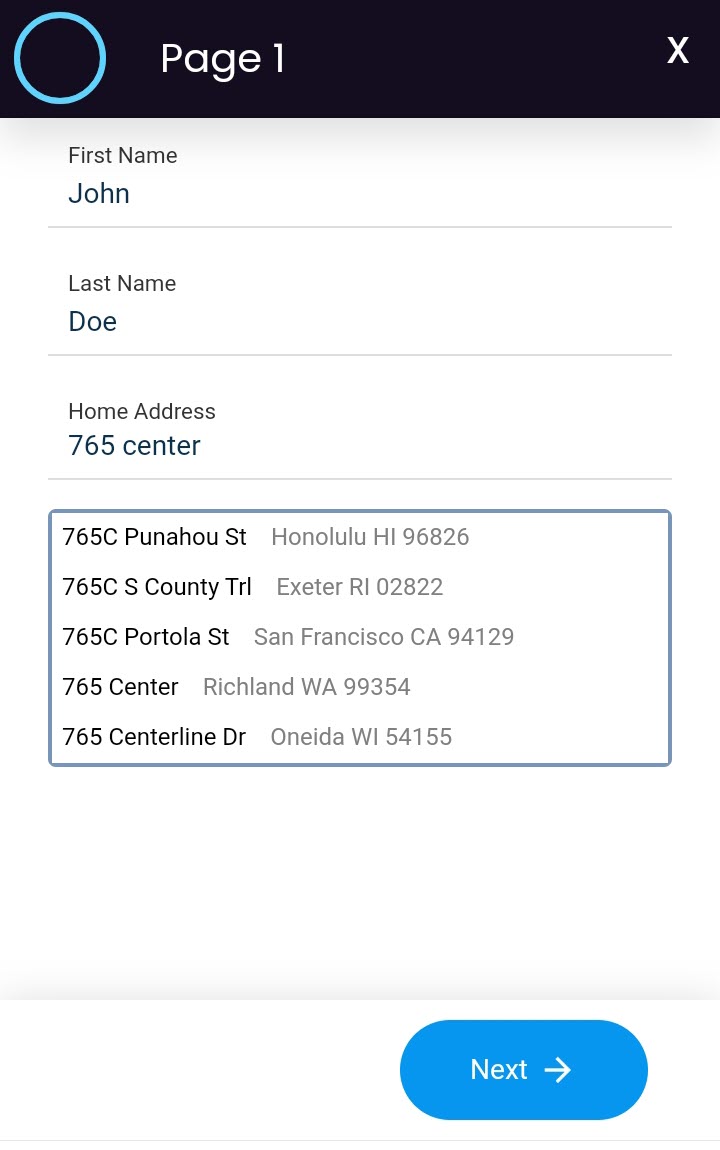
The customer selects the correct address and clicks Next.
The validated address is obtained.