After installing the Lightico app in your Salesforce environment (see Install the Lightico app) you need to configure the API integration between Lightico and Salesforce.
Create each of the Lightico integration hubs with the unique username for each of the orgs.
What you need for this integration
The following endpoint credentials for each Salesforce environment:
- Username
- Password
- URL (https://login.salesforce.com, https://test.salesforce.com or any My Domain that was defined for your org)
- Security Token
The following user permissions:
- Lightico - Profile Admin
- Salesforce - System Administrator or View All/Modify All - to enable Lightico to discover all the org's sObjects, create Lightico Files records, and relate them to other sObjects.
Create a Salesforce Integration Hub in Lightico
First you'll need to create a Salesforce integration hub in your Lightico environment.
To create a Salesforce integration hub in Lightico:
- Log in to your Lightico account.
- On the Lightico Administration screen, click Integration Hubs.
The Integration hubs page opens.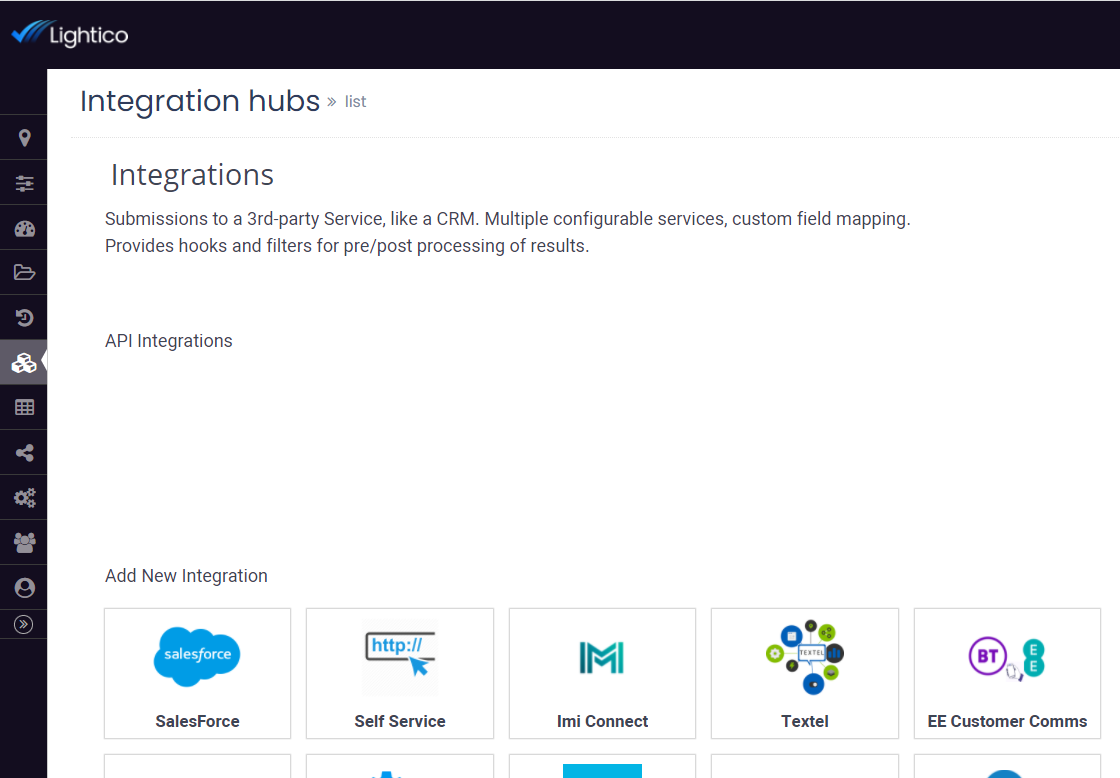
- Under Add New Integration, click Salesforce.
The Salesforce integration hub opens.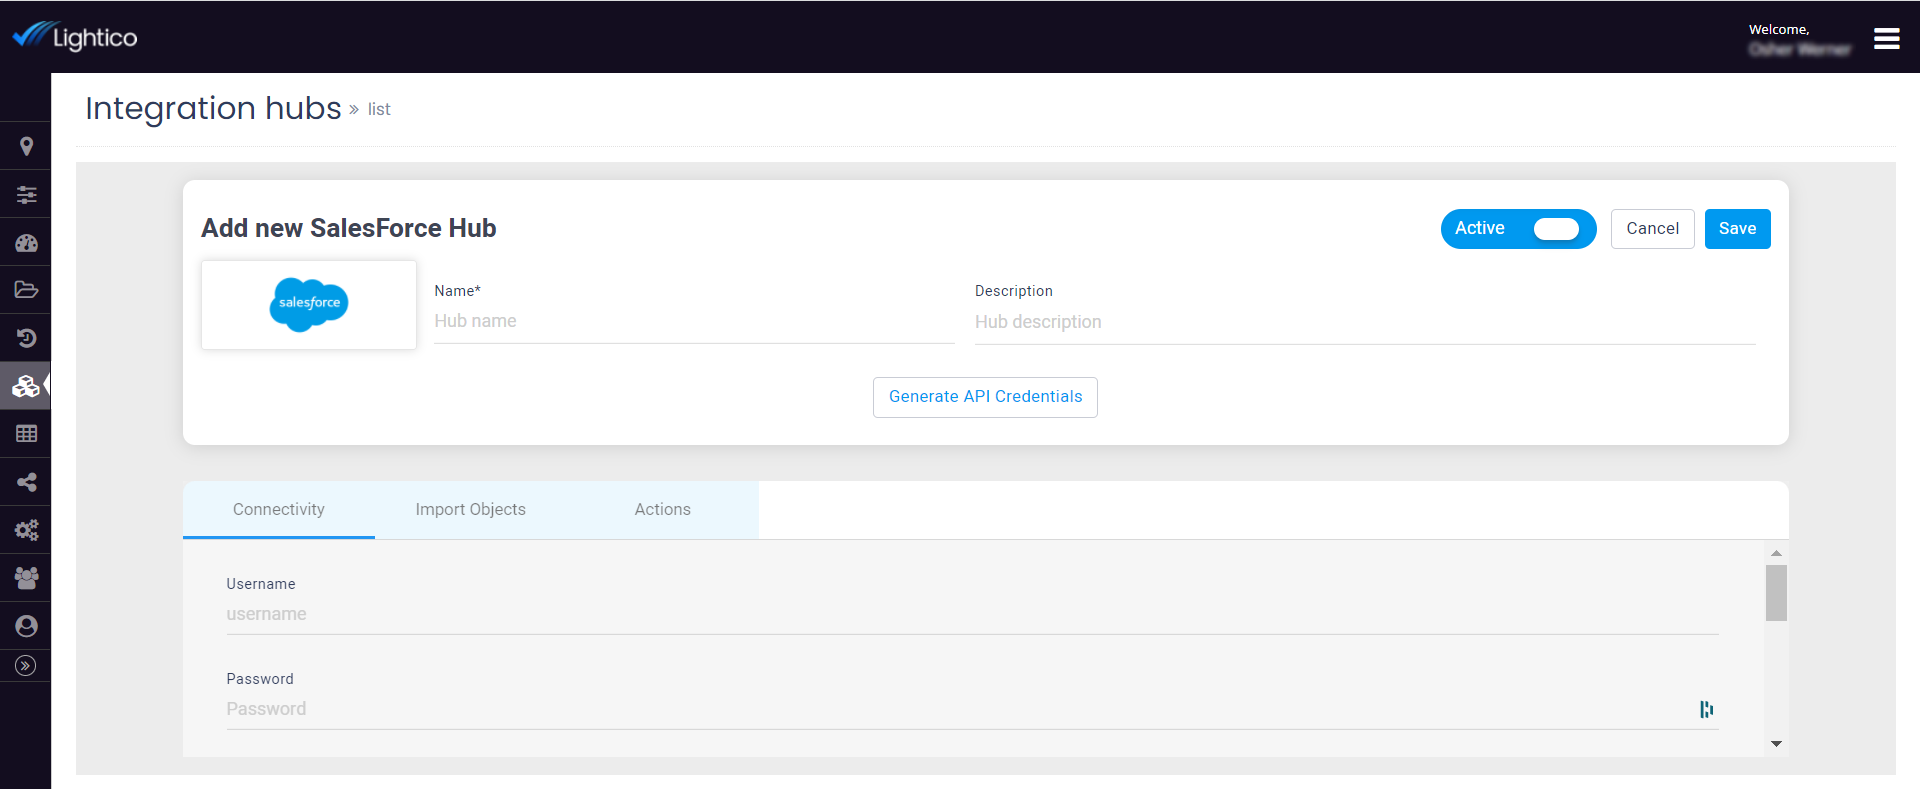
Enter a Name (single word lower case) and a Description for this hub.
The Name will be used later when defining the integration 'Source' attribute in Salesforce .- Click Save.
- On the Connectivity tab, enter your Salesforce credentials, select Full Package, and click Save at the top of the page.
- To verify a successful integration, click Test Connectivity.
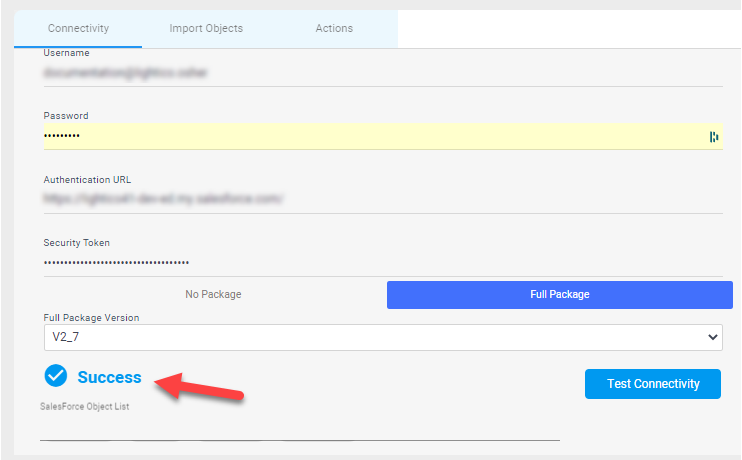
- Under Salesforce Object List, enter the API name of all sObjects you would like to map in Lightico. Press ENTER after typing each name to add it to the list. Note:To map related sObjects, enter the name of the main object and then the name of the related object separated by a dot. For example, Account.Contact

- Click Import Objects and, on the Import Objects tab, click Import Now.
sObjects metadata is retrieved from Salesforce.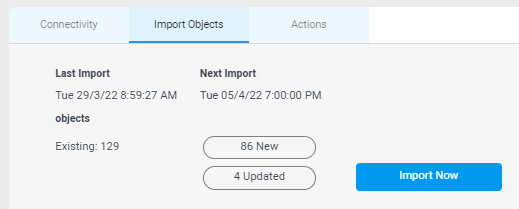 The Salesforce integration hub is complete.
 - Repeat the steps in this section to create additional integration hubs for other Salesforce orgs.
Enter Lightico API credentials in Salesforce
Now you need to generate credentials in Lightico and enter them into your Salesforce environment.
To enter Lightico API credentials in Salesforce:
In your Lightico environment, in the Salesforce integration hub, click Generate API Credentials.
 The Lightico API credentials appear.
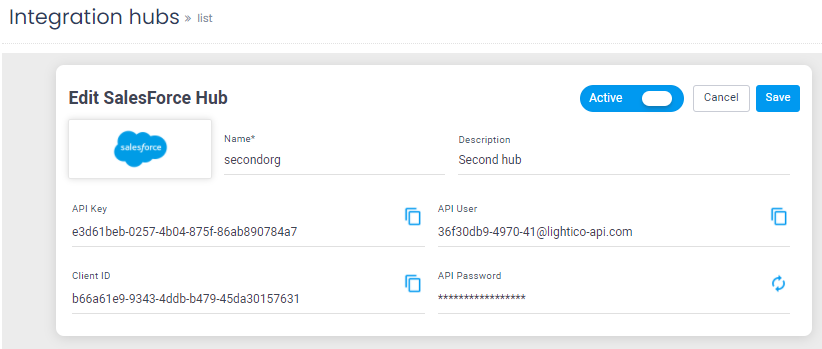
Now, moving over to your Salesforce org, click the app icon and navigate to the Lightico Settings page.
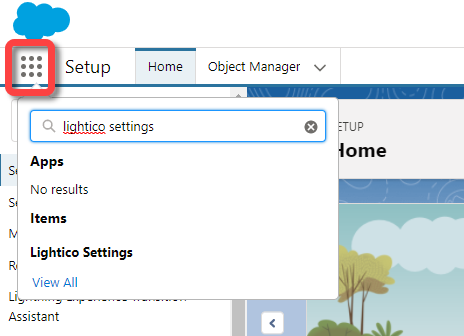
Enter the following API credentials that you generated above. The table below shows how the names of the Salesforce properties correspond to the names of the API credentials that you generated in Lightico:
Property Name Generated API Credential Name API Key API Key Tenant ID Client ID Username API User Password API Password .png)
- In the Source field, enter the name that you gave the Salesforce integration hub.
- In the API URL field, enter the following: https://api-cf.lightico.com
- Click Test to test the integration and save the settings.
The integration between Lightico and Salesforce is complete.
Test your integration
To perform an end-to-end test of the integration:
In Lightico:
- Map at least one Lightico attribute using a field from Salesforce as the source (see Map Salesforce data to Lightico).
Create a PDF Template, add a field, and bind the field to an attribute that you mapped to a Salesforce field (Create PDF Templates).
In Salesforce:
- Place a Start Lightico Session button on a page layout of one of the sObjects you imported via the Salesforce Integration Hub above (see Add Lightico elements to page layout).
- Start a Lightico Session from an account or contact object, ensure that contact names and email/phone numbers are used to start the session.