Lightico enables you to create a Workflow that can be embedded in a webpage and accessed by your customer without an agent and without using the Lightico collaboration UI. For example, if you want your customers to be able to renew a membership, submit a claim, or fill in an application form, you can embed the Workflow in a button and the customer is automatically led through the journey using a customizable UI. .png)
Elements of a self-service Workflow
Besides the Workflow itself, the self-service Workflow incorporates several standard and optional elements.
Standard elements:
Welcome page - Customer provides their name and email address
OTP (One Time Password) - Requires the customer to enter a password sent to their email address in order to start the Workflow
Ending page - Static page with "Well Done!" message
Completion email - Email that the customer can request at the completion of the Workflow, see Customize the completion email
Optional elements:
Workflow download option - Enables the customer to download a PDF of the Workflow that includes eSigns, and uploaded documents
Redirect URL - enables defining a web page to which the customer is taken after completing the Workflow
Opening and closing screens - This feature is also available for agent-initiated Workflows, see Configure Workflow settings
Example of a self-service Workflow
A self-service Workflow could proceed as follows:
The customer clicks on a link in your website and is taken to an identification page where they provide their name and email address. This enables you to collect basic information about the customer before they even start the Workflow.
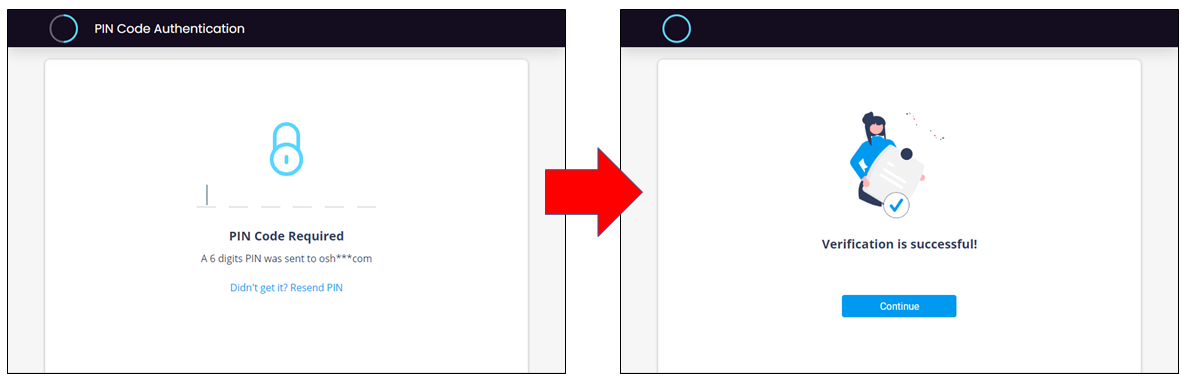
An OTP (One Time PIN) is sent to the customer's email. They provide the PIN, get a verification screen, and click Continue.
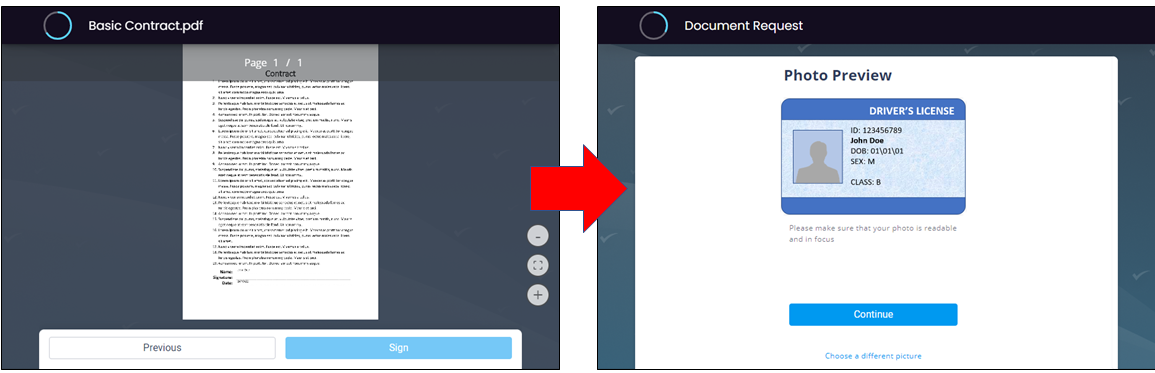
The customer proceeds with the Workflow by signing an eSign document and providing supporting documentation.
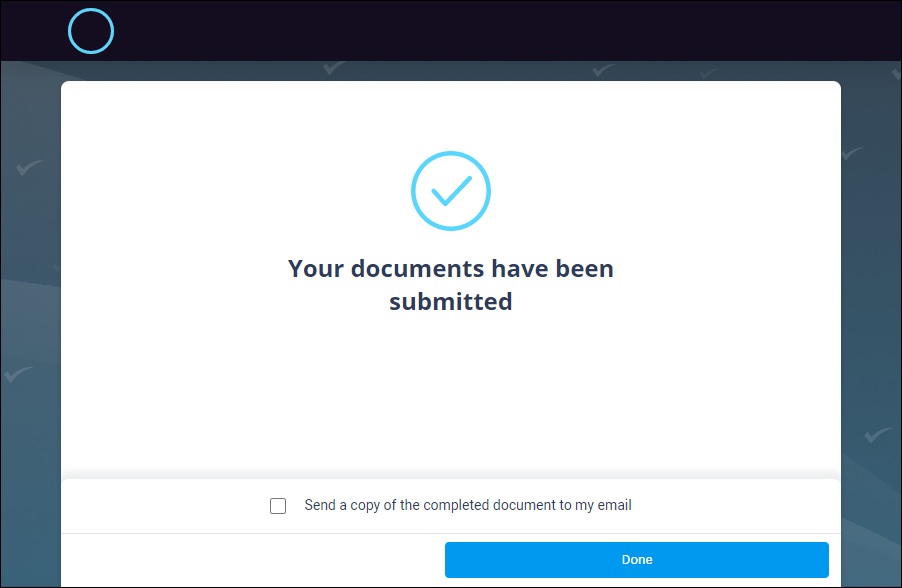
When they complete the Workflow, the customer selects the checkbox to receive a copy of the completed Workflow and clicks Done.
The customer is taken back to your website's home page.
Create a self-service Workflow
To create a self-service Workflow:
Create a Workflow in the Workflow builder (see Create Workflows).
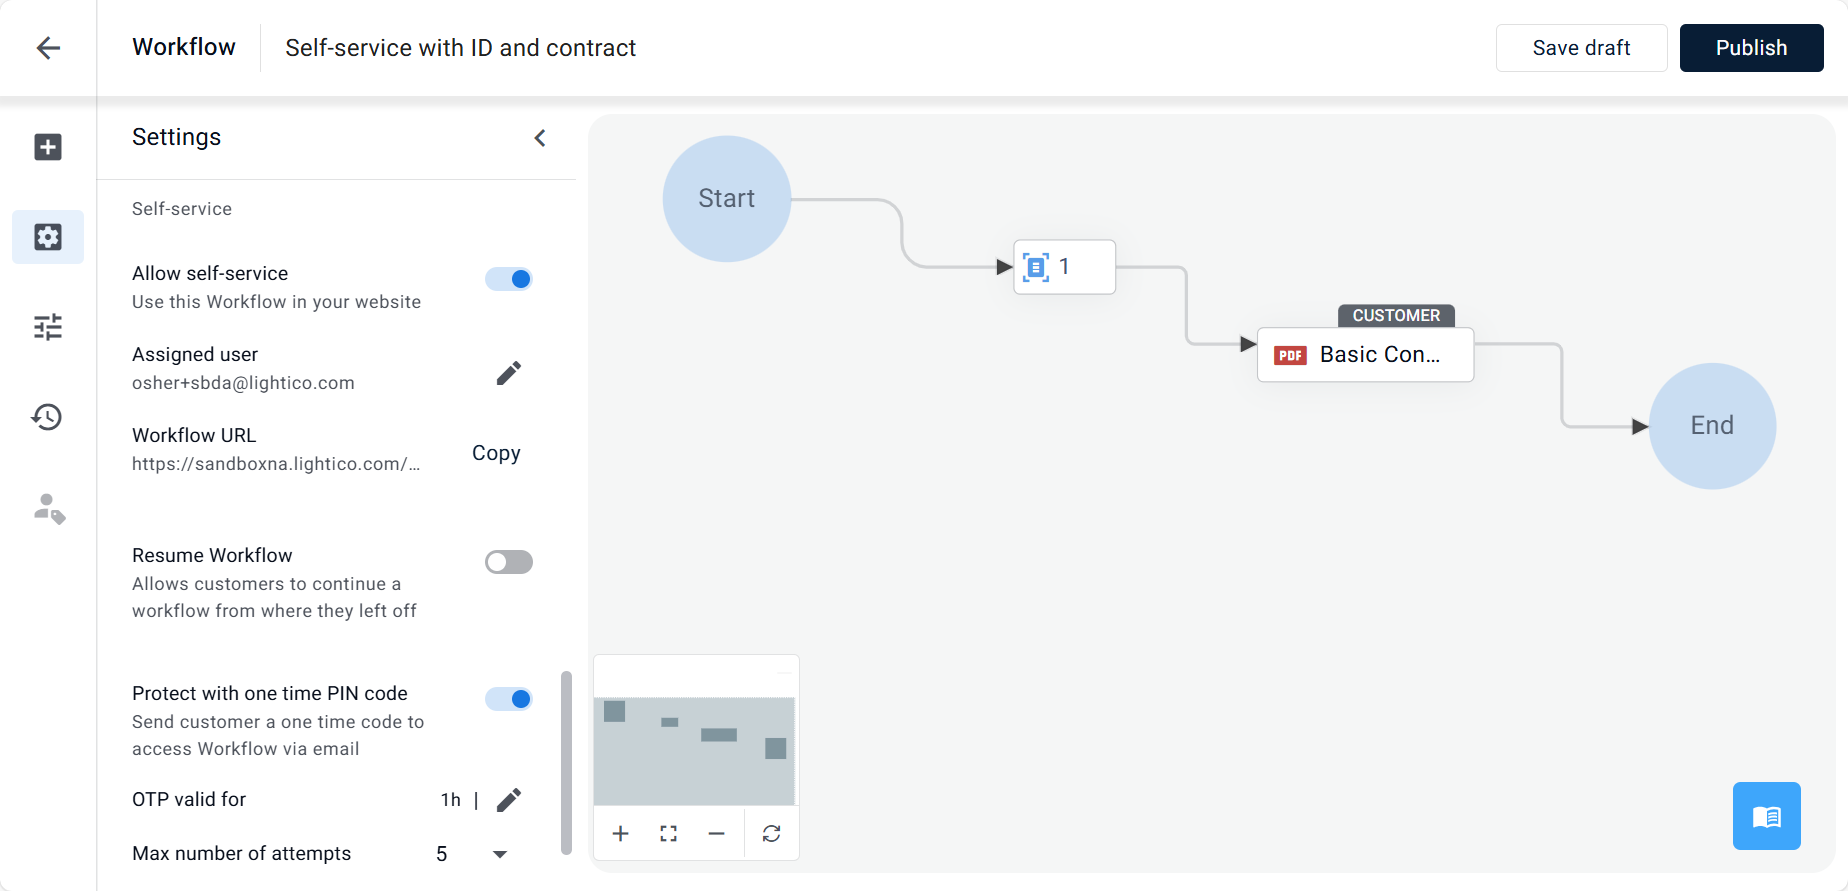
In the Settings tab, under Self-service, turn on the Allow self-service toggle.
The Select user window appears.
Select a user and click Add.
This is the Lightico account that is assigned to this Workflow. All sign-ins to this Workflow will appear in the history of this account, see below.Optionally, turn on the Resume Workflow toggle. This enables the customer to leave the session and use the link to continue where they left off if they use the same device. See below.
Optionally, turn on the Protect with one time PIN code toggle.
This setting requires to the customer to enter a password that is sent to their phone or email. The code is required for each time they enter the Workflow, even if they are resuming where they left off.
Also define the following for the OTP:Set the OTP valid for time. After the defined time period, the password expires and the customer must start the Workflow again.
Set the Max number of attempts. If the customer fails to provide the correct password within the defined number of attempts, they must start the Workflow again.
Turn on the Send completed Workflow toggle to enable your customer to receive a PDF of all actions completed in this self-service session.
To send the customer to a specific webpage after they complete the Workflow, configure the following settings:
Under General behaviors, turn on the Prevent user... toggle.
Under Redirect URL, click the edit icon and provide the URL.
Under Self-service, copy the Workflow URL and paste it into your website code.
This URL opens the self-service session.
Why assign a user to a self-service Workflow?
Assigning a user to a self-service Workflow ensures a more personalized and consistent experience for your customers. Here’s what it enables:
Sign-in tracking: All customer sign-ins to this Workflow will be recorded in the assigned user’s account history.
Localized experience: The customer interface will automatically display in the language set in the assigned user’s profile.
Branded welcome page: The Workflow’s welcome page will reflect the branding of the user’s team, creating a cohesive visual experience.
Resume Workflow
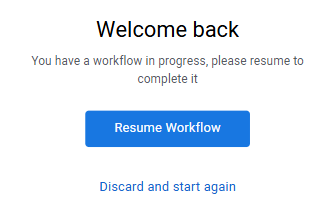
Sometimes, customers may begin a Workflow but need to pause and return later—for example, they might complete a form but need to go home to scan a document or photo ID. To support this, you can enable the Resume Workflow setting in the Workflow builder (see above).
When this setting is enabled, and the customer returns to the Workflow on the same device using their name and email address, they’ll be presented with a message allowing them to continue from where they left off—without repeating previously completed steps.
This feature improves the self-service experience by reducing friction and allowing customers to complete tasks at their own pace.
Customize the completion email
At the end of the Workflow, the customer can request to receive a copy of all completed documents to their email. You can customize this email for all self-service Workflows in the System Settings and define different email settings per team in the team settings.
To customize the completion email:
In System Settings or Team Settings, go to Notifications > Self-service.
Click Edit and edit the email subject.
Click Replace file to upload a custom HTML email template.
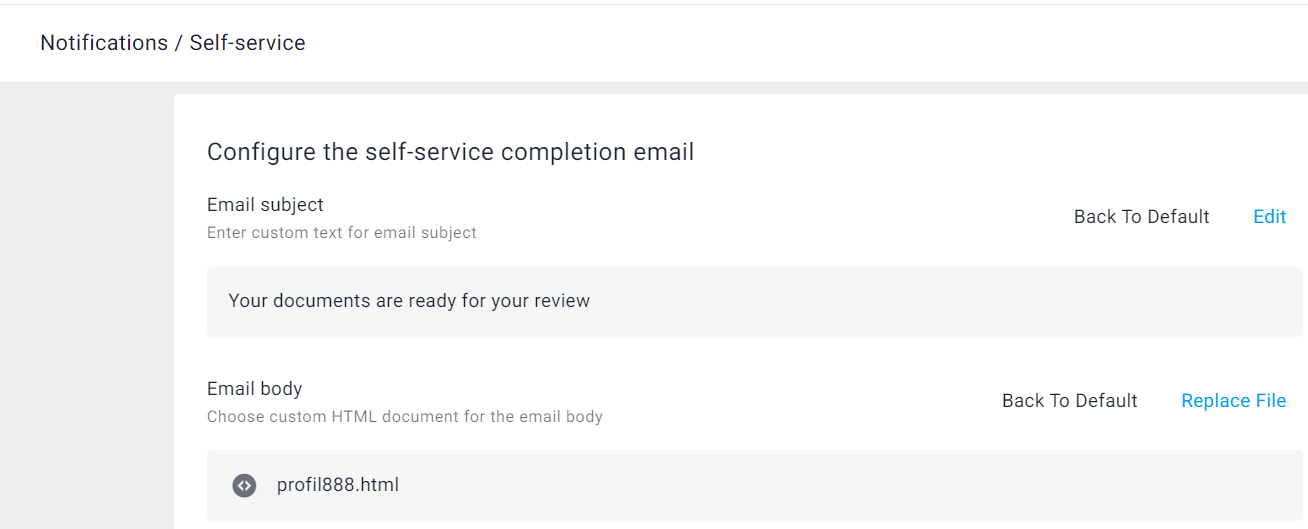
Save the settings.