All fields in a Form are bound to an Attribute. When you add an Attribute field to the Form, you can do one of the following:
Select from existing Attributes
Create a new Attribute
This article explains how to create a new Attribute and how to edit an existing Attribute from the Form builder.
How to Create a new Attribute in the Form builder
To create a new Attribute in the Form builder:
Click the + button to add an Attribute field to the Form.
The Select Attribute window appears.Click Create Attribute and select the type of Attribute.
.png "image(92).png")
The Create Attribute dialog appears.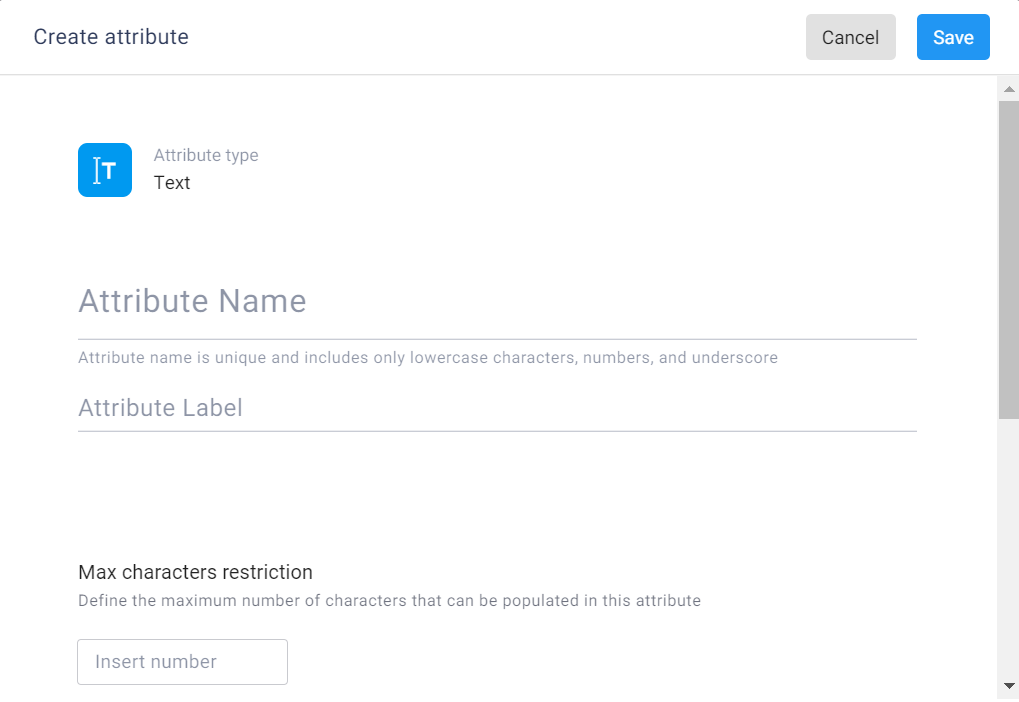
Configure settings using the following general guidelines:
Notes
Not all settings apply to all types of Attributes.
The following is a basic list of settings. For information about other settings, see the Manage data with Attributes section of the Knowledge Base.
For additional settings available after you have added the field to the Form, see Configure Form Field settings.
Attribute name - Unique system name to identify the Attribute in the system. Only lower case letters and underscores are allowed.
Attribute label - A description of the Attribute. This text appears in the field before it is filled in.
Max characters restriction (for text and number only)- Maximum number of characters that can be entered into this field by the customer.
Formatting (for number only) - see below.
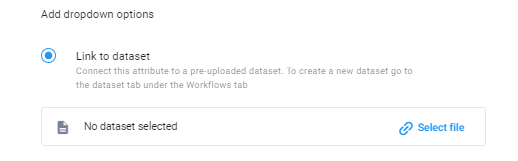
Add options (for checkbox, dropdown, radio button only) - To define the options for multiple selection Attributes, do one of the following:
Select Link to a dataset and select a dataset file. (To create and upload a dataset file, see the first two sections of Create dataset Attributes.)
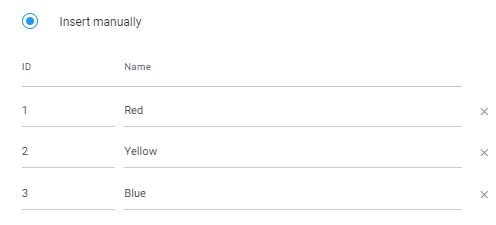
Select Insert manually and enter the options from which you want the customer to select. Each option must have an ID (number or character to identify each option) and a Name. For example, if the values are red, yellow and blue, enter them as follows:
Limited time range (for date only) - Turn on this toggle to set either a relative or absolute time range.
Mandatory and Optional properties (for address only) - see Address Auto-Complete and Validation.
Note
To map Attributes created in the Form Designer to relevant fields in your integrated platform, see Custom integration hub for API and events.
Number formatting
You can define the following types of formatting for number Attributes:
Separator type – Comma, point, or no separator (for example, for thousand separator, 1,234 or 1.234 or 1234)
Percent symbol – added at the end of the number (for example, 50%)
Currency – Added at the beginning of the number (for example, $50)
.png)
Note
The number of decimal places can only be defined in Form settings, not in the Attribute.
Number formatting behavior
Whenever a number value is displayed in a PDF Template, Dynamic Document, or Form, the formatting defined in the Attribute is applied. However, the way the formatting behaves can vary slightly depending on where the number appears.
Input behavior (Forms)
When customers fill out a Form:
For the decimal, they can type a point or comma (based on the separator defined in the Attribute).
The system automatically guides the customer to use the correct separator.
For thousand separators, commas or points (based on the separator defined in the Attribute) are automatically inserted as the customer types in the value.
Output behavior (HTML, PDF Templates, Visual Cart)
When number values are displayed in outputs:
HTML (Dynamic Documents) and PDF Templates:
Numbers are shown as entered by the customer.
If fewer decimal places are entered than defined in the Form settings, the system does not add extra digits automatically.
Tip
You can choose not to display number formatting when you add a number field to a PDF Template. For more information, see the preserve formatting setting in Configure PDF Template fields.
Visual Cart:
The system automatically fills in the required number of decimal places (for example, entering 5 displays as 5.00 if two decimal places are required).
Edit an existing Attribute in the Form designer
If you choose to create a field with an existing Attribute, you may need to edit it before including it in the Form.
Attention
When you edit an Attribute in the Form designer, the change is reflected system-wide for all future use. However, if the Attribute is already being used in a different Form, you will need to access that Form and make the required modifications there.
To edit an existing Attribute in the Form designer:
Click the + button to add an Attribute field to the Form.
The Select Attribute window appears.Hover over the Attribute to reveal the edit icon.
Click the edit icon.

The Edit Attribute window opens.Edit the Attribute and click Save.

The Attribute is edited.