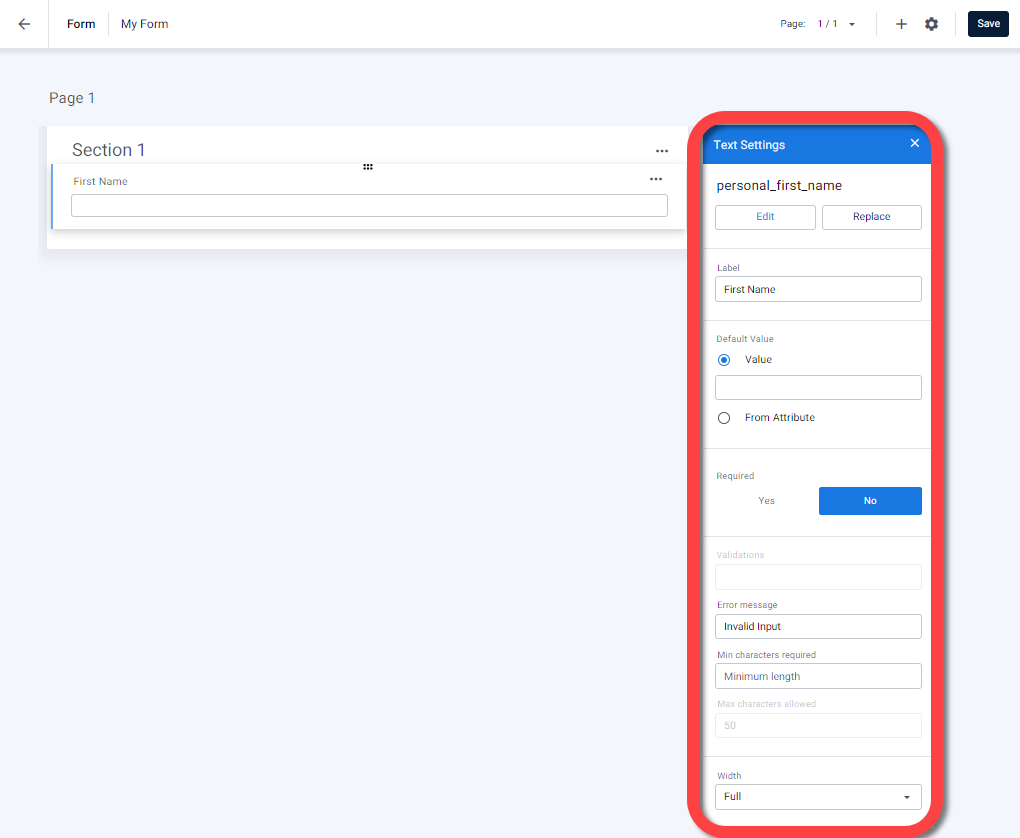
After you've added an Attribute field to a Form, you can select the field and configure settings for the field in the right pane of the Form builder.
See below for an explanation of each type of setting.
Field settings
The following section explains each Form field setting and indicates to which types of fields they apply.
Label
Applies to all fields.
The title that appears above the field in the session.
.png "image(149).png")
Labels as they appear on a customer device
Note
If you do not define this setting the name of the Attribute appears above the field.
Default Value/State
Applies to all fields.
For text and number fields, you can select a default value for a field in 2 ways:
Enter a default value by selecting Value and entering the value in the box.
Define another Attribute as the default value by selecting From Attribute and entering the relevant Attribute.
For date fields, select the default date that will be selected in the Form.
For checkbox, dropdown, and radio button fields, select the value(s) that you want to be selected by default in the Form.
For Boolean fields, select whether True or False will appear as the default.
Edit Attribute
Applies to all fields.
Open the Edit Attribute window and edit the Attribute to which this field is associated.
Replace Attribute
Applies to all fields.
Open the Select Attribute window and change the Attribute to which this field is bound..png)
Single line \ Multiline
Applies to text fields.
Select one of the following:
Single line - customer can only type on a single line
Multiline - customer can type on multiple lines
.png)
Text fields as seen on customer device
Required
Applies to all fields.
Define whether the field is required. You can also set a condition under which the field is required.
To define a field as required:
Under Required, select Yes.
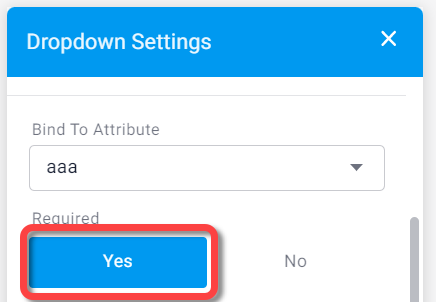
The condition settings appear.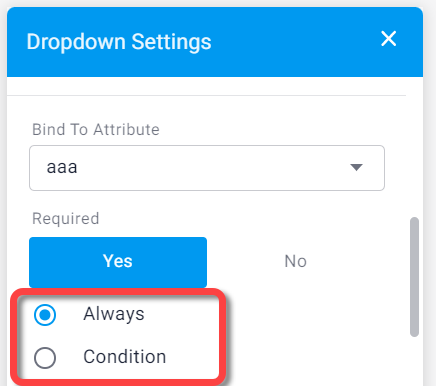
If you'd like to set a condition under which the field will be required, select Condition.
The condition window appears.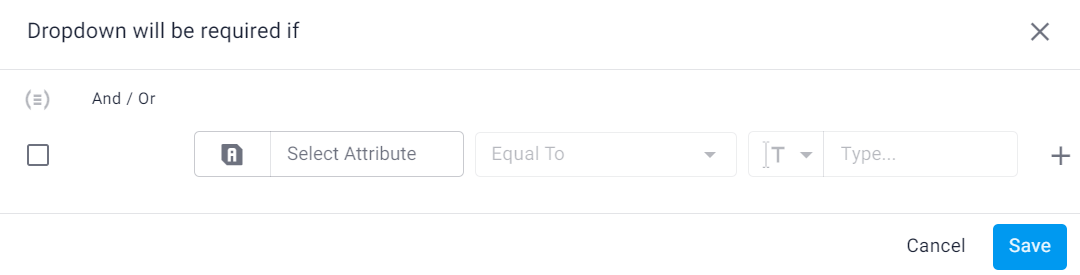
Enter the condition statement by selecting an Attribute, a comparison operator (for example, Contains) and the value you want to compare it against. For example, you can set a condition that the Attribute state_address should contain the value California.Click Save.
Read only
Applies to all fields except address.
Define whether this field is read-only and the customer will not be able to change the value.
.png)
Validations
Applies to text fields only.
This property is read-only and indicates whether there are any input validations on the text field. You edit this property in the Attribute itself in the Attributes mapping page.
.png)
Min characters required
Applies to text and number fields only.
The minimum number of characters that the customer needs to enter.
Max characters allowed
Applies to text and number fields only.
The maximum number of characters that the customer is allowed to enter.
This property is read-only. You edit this property in the Attribute itself in the Attributes mapping page.
.png)
Format
Applies to number and date fields only.
For number format, you can select how many decimal places to display.
.png)
For date format, you can select the format for displaying the date in the Form.
.png)
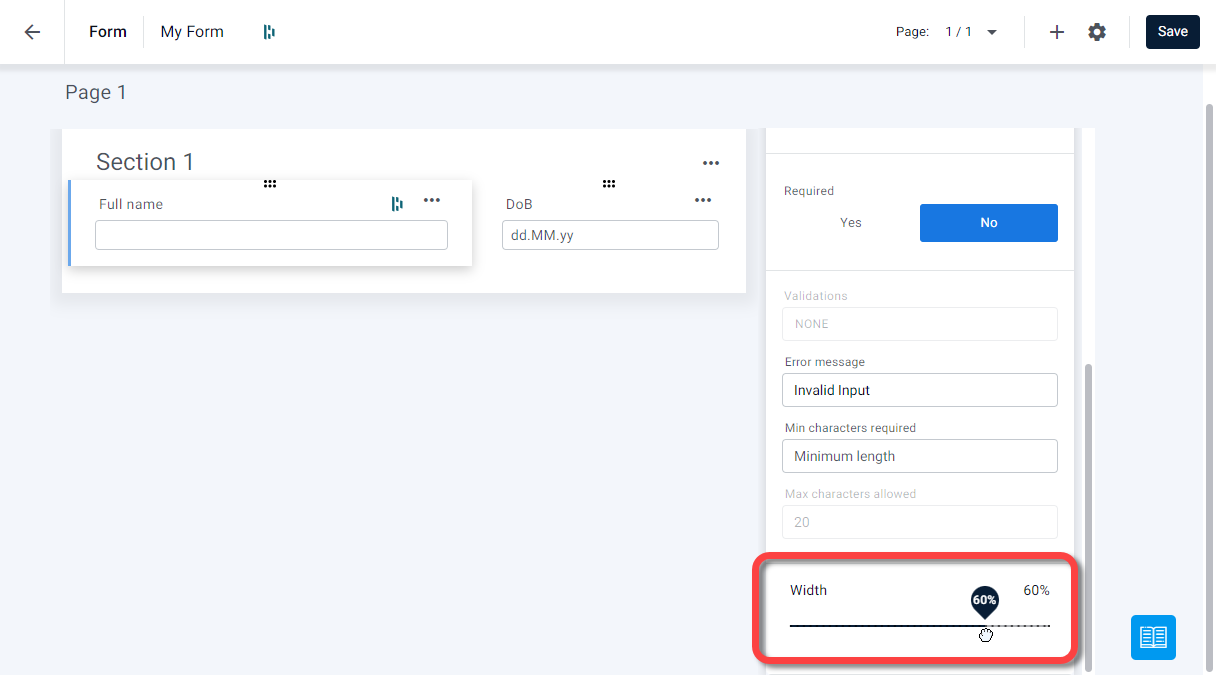
Width
Applies to all fields.
The percentage of the line that this field occupies. Used when there are two fields in one row of the Form.
To change the width of a field, click and drag the Width slider.
Note:
Radio buttons and checkboxes cannot share a row with another field. For those field types, the width setting is read-only.
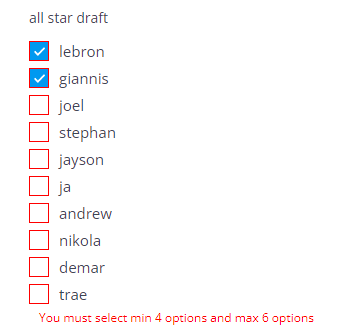
Selected checkboxes
Applies to checkboxes only.
Choose a minimum and maximum number of options that the user can select in the Form. If the user selects out of that range they will get a message that shows the number of options they need to select.
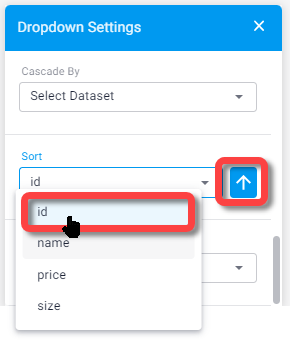
Sort
Applies to checkbox, dropdown, and radio button fields only.
Arrange the options in the customer Form in ascending or descending order. The sorting is based on one of the associated properties of the Attribute.
To sort the options in a dataset field:
In the Settings panel, select an associated property for the Attribute.
Click the the arrow to define ascending or descending order.
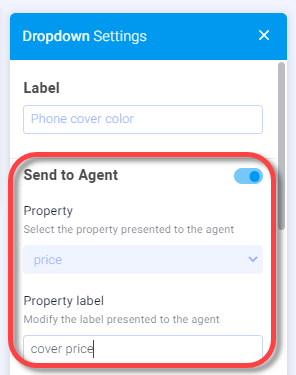
Send to Agent
Applies to dropdown, and radio button fields only.
Configure a field in a Form so that after the customer selects an option, the value of this field will be displayed in the agent interaction bubble after the Form is completed. Use this feature when agents are required to transfer certain pieces of data from the session into your CRM.

Field values displayed in agent UI after Form completed
To send a field value to the agent:
In the Dropdown Settings panel, turn on the Send to Agent toggle.
Under Property, select the associated property of the bound Attribute that you want to show.
Under Property label, change the text that appears before the property value in the interaction bubble.
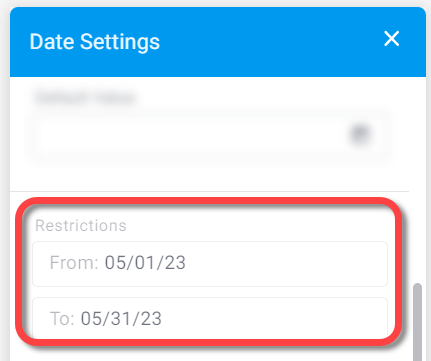
Restrictions
Applies to date fields only.
A read-only fields that shows if a limited time range was defined for this number Attribute (see Create basic Attributes).
Number of items and Numbering
Applies to list Attribute fields only.
Set the minimum and maximum number of items in the list to be defined by the agent/customer in this Form. The customer is required to provide the minimum number of items to complete the Form.
Activate this setting to format the list with numbers and select whether to place the numbering before or after each item.
.png "image(93).png")
Attribute tree
When you add a complex or list Attribute to a Form, an Attribute tree diagram appears in the right panel to help you visualize the data structure and configure settings for each component of the tree.
For example, a list Attribute tree with an associated basic Attribute shows:
List Attribute at the top
Associated basic Attribute underneath it
.PNG "2024-07-10_18-10-57.PNG")
A list Attribute tree with an associated complex Attribute shows:
List Attribute at the top
Complex Attribute
Basic Attributes associated with the complex
Tip
If you don't want all of the sub-Attributes of a complex Attribute to appear in the Form, you can deselect them on the tree.
Click any of the Attributes in the tree to highlight the corresponding field on the Form and to configure settings for that component of the tree.
