This article explains how to configure settings that affect a PDF Template as a whole. These settings appear in the Formatting tab and Template Settings tab of the PDF Builder.
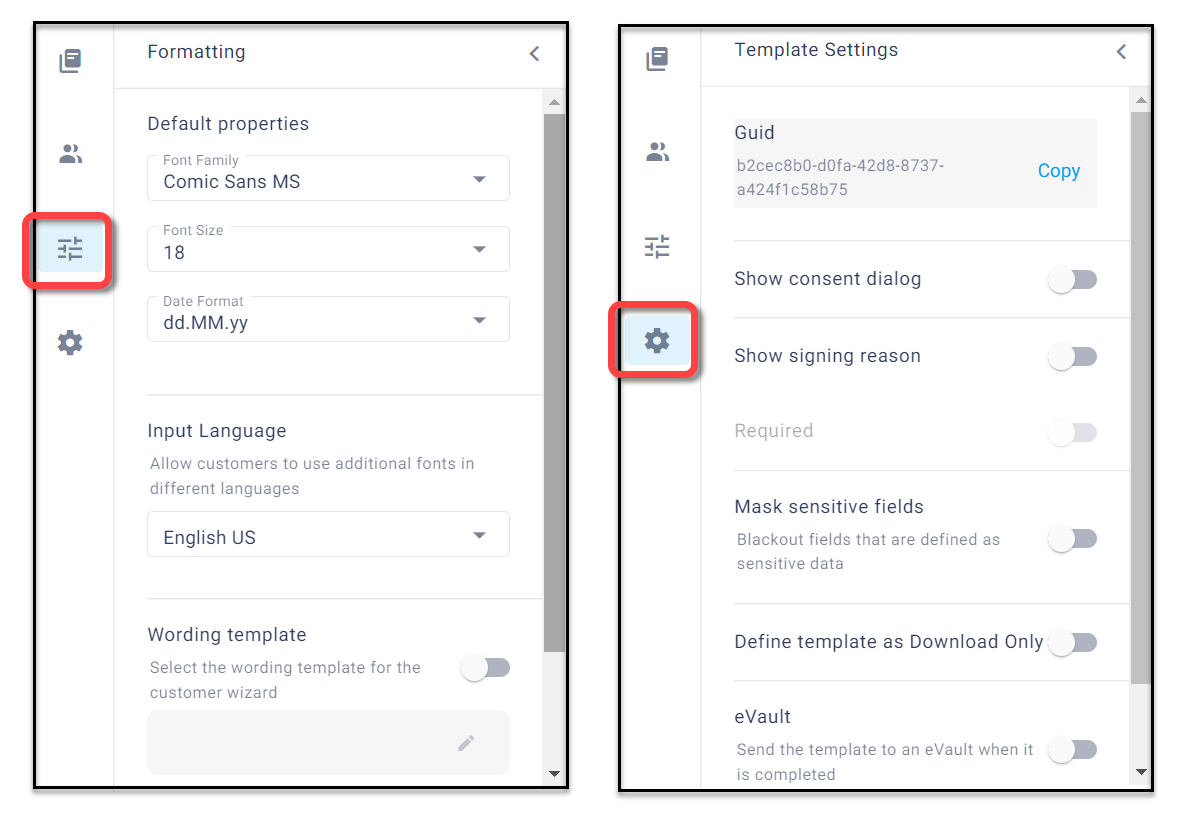
Formatting
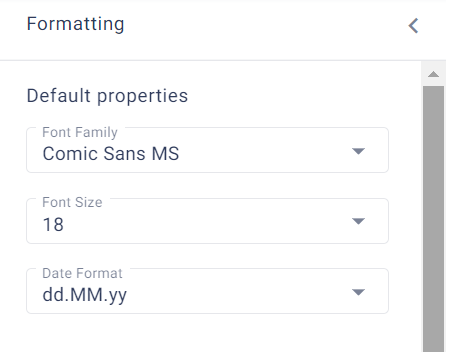
Configure the following formatting settings in the Formatting tab of the PDF Builder.
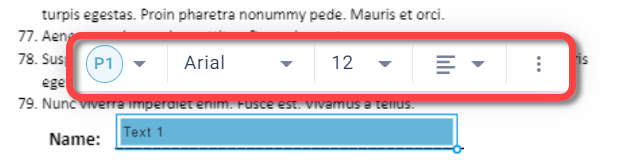
Change default field properties
Change the defaults for font, font size and date format of all new fields that you create in the PDF Template.
Note:
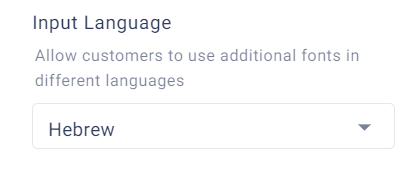
Select input language
Select a language to enable customers to enter characters from the selected language, in addition to English characters.
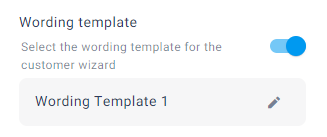
Wording template
A wording template defines wording for many parts of the customer UI and the audit trail. Wording Templates are created in the Administration > Customizations > Wording page (see Customize wording of customer UI).
To select a wording template for this PDF Template:
Turn on the Wording template switch and select the wording template from the pop-up that appears.
The wording template name appears in the field below.Click the edit icon to change to a different wording template.
Replace base PDF
Replace the base PDF for this Template with a different one. All existing fields and mapping are retained. If the new PDF has less pages than the previous one, the fields and mapping on the extra pages will be lost.
To replace the PDF: Under Modify PDF Template, click Upload and select the new PDF file from your computer.
Import overlay layout from another Template
You can import the overlay layout from one PDF Template into another one. The imported overlay includes the mapping (locations) and properties of the fields and the design of the PDF form.
To import the overlay layout from another Template:
Go to the PDF Template that contains the field overlay layout you want to use and in the Formatting tab under Export or import mapping, click Export.
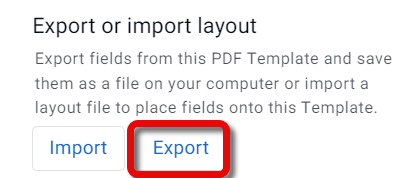
Go to the PDF Template into which you want to import the overlay and in the Formatting tab under Export or import mapping, click Import.
.PNG)
Select the overlay file (.txt) that you downloaded earlier.
The overlay layout is imported into your document and overwrites any previous overlay.
Save the PDF Template as an overlay for External Documents
Turn on this switch to enable saving the fields in this PDF Template - including their positions and formatting - as a layout that can be overlaid on an External (Ad Hoc) Document. An External Document is a PDF that the agent uploads to the session from a source other than Lightico shared items.
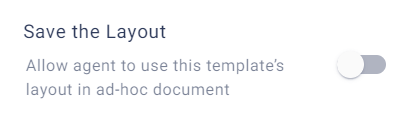
This layout will be available as a full pre-configured PDF Template and also as an Overlay Template for an External Document.
Agent Perspective:
When a PDF Template is saved as an Overlay Template, the agent can select it as one of the options in the Overlay Template menu in the Agent console.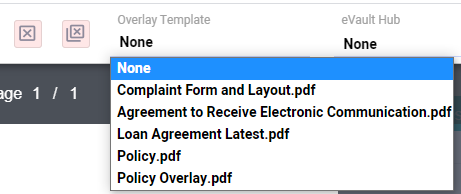
Template Settings
Configure the following settings in the Template Settings tab of the PDF Builder.
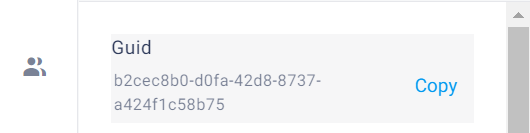
Copy unique Template ID
You can copy the unique ID of the PDF Template for use in the API and integrations.
To copy the ID, click Copy next to the Guid.
Require customer consent before signing or approving
Before the customer signs or approves a PDF Template, you can require the customer to agree to a pop-up message. For more information about configuring consent messages in the system settings, see Configure customer consent.
Note:
This setting overrides the consent requirement setting in the System Settings.
To require customer consent , turn on the Show consent dialog switch.

Customer Perspective:
When you include a consent message, the customer sees the message before they sign or approve.
(The image below shows the default message text.)
.png "image(147).png")
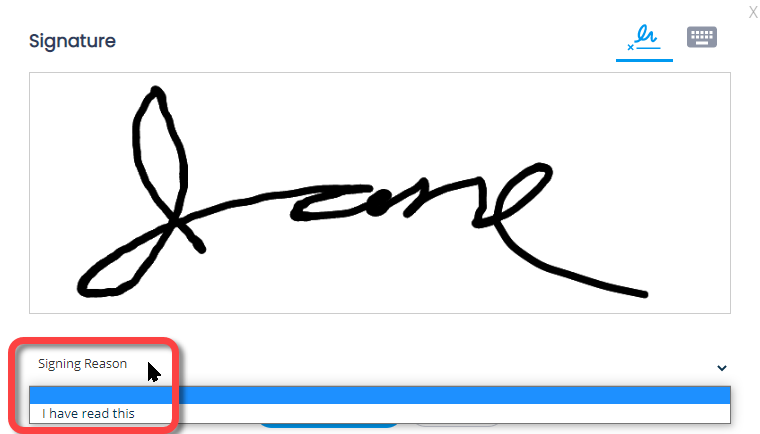
Include a signing reason with the signature
You can configure the PDF Template to include a signing reason, such as “I have read this document”, that customers select when they sign the PDF. For example, in the health industry, a signing reason is one of the requirements of HIPAA (Health Insurance Portability and Accountability Act).
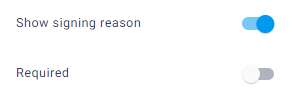
To include a signing reason, turn on the Show signing reason switch.
If the Required switch is off, the customer can select the reason but it is not required. If it's on, the customer will not be able to sign until they select a reason.
Edit the actual signing reason in the system settings. For more information, see Configure conversation behavior.
Customer Perspective:
When you include a signing reason, the customer selects the reason below the signature.
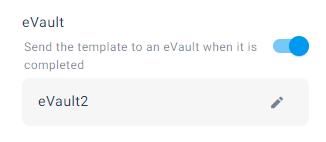
Save completed PDFs to an eVault hub
If you are integrated with an eVault hub, you can vault the authoritative version of a PDF after it is completed and signed.
To save PDFs to an eVault hub:
Turn on the eVault switch and select the hub from the pop-up that appears.
The hub name appears in the field below.Click the edit icon to change to a different eVault hub.