During a Lightico session, you can collect documents, such as passports and driver’s licenses, from your customers. This article describes how to request a document.
Note
This feature is enabled by a Lightico user with administrative permissions, in the Admin Center system settings under Session > Tools > Document Request.
🎦 Watch related video:
To request a document:
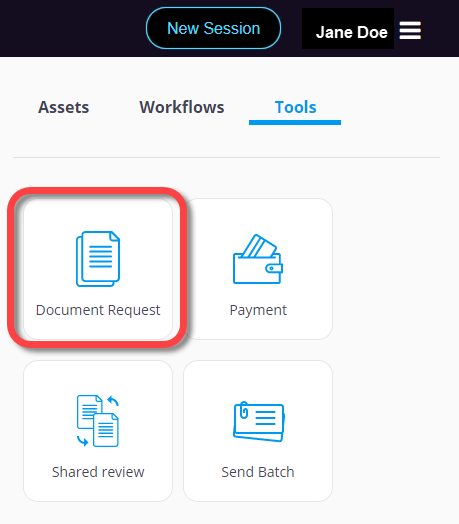
In the right pane of the agent console, click Tools to access the Lightico Apps.
Click Document Request.
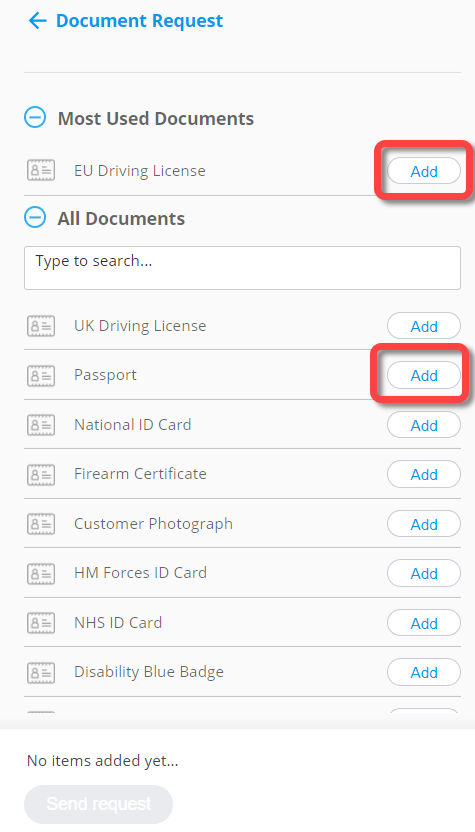
The Document Request pane opens displaying the available documents that you can request.
Note:
The list of available documents is configured by the administrator in the Lightico Administration page (see Create Document Requests).
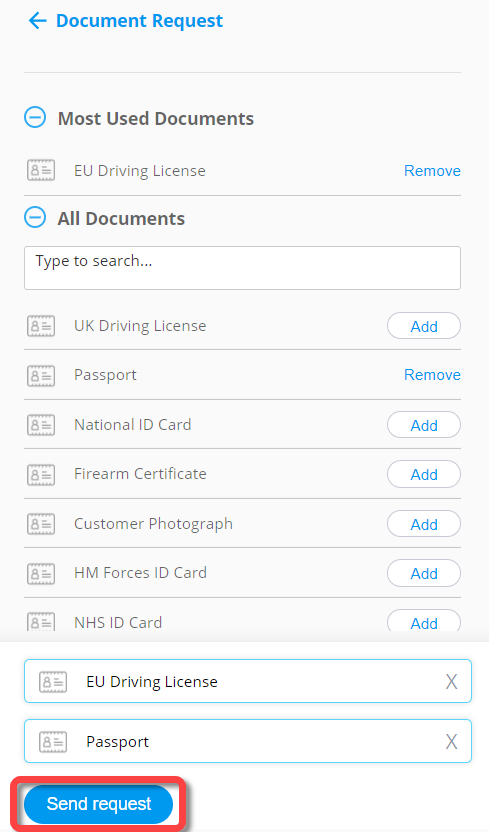
Find the documents you want to request and click Add next to the relevant documents. You can add multiple documents to the same request.
Click Send request, to request the documents from the customer.
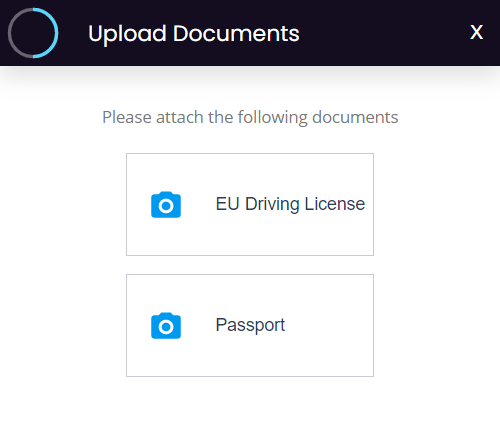
Customer Perspective:
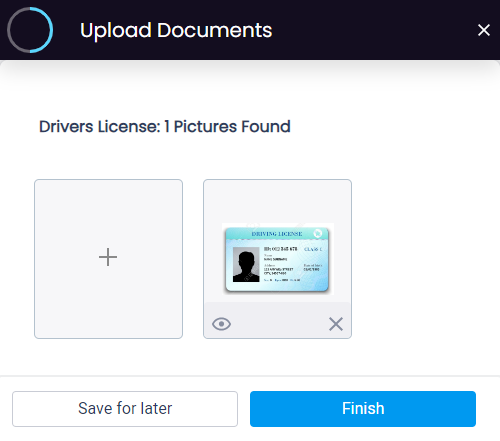
The customer is presented with a button for each required document. They can click each button to upload or scan the relevant document.
The upload option supports the following file types: PDF, PNG, and JPG.
Once the customer uploads a file, they can do any of the following:
Click the + icon on the empty thumbnail to add another file for the same document. For example, the back of a driver's license.
Click Save for later. This enables them to move onto another document while saving what they have uploaded already.
Click Finish. This saves the uploaded files and finalizes the upload. They can no longer change these files.
After the customer has sent the relevant documents, you can download the documents by clicking the download button in the interaction bubble toolbar.
For more information see Interaction bubbles.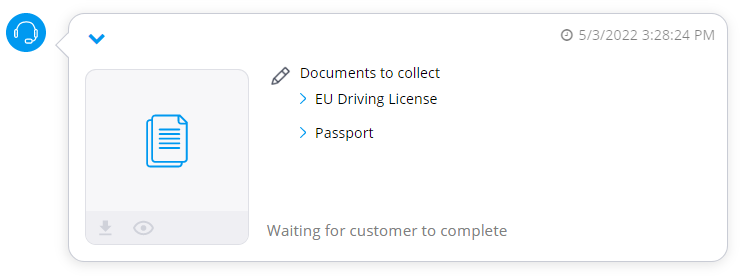
The documents are consolidated in a single PDF.