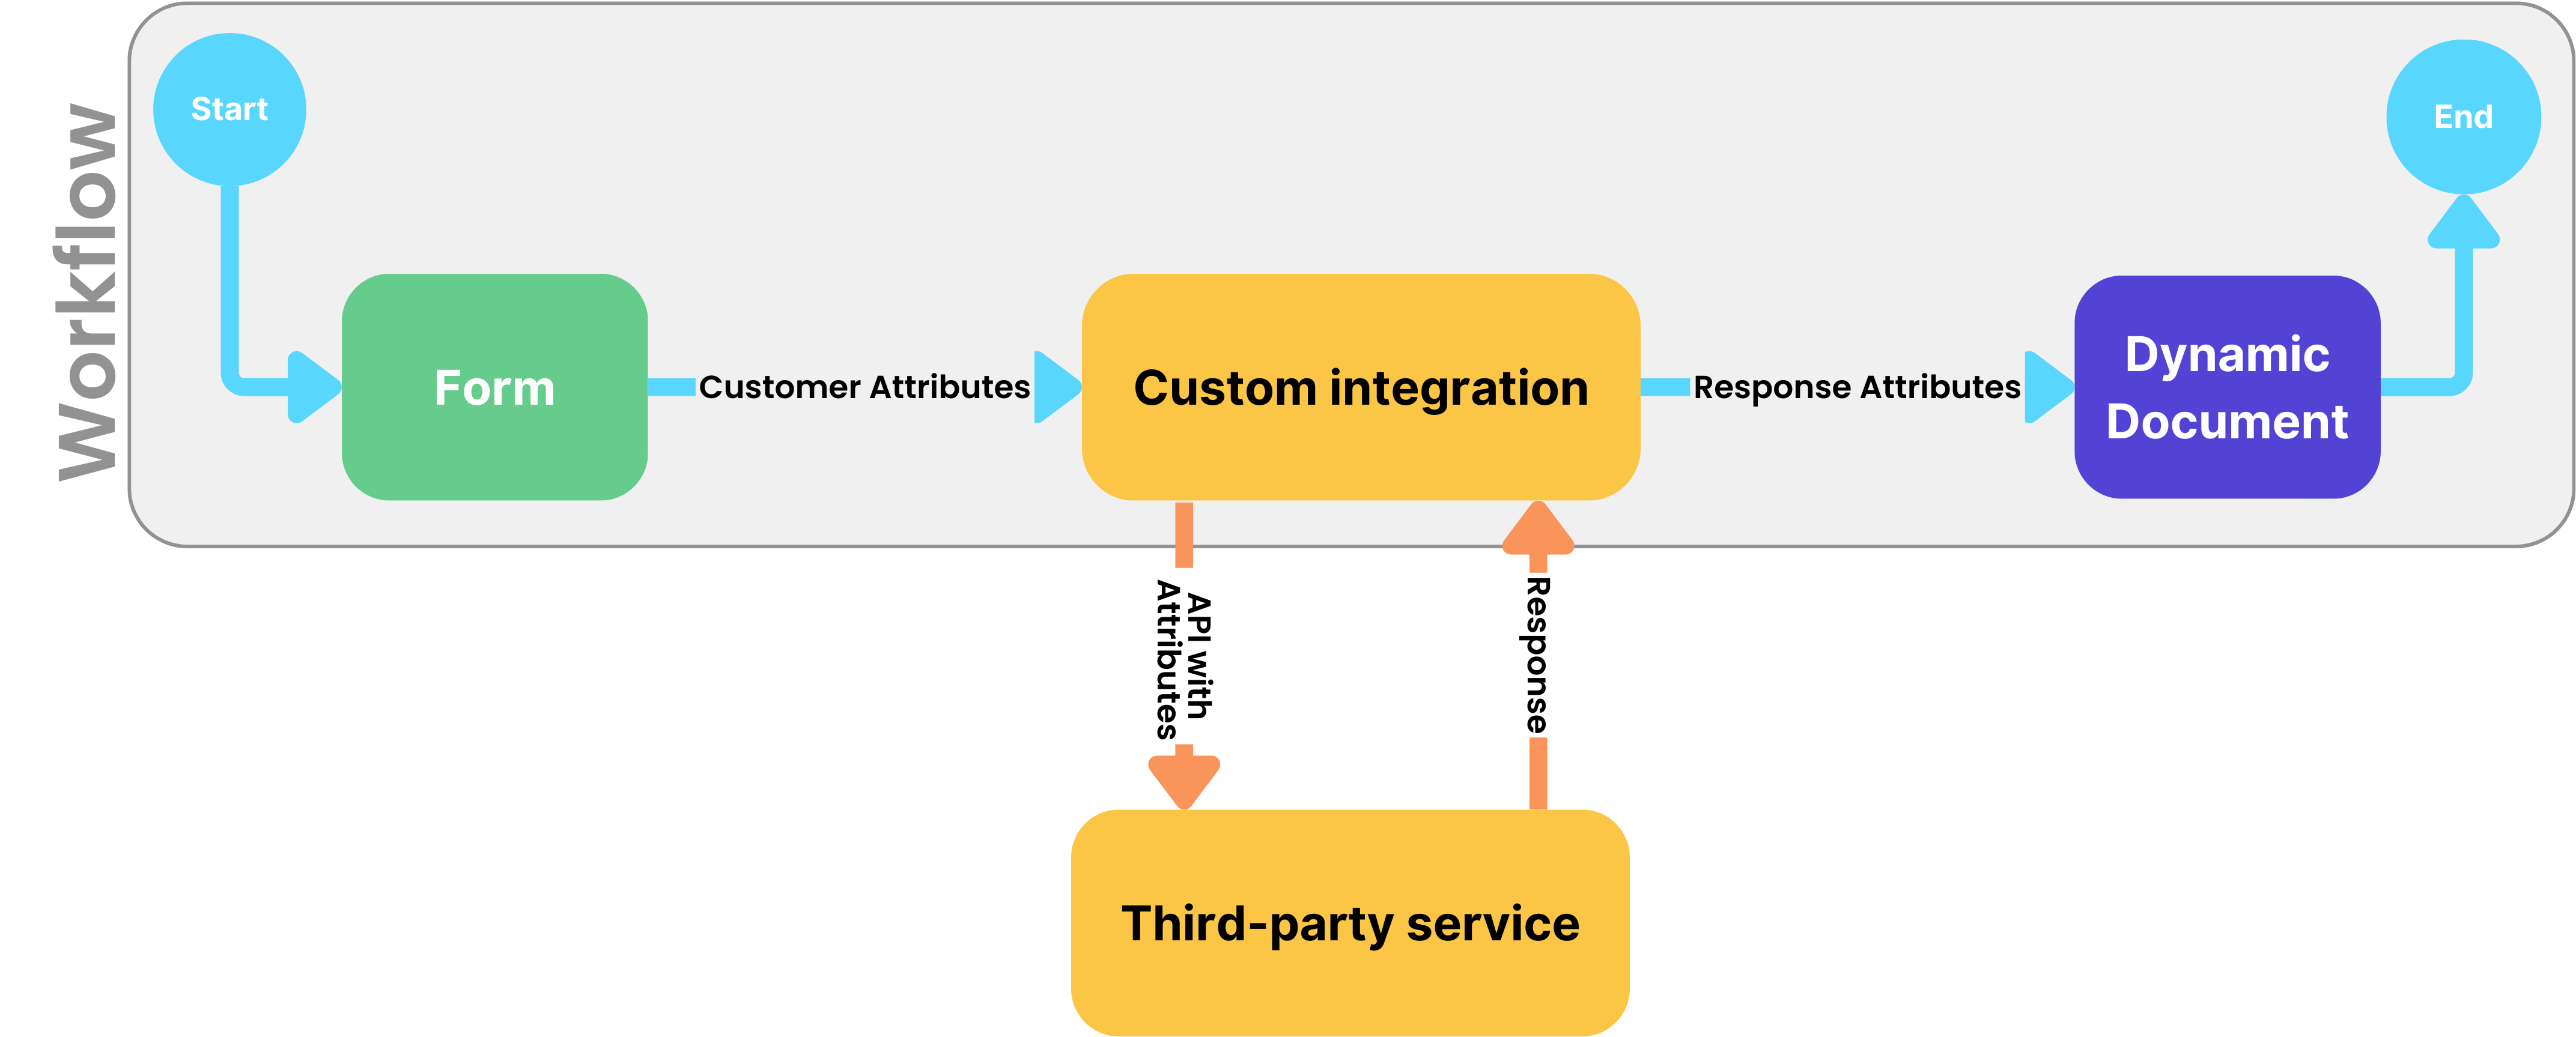
A custom integration is a third-party service that can be used to generate and retrieve important information in the course of a Workflow. For example, after obtaining customer information and binding the data to Attributes, a custom integration step can send the information to the third-party service to calculate an exchange rate, insurance premium, or loan payment schedule. The API response data is also bound to Attributes and can be used in subsequent steps in the Workflow. For example, you can insert the calculated insurance premium or payment schedule into a Dynamic Document for your customer to sign or approve.

Note
Custom integrations are created on the Integrations page, see Build a custom integration.
Two paths
The custom integration Workflow item includes two outgoing paths:
Success - the API was sent and a response was received
Fail - an error occured
You must connect each one of these paths to a different element. For example, connect the Success path to a contract and the Fail path to an alternate contract or to the End of the Workflow.
.png)
How to add a custom integration item
To add a custom integration to your Workflow:
From the left pane, drag the Custom integration item onto the canvas.
The Select custom integration window opens.Select the relevant custom integration and API endpoint.
.png)
Details of the endpoint appear in the right panel.
Click Select.
.png)
The custom integration item appears on the canvas.
Connect to one item for Pass and one for Fail (see above):
Drag a connector line to the next step in the Workflow.
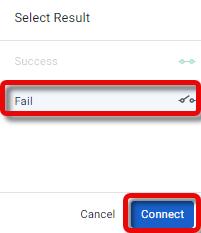
The Select result window appears.Select the result for this path and click Connect.
Edit the custom integration step
After adding the custom integration item to the Workflow canvas, you can select it, and, in the right panel, edit the following:
| .png) |
Use the icons above the selected item to do the following:
|  |
