When a template-based document is sent to a customer, the information that the customer needs to complete is presented as a wizard containing the relevant fields. This article describes how to customize the look and feel of this document wizard in the Wizard tab in the PDF designer.
Customize the introduction message
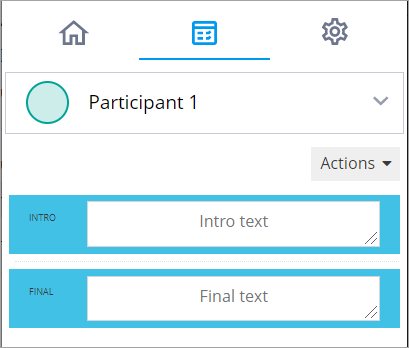
You can customize the message that customers see when they first open the document. To do this, enter your text in the INTRO box: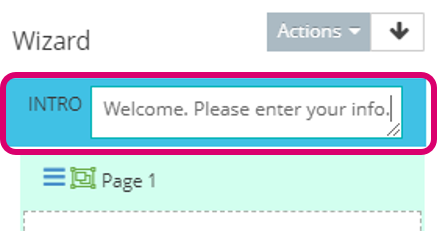
.png)
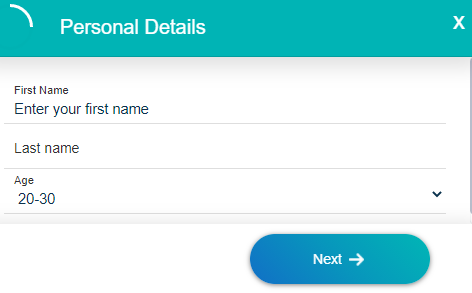
Organize information fields
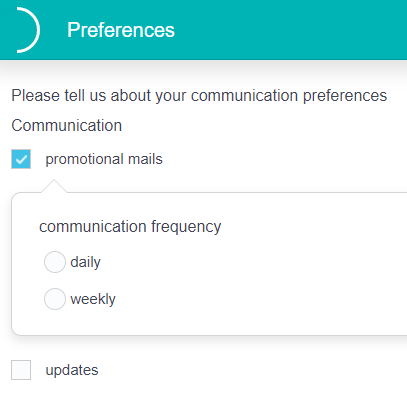
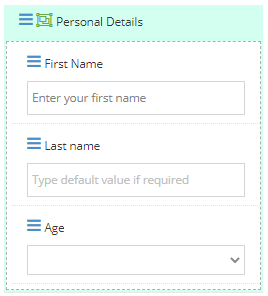
The information fields that you add to your document appear in the customer wizard pane. You can change the order of the fields by dragging them. You can also enter a default value for text fields, in the relevant field box.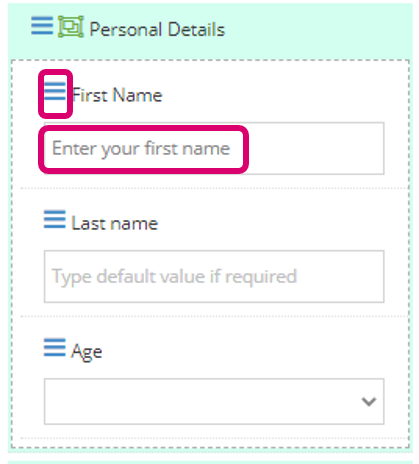
Nest Fields
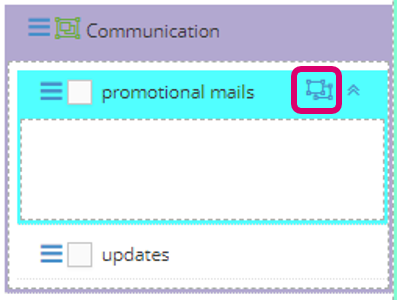
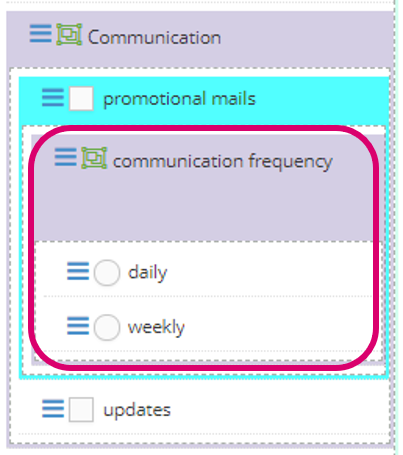
You can nest one field inside another field. For example, If you have a checkbox with a few options, you can nest a radio button group under one of the options. The radio button group will only be displayed if the customer chooses the relevant checkbox option.
To nest a field inside another field:
- In the parent option, click the create/remove group button.
- Drag the field you want to nest into the parent option area.
Add free text
You can add free text that you can include in the wizard.
To add free text:
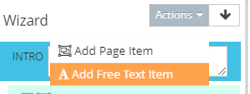
- From the Actions menu, select Add Free Text Item.
 The free text item is added to the customer wizard pane.
 - Click the edit button in the free text item and enter your text:
.png)
- Drag the text to the appropriate place in the wizard.
Show read only fields in wizard
You can choose to display agent fields to the customer as read only in the wizard.
To display agent fields as read only in the wizard:
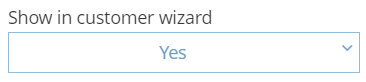
- When you add the relevant Agent fields to a document, select Yes in the Show in customer wizard option in the Field properties pane.
In the customer wizard pane for the selected participant, the field is displayed with a Visible checkbox.
- Select the Visible checkbox to make that field visible as read only for the selected participant.
The customer sees this field as read only in the wizard.
Add a new page
You can split the customer wizard into multiple pages and drag the relevant fields onto each page.
To add a new page:
- From the Actions menu, select Add Page Item.
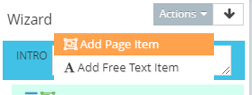 The page item is added to the customer wizard pane.
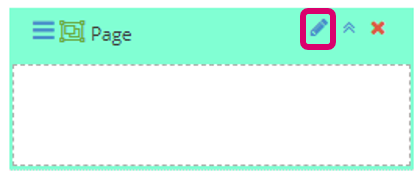
 - Click the edit button in the page item and enter the name of the page:
Drag the relevant fields into the page area.
Customize the final message
You can customize the final message that customers see after completing the document. To do this, enter your text in the FINAL box:

The customer sees the final message after completing the document.