This article explains how to send an External Document with an Overlay Template.
🎦 Watch related video:
When you upload an External Document during a Lightico session, you can apply an Overlay Template to your document that contains pre-configured fields and settings.
For example, if you have a group of policy documents that all have the same layout and are frequently used, you can use an Overlay Template, to always place the signature and the date field in the same position in the document.
Note:
Overlay Templates are configured by the business administrator in the Lightico Administration page. For more information, see New PDF Builder: Configure PDF template settings.
To use an Overlay Template when sending an External Document:
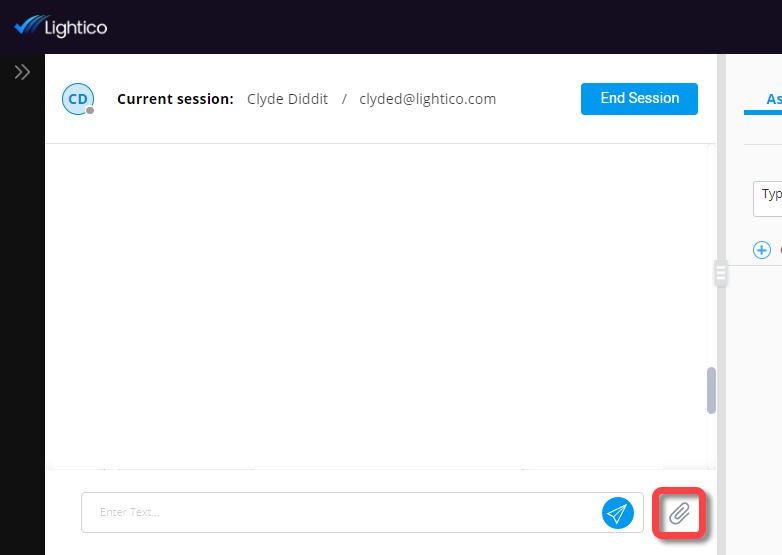
In the left panel of the agent console, click the paperclip.

Upload the relevant PDF from your directory.
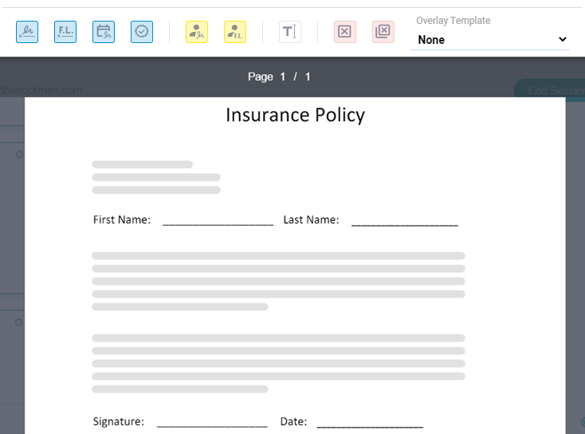
The document opens displaying the toolbar at the top of the screen.
Select the relevant template from the Overlay Template dropdown.
Attention
The overlay must match the document purpose. For example, if the purpose is Sign, you will only be able to select overlays with signature fields.

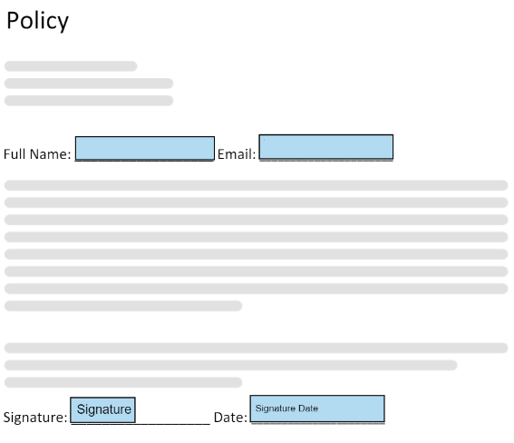
The Overlay Template places the pre-configured fields onto the document. In this example, the customer has to enter their full name and email and sign the document.

Optional - Add additional fields (see Send an External Document).
Note:
You cannot modify or remove fields that are part of the Overlay Template.
Optional - Add additional participants to the document.
For example, you may want to send a policy that needs to be signed by both the customer and a cosigner.If your Overlay Template does not include multiple participants, see Send an External Document to multiple participants.
If your Overlay Template includes pre-configured multiple participants, see Send a PDF Template to multiple participants.
Click Send at the top right corner of your screen.
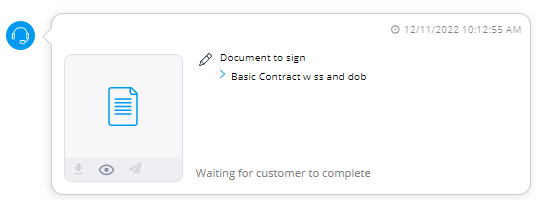
To track the customer interaction after the document has been sent, use the interaction bubble, displayed in the left pane. The interaction bubble provides information about this interaction with the customer and allows you to perform certain actions on the relevant document or asset. For more information, see Using interaction bubbles.