This article explains how to send an External Document stored on a local drive to your customer during a Lightico session. Once added to the session, the customer can review and either approve or digitally sign the document.
External Documents are any PDF file that you upload from your computer, as opposed to a PDF Template that is added to the session from the Lightico system. Upload External Document files in PDF format to enable adding interactive fields. Image files can be uploaded, but they do not support adding fields.
For information about sending a pre-configured PDF template, see Send a PDF Template document.
To send an External Document:
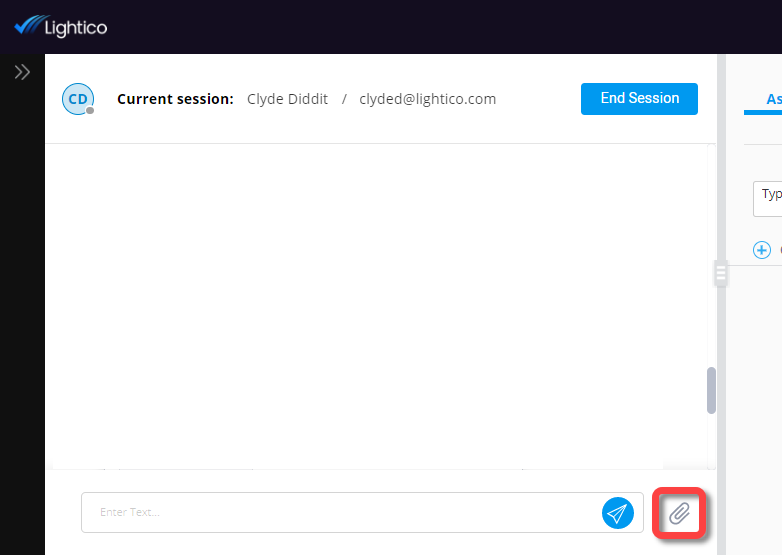
In the left panel of the session page, click the paperclip.
Upload a PDF document file from your computer.
Tip
You can upload multiple External Documents at once and then edit them one at a time.
The document opens displaying a toolbar at the top of the screen.
In the Document Name box, change the name of the document.
(optional) Select a template from the Overlay Template dropdown to apply pre-configured fields (see Use an Overlay Template when you send an External Document).
From the Document Purpose dropdown, select what the customer will do with the document. Choose from:
Sign - customer digitally signs; you, the agent will be required to add a signature field
Approve - customer selects an approval checkbox
Review - guides the customer to review the document online without requiring a signature or approval
Download - guides the customer to download the document without requiring a signature or approval
(optional) Select a document storage service from the eVault Hub dropdown to store an authoritative copy of the completed document. (This option will not appear if your company does not have an integration with a third-party storage service).

Add any of the following custom fields to your document:
Button
Field Name
Description

Customer Signature
Adds a required customer signature field

Customer Initials
Adds a required customer initials field

Customer Signature Date and Time
Automatically inserts the date and time when the customer signs. The date and time format is configured in the system settings.

Customer Corporate Stamp
Adds a required customer corporate stamp field. The corporate stamp is a combination of 3 fields that the customer completes: corporate name, corporate file number, and signature.

Agent Signature
Adds an optional agent signature field

Agent Initials
Adds an optional agent initials field

Agent Signature Date and Time
Automatically inserts the date and time when the customer signs. The date and time format is configured in the system settings.

Text
Allows the agent to add custom text to the document.

Remove
Remove an element that you added

Remove All
Remove all the elements you added
Click the field that you want to add to your document.
The field you clicked appears at the top left corner of your document.Drag the field to the appropriate place in your document.
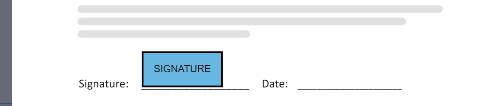
In the following example, the client signature field and the signature date field were added to a document: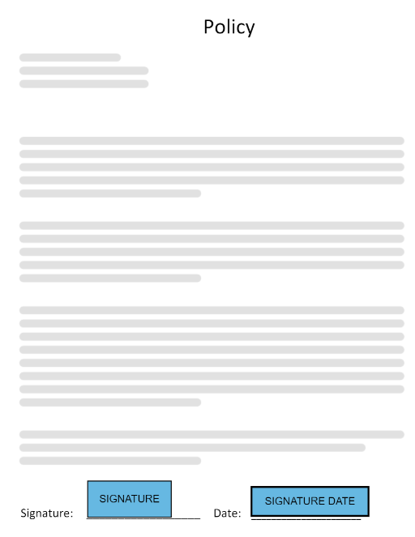
Note
You can also send this document to additional participants.
Click Send at the top right corner of your screen.
To track the customer interaction after the document has been sent, use the interaction bubble, displayed in the left pane.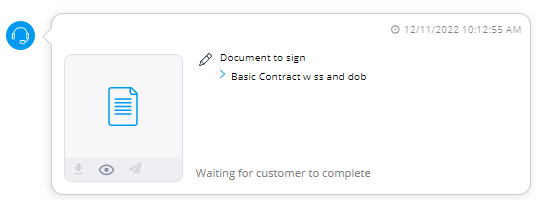 The interaction bubble provides information about this interaction with the customer and allows you to perform certain actions on the relevant document or asset. For more information, see Using interaction bubbles.