Dynamic Documents are so named because they can be configured to adapt their content according to the needs to the collaboration session. This article explains some of the dynamic elements you can use to tailor each document for your customer.
Add Attributes
Using Attributes, you can configure a Dynamic Document to insert unique customer information right into the document text. To achieve this, you will place an Attribute link in the document that populates the link location with customer information from the session. For example, the customer's name can be associated with an Attribute called full_name. When the customer provides their name in the session, the name is inserted into the document in the designated Attribute location.
For more information about creating Attributes, see Create basic Attributes .
To collect customer information and associate the data to Attributes, you'll create a Form in the same Workflow as the Dynamic Document. The Form collects customer data and associates each piece of data with an Attribute.
For more information about creating a Form in a Workflow, see Create Forms.
To add an Attribute to a Dynamic Document:
Place your cursor in the document canvas in the position you'd like to insert the Attribute link.
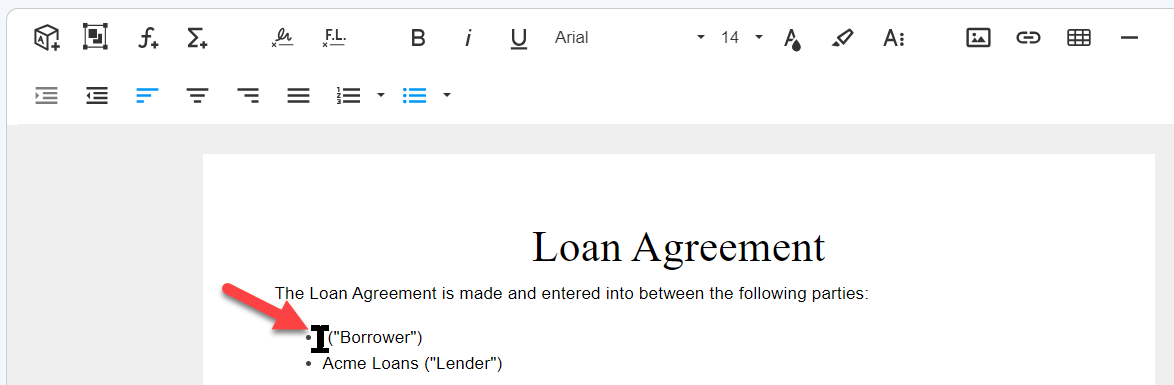
Click the Attribute icon in the toolbar (or type @).

The Attribute context menu appears.Search for and select the relevant Attribute.

The Attribute link appears in the document.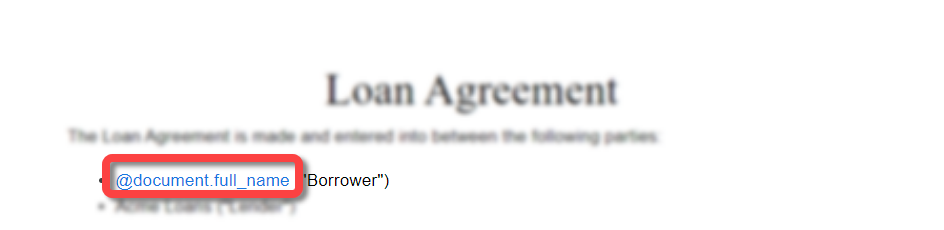
Add list Attributes
When you include a list Attribute in a Dynamic Document, it is presented as a table in the builder and in the final PDF. This section explains how to add and edit the list Attribute table.
.png")
To include a list Attribute in a Dynamic Document:
Click the Attribute icon on the toolbar and select a list Attribute.

The associated Attribute appears in the context menu.If the associated Attributed is complex, select the Attributes that you would like to show in the Dynamic Document and click Done.

The list appears in the Dynamic Document as a table..png "image(70).png")
Place the cursor into the table to edit it in the context menu.
Click the list icon in the context menu.
.png "image(71).png")
The list menu appears.Add or remove Attributes (when the associated Attribute is complex).
.png")
Select a column header to edit the header title.
.png "image(73).png")
Add system values
Using the system value tool, you can insert dynamic information about the session such as the customer name and contact information, IDs for sessions, Workflows, or Document Requests, and the current date.
For a list of available system values, see Available system values.
To add a system value to a Dynamic Document:
Place your cursor in the document canvas in the position you'd like to insert the system value.
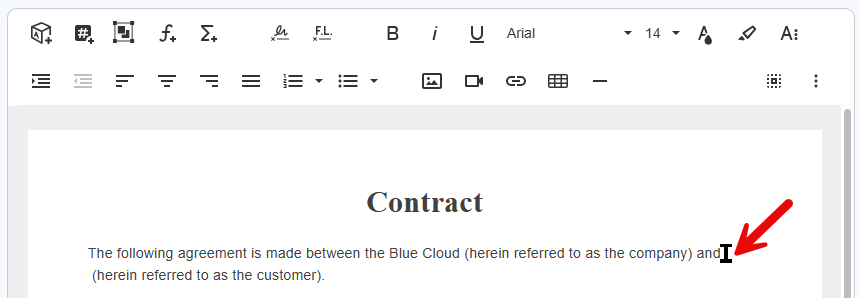
Click the system value icon in the toolbar (or type #).

The system value context menu appears.Select the relevant system value.
.png)
The system value variable appears in the document.
Embed external HTML as a section
You can embed the HTML from a static URL as a section in a Dynamic Document or Tick-box Document. The static HTML from the provided URL is presented seamlessly as a part of the document.
The URL can be defined in one of the following ways:
Specific address - defined when you build the Dynamic Document
Placeholder - defined by the agent or API when the Workflow is added to the session.
Attention
The ability to render a URL from a static webpage inside a Lightico Dynamic Document is subjected to various security measures that automatically filter and remove potentially harmful elements. This includes scripts, inline event handlers (e.g.,
onclick), and unauthorized tags that could pose risks. These measures ensure that only safe and authorized content is processed.If issues arise, please consult Lightico technical support for further guidance.
Notes
No other content can be included in a section that contains a rendered URL.
A Dynamic Document or Tick-box Document can only include one rendered URL.
To render a static URL as a section of the Dynamic Document:
Click the URL icon on the top right of the section.
.png)
The Embed external HTML window opens.Enter a URL address
-OR-
Select URL placeholder to define the URL address when the Workflow is added to the session.Turn on the Notify customer toggle, to display an error message if the system cannot render the URL.
Turn on the Customize default error message toggle and enter a custom message, if desired.
Turn on the Exit Workflow on error toggle to end the Workflow if the URL cannot be rendered within the allotted time.
Click Done.
.png)
The URL is embedded in the document.For an explanation of how to add the URL address when an agent adds the Workflow to the session, see Send a Workflow that requires agent input.
To add the URL address when adding a Workflow via the API see one of the following two endpoints in the API reference: