This article introduces the basics of how an agent runs a Collaboration Room session with a customer.
As a Lightico agent you interact with your customer in a Lightico session, communicating and exchanging information to complete business transactions or processes. You invite a customer into a session by email or SMS where they can click on a link to join.
Here is a list of what you’ll learn to do in this article:
Where to go for more
These are just the basics. Please browse the Agent section of our documentation to learn more.
🎦 Watch related video:
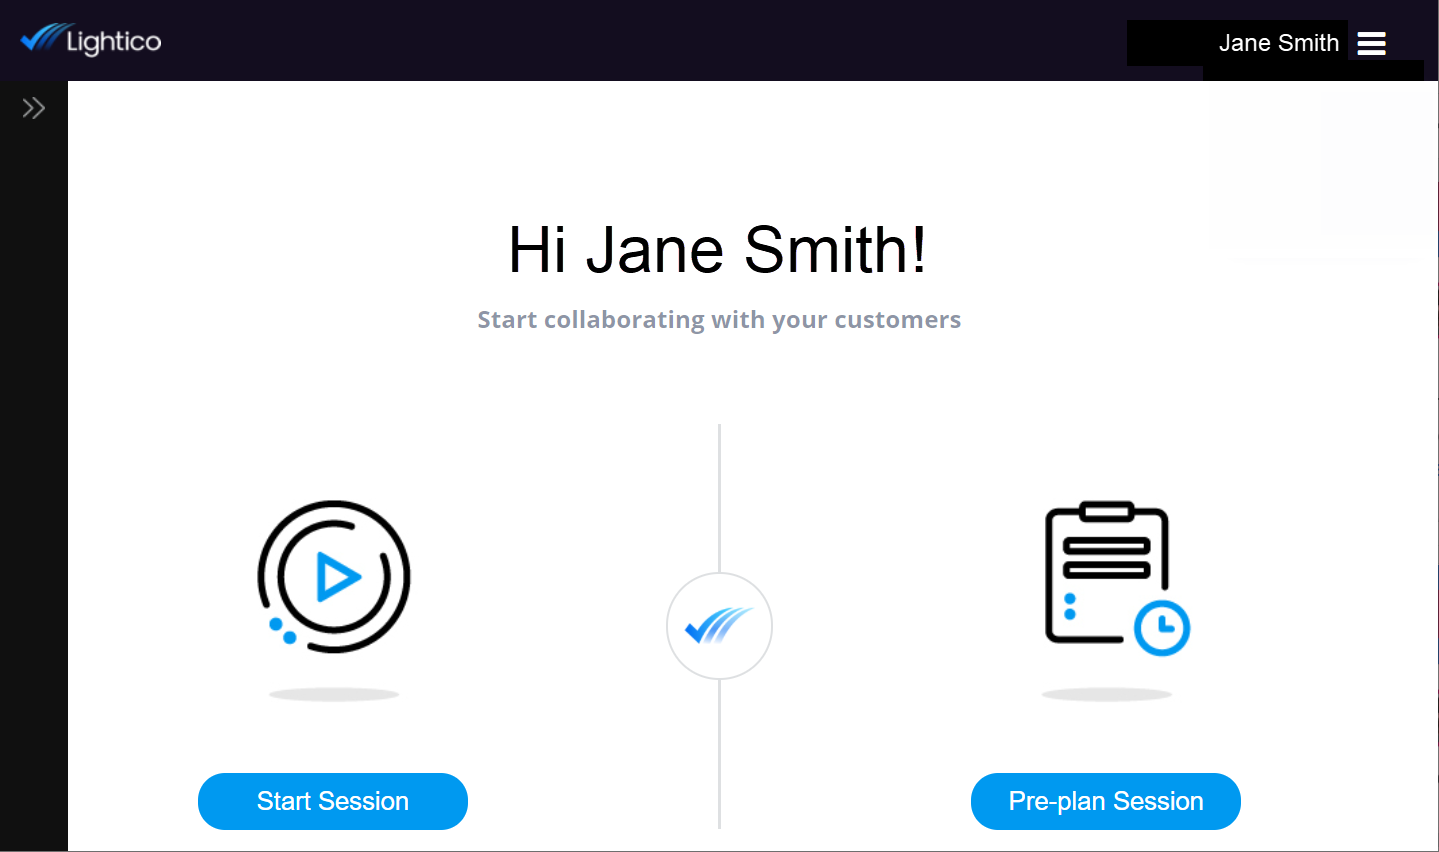
Start a session
To start interacting with customers, invite them to a Lightico session from the agent console. The invitation can be sent to an email address or a phone number (SMS). All collaboration and interaction with customers is managed through these sessions.
There are 2 ways to start a session:
Start Session - Invites the customer to interact immediately
Pre-plan Session - Allows you to first set up your session with the content you require and only then to invite your customer to interact.
Send documents
There are two basic types of documents you can send to a customer.
PDF Template - preconfigured with interactive fields and stored in your Lightico account
External Document - uploaded from outside your Lightico account
Each differs in features and how it is sent. See the sections below for more information.
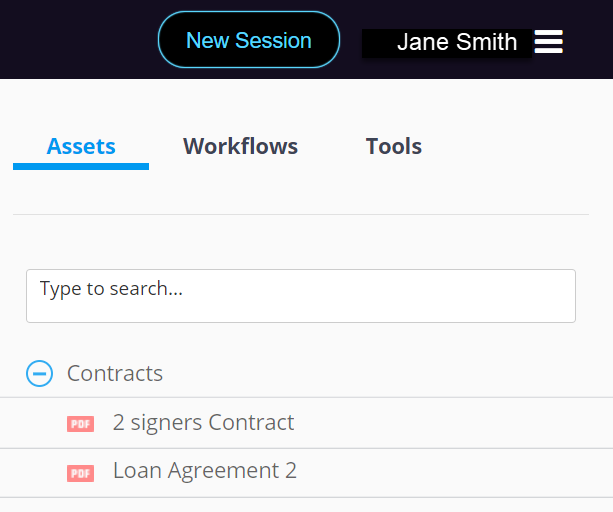
Send a PDF Template document
PDF Templates are documents that have been preconfigured by your business administrator with fields that enable the customer to enter information or leave a signature. Some are just for customer approval or for shared review. You’ll find these PDF Templates under the Assets tab in the right panel of the agent console after you start a session. For more information, see Send a PDF Template.
Send an External Document
You may need to send documents to the customer from your local computer or CRM. For example, if your documents are generated by a third-party service.
As opposed to PDF Templates, these External Documents are not preconfigured with fillable and signable fields. Lightico enables you to upload these documents to a session and add signature fields before you send them to the customer.
The instructions below show how to send a document that can be signed by your customer from their device. For more information about sending External Documents, see Send an External Document.
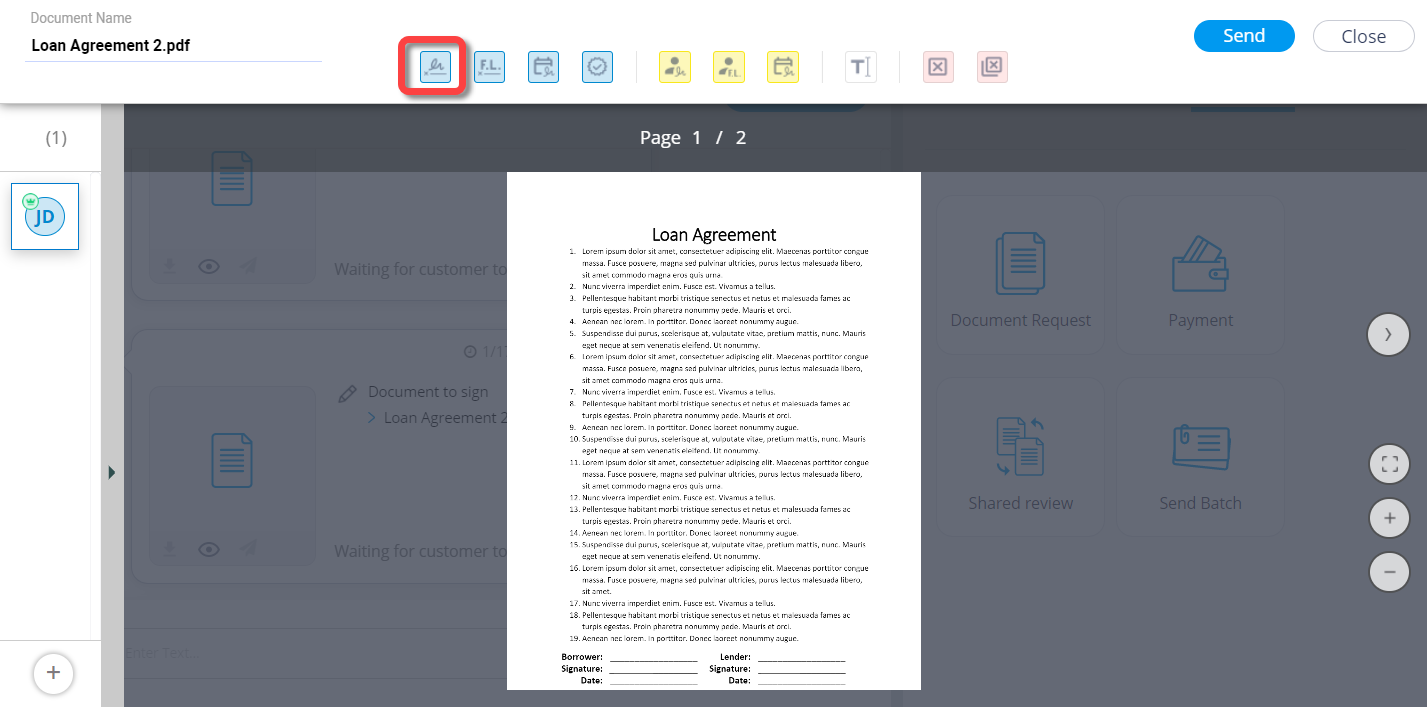
To send an External Document that your customer can sign from their device:
Click the attachment icon at the bottom of the agent console left panel.

A preview of the document appears with a tool bar above.Click the Signature icon on the toolbar.
The signature field appears in the top left corner of the document.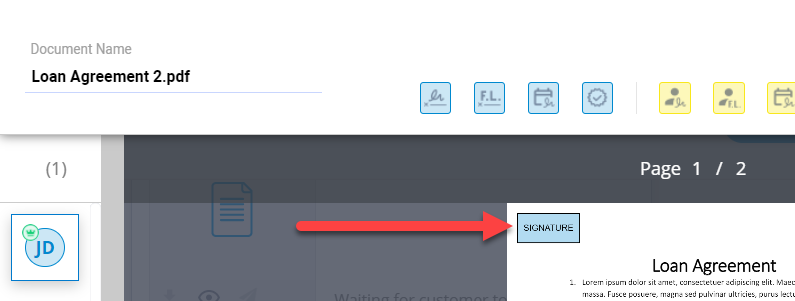
Click the field and drag it to the signature line in the document.
Click Send.
Your customer receives a link to the document and can sign it on their device.
Document to sign as seen in the customer collaboration UI
Send a Workflow
You can send a preconfigured series of action to be completed by your customer in sequence. You’ll find Workflows under the Workflows tab in the right panel of the agent console after you’ve started a session.
For more information, see Send a Workflow.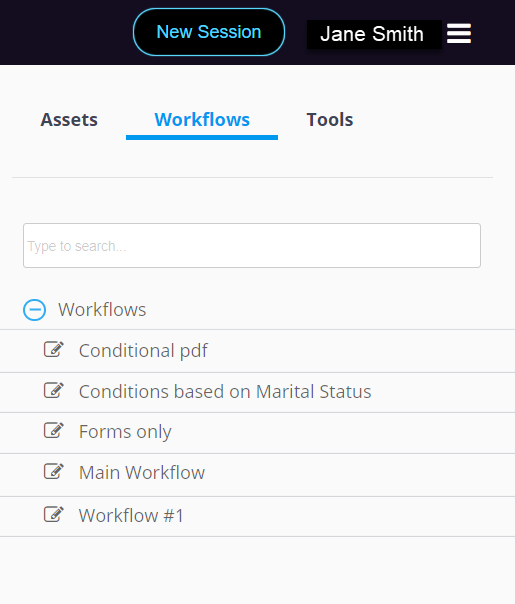
Other interactions with your customer
In addition to sending documents and workflows you can also use the Lightico tools to interact with your customers. To access the Lightico tools, click Tools in the right pane of the agent console.
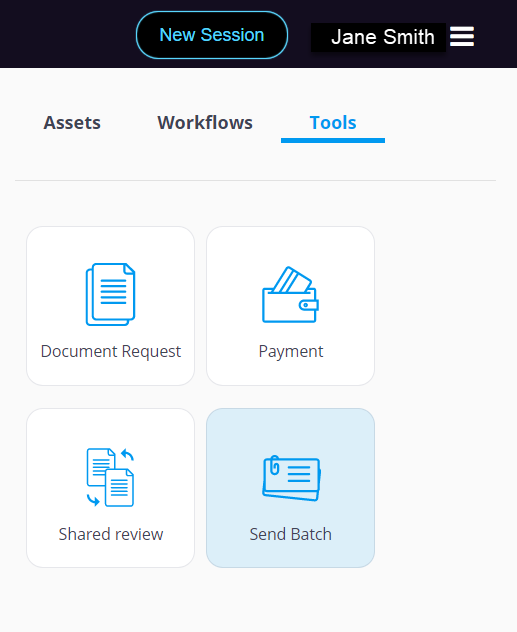
The following tools are available. Click the title of each bullet more information about the tool:Document Request - Collect supporting documentation such as ID documents, driver’s licenses and more.
Payment - Process payments within the session.
Shared Review - View and annotate a document together with the customer.
Send Batch - Send multiple documents to be completed in a particular order.
Manage your session
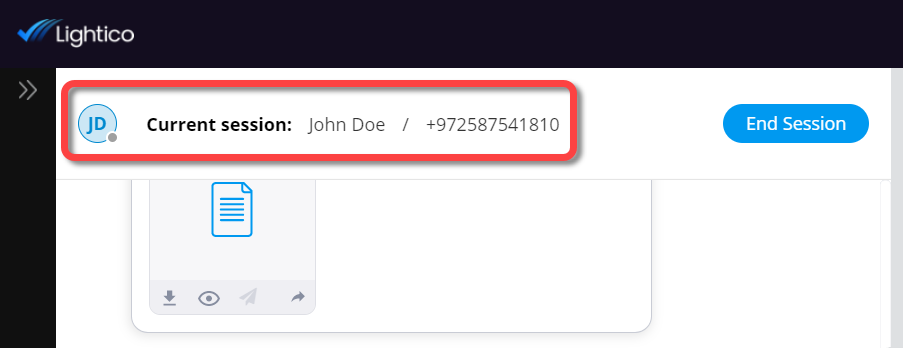
In the left panel of the Agent Console, you manage your session with the customer.
The Customer Status Indicator at the top left corner of the screen provides information about the customer.
The Interaction Bubbles in the left pane provide information about each interaction with the customer and what the status is of that interaction. For example, if you send a document to sign, the bubble will include the name of the document and information about whether the customer has signed. A checkmark means the document was signed and an edit icon means it has not been signed.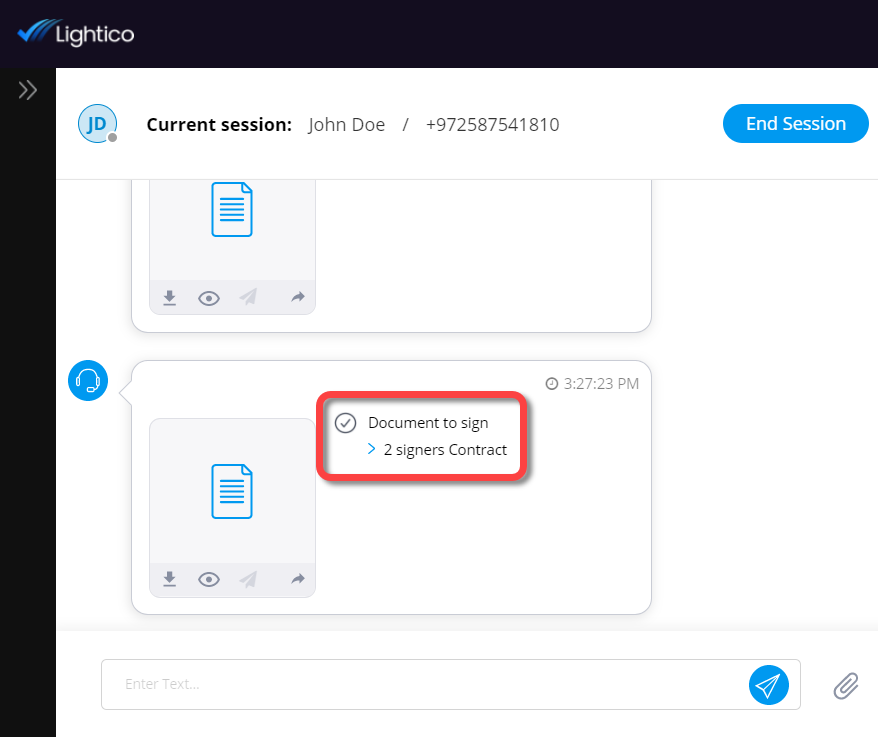
For more information about interaction bubbles and managing sessions, see Sessions.