This article explains how to set up a Mitek integration hub to enable authentication and data extraction of a customer’s personal ID document. Once the integration is set up, you can incorporate Mitek features into a collaboration session in several ways.
Key capabilities of the Mitek integration
Classification validation (Workflow step only) – Detects whether the uploaded document matches the expected type.
Document authenticity check – Detects whether the uploaded ID is genuine.
Data extraction – Automatically pulls structured data (e.g., name, ID number, expiration date) from the document.
Biometric identity match – Uses facial recognition to compare the ID photo with a live selfie for identity confirmation.
Use cases in the Lightico platform
Session entry verification - For identity verification before entering a collaboration session (see Customer authentication).
Photo ID verification Workflow step - For document and identity verification and data extraction (see Add photo ID verification to a Workflow)
Document Request Workflow step - For data extraction and classification validation (see Add Document Requests to a Workflow)
Customer view of authentication
Configure a Mitek integration hub in Lightico
To use Mitek technology in Lightico, you must first configure a Mitek integration hub. This setup is required for all Mitek-based authentication and data extraction, including:
Session-level authentication – Verification performed when a customer enters a session
Workflow-level authentication – Verification performed within a Workflow step (for example, Photo ID verification)
Configuration scope
Connectivity settings (integration hub)
Apply to all use cases, including both session-level and Workflow-level authentication.Document settings (integration hub)
Apply only to session entry authentication (before entering a session).Workflow-level configuration (outside the integration hub)
Additional setup is required in:Workflow builder (for example, Photo ID verification step)
Document Request configuration
System settings (where applicable)
These distinctions are indicated in the instructions below.
Set up the hub and configure connectivity settings
The following steps are necessary for session entry as well as Workflow-level authentication.
From the Admin Center, go to Integrations and click the Mitek hub.
In the Mitek hub, enter a name and description for the hub and click Save.
On the Connectivity tab, enter your Mitek credentials.
Define document options
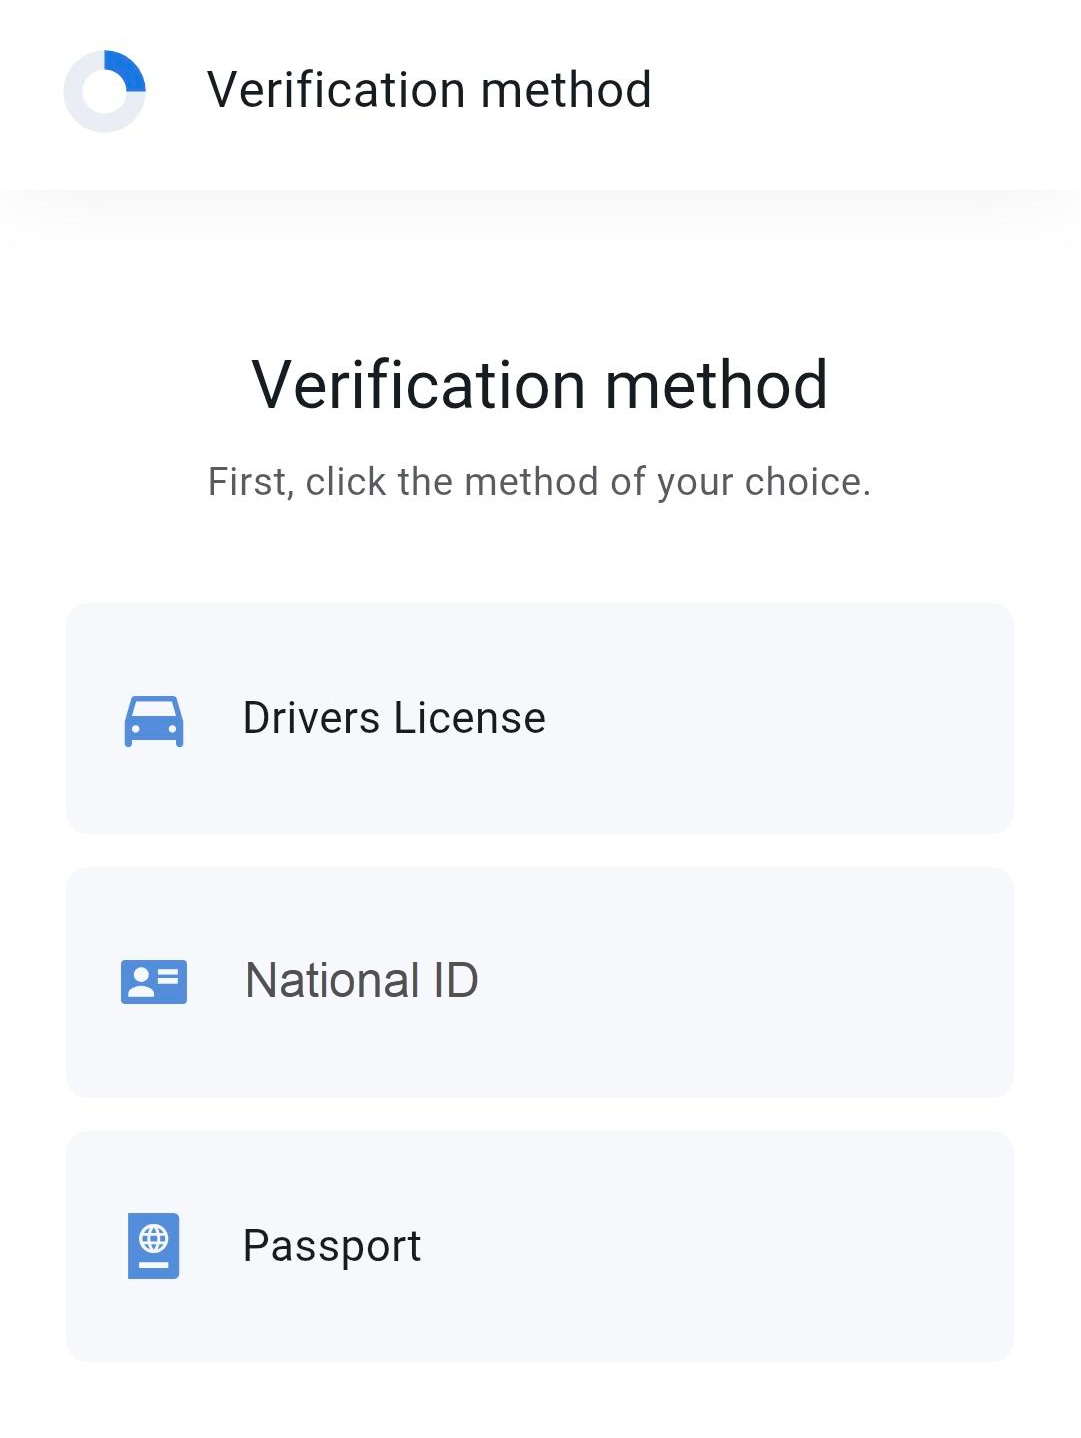
Authentication requires the customer to provide one form of photo identification. You can either require a specific document type—such as a driver’s license—or allow the customer to choose from multiple options, such as a driver’s license, ID card, or passport. Mitek authentication supports both approaches.
The following steps apply to session entry authentication.
To define document options:
On the Documents settings tab, select one or more document types for session entry authentication.
Choose whether to scan the front only or both front and back for each type.
Enter a customer-facing name for each document type.
This name will appear in the customer UI during authentication.
Note
Document options for a Photo ID verification Workflow step are configured in the Workflow builder in the properties pane for the Document Request or Photo IDV step. See Add Document Requests to a Workflow.
Binding Attributes to extracted data
Binding data extracted by Mitek to Lightico Attributes ensures that this customer information can be reused in the session and reported in the IDV completed event.
For more information about Lightico Attributes, see Understanding Attributes.
The following step applies only to session-level authentication.
On the Attributes tab, select a Lightico Attribute from the Attribute dropdown.
Note
Attributes bound in the Mitek hub apply only to session-level use cases. For Workflow-level document processing, data binding is configured when you create the Document Request type. See Create Document Requests.
Types of documents supported by Mitek
Mitek can authenticate and extract data from a range of standard document types. These types are used across different Lightico features that rely on Mitek processing.
Note
While the list below includes general supported types, we recommend validating with your Lightico Customer Success representative whether the specific documents your company works with are supported.
Driver’s license
Identification card
Passport
ICAO-compliant passport card
Residence permits
Supported file types for upload
When using Mitek to process documents in a session, the customer is required to upload one of the following types of image files:
JPG
PNG
PDF files are not supported.